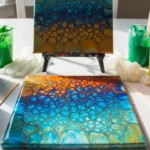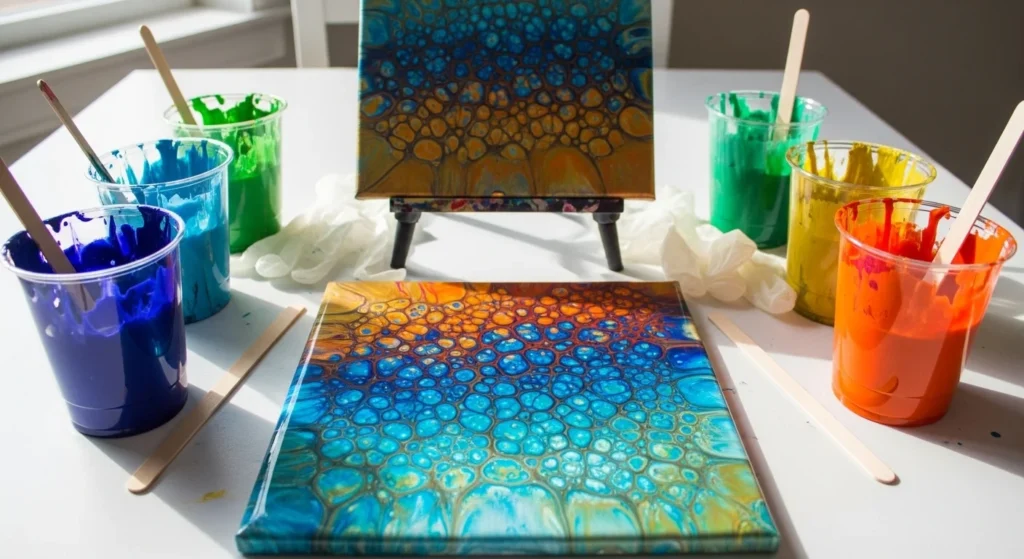
Paint pouring is basically controlled chaos you mix colors, tilt a canvas, and suddenly the paint starts doing things you could never “draw” on purpose. It’s hypnotic, messy in the best way, and wildly satisfying when you lift the cup and see cells, ribbons, and marble swirls appear like magic.
If you’ve ever watched a paint pour video and thought, “I want that exact effect,” this guide will help you get there without wasting half your paint or ending up with a muddy brown canvas.

Pick Your Look First (Because Technique Follows Style)
Before you mix anything, decide what you’re trying to create. Different looks need different setups.
Popular paint pour vibes
- Big dramatic cells: bold, bubbly patterns that pop
- Soft marble swirls: smooth, stone-like flow with gentle blends
- Ribbon + wave pours: layered stripes that stretch beautifully
- Galaxy pours: dark base + bright accents with depth
Quick tip: Start with 3–5 colors max. Too many colors is the #1 reason pours turn muddy.
Gather Your Supplies (Simple Setup, Cleaner Results)
You don’t need a huge kit, but the right basics make everything easier.
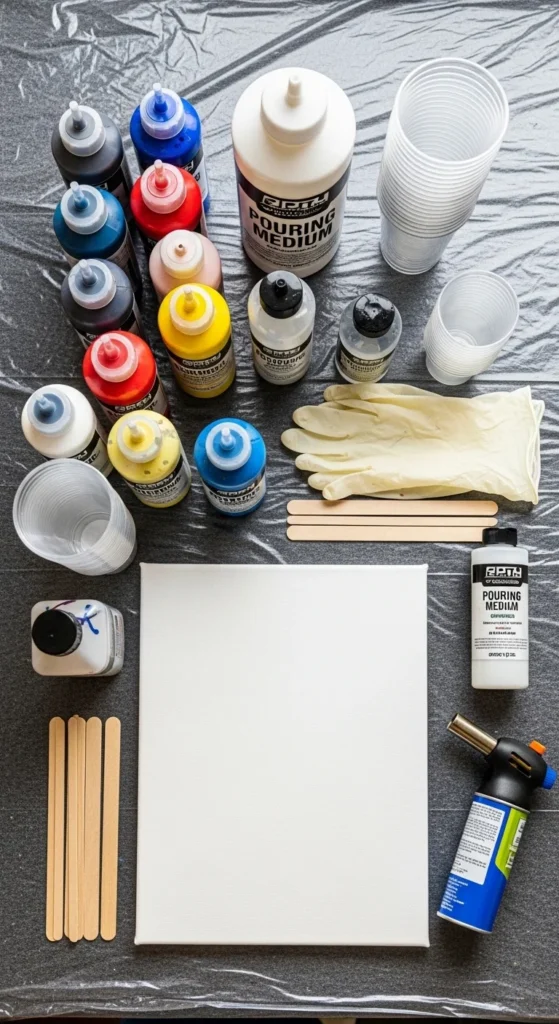
Must-haves
- Acrylic paint (craft acrylic works, but artist acrylic looks richer)
- Pouring medium (for smooth flow and fewer cracks)
- Canvas or wood panel
- Disposable cups + stir sticks
- Gloves + table cover (plastic sheet or trash bags)
- Level surface + risers (plastic cups, small jars, etc.)
Optional but helpful
- Silicone oil (for cells)
- Torch or heat gun (to pop bubbles and help cells form)
- Palette knife for swipes
- Spray bottle with isopropyl alcohol (bubble control)
Get the Perfect Paint Consistency (The Secret Behind “Stunning”)
Paint pouring is less about talent and more about consistency. If the paint is too thick, it won’t move. Too thin, and it turns watery and weak.
Beginner-friendly mixing guideline
- Start with 1 part paint : 2 parts pouring medium
- Adjust slowly until the paint flows like warm honey
- When you lift the stir stick, it should create a ribbon that disappears into the cup in 2–3 seconds
Avoid these common mistakes
- Over-stirring (creates too many bubbles)
- Adding water too early (can weaken pigment and cause cracking)
- Mixing every color exactly the same (slight variation helps effects)
Pro tip: Mix white and black a little thinner than other colors. They help movement and contrast.
3 Easy Techniques for Stunning Effects (Pick One and Try It)
Here are three reliable methods that create “wow” results even if it’s your first time.
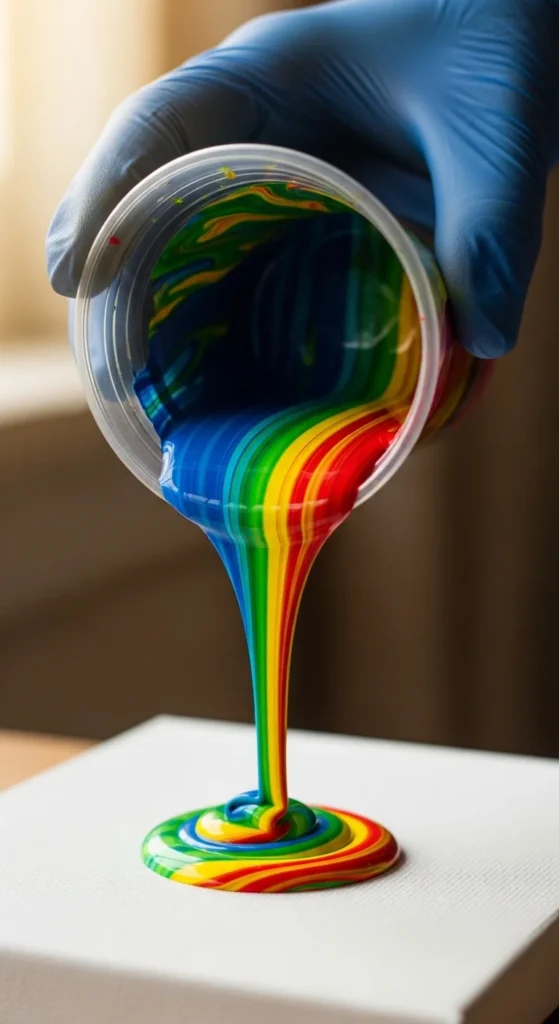
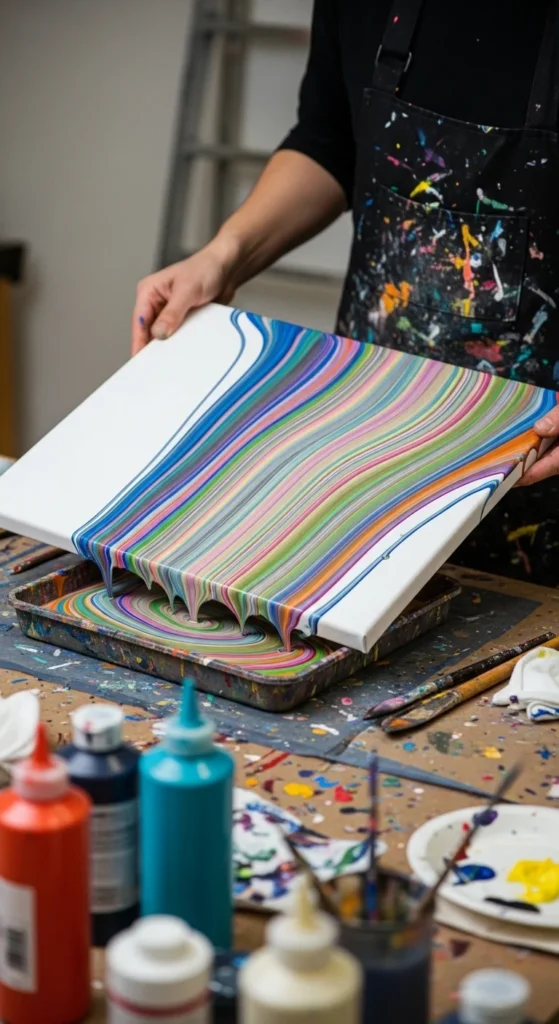
1) Dirty Pour (best all-around)
This is the classic: layer colors into one cup, then pour.
How to do it
- Pour each color into one cup in layers (don’t stir)
- Flip the cup onto the canvas (flip cup method) or just pour directly
- Lift slowly, then tilt the canvas to spread
Best for: ribbons, marbling, layered flow
2) Swipe (best for bold cells)
This gives strong cells and dramatic movement.
How to do it
- Pour a base layer (often white or black)
- Add puddles of color across the surface
- Drag a swipe color over the top using a palette knife or damp paper towel
Best for: big cells and clean separation
3) Puddle Pour (best for controlled design)
You build a composition by stacking puddles.
How to do it
- Pour a small puddle of one color in the center
- Pour another color directly on top
- Repeat until it expands outward
- Tilt only slightly to keep the design centered
Best for: clean circles, floral-like blooms, minimal movement
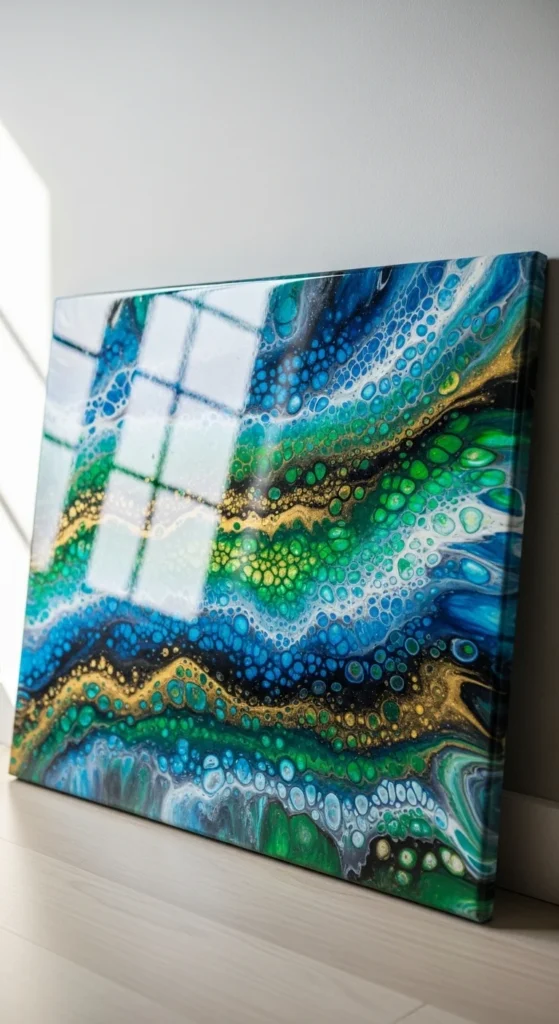
How to Create Cells (Without Overdoing It)
Cells are the most requested effect—and the easiest to mess up if you add too much silicone.
Cell-making checklist
- Add 1–2 drops of silicone oil per color cup (not all colors need it)
- Use a contrasting base (white base for bright colors, black base for neon)
- After pouring, lightly torch the surface to pop bubbles and “activate” cells
What not to do
- Don’t add silicone to every color (too many cells can look chaotic)
- Don’t torch too long (you’ll scorch paint or over-blend)
- Don’t tilt aggressively if you want cells to stay visible
Tip: If you want fine cells, tilt gently. If you want stretched cells, tilt more.
Tilt Like a Pro (So It Doesn’t Turn Into Mud)
Tilting is where the painting becomes yours. It’s also where things can go wrong fast.
Tilting tips that keep results clean
- Tilt slowly and pause between movements
- Let paint flow toward edges naturally (don’t “shake” it)
- Stop when you still see distinct color areas
- If it looks muddy, stop tilting immediately
Easy tilt pattern
- Tilt forward → pause
- Tilt back → pause
- Tilt left → pause
- Tilt right → pause
This keeps the flow balanced and prevents one side from swallowing everything.
Drying and Finishing (So It Looks Glossy and “Gallery-Ready”)
Paint pours dry slowly. If you rush this step, you can get cracks, dull spots, or dust stuck in the surface.
Drying rules
- Keep the canvas level (use a small level tool if possible)
- Protect it from dust (a large box tent works great)
- Let it dry 24–72 hours depending on thickness
After it’s fully dry
- Wipe off silicone residue if you used it (gentle soap + water on a soft cloth)
- Add varnish or resin for shine and depth (only when 100% dry)
Final Takeaway
Abstract paint pours aren’t about perfection they’re about experimenting with flow, contrast, and movement. Start with 3–5 colors, get your paint to that warm-honey consistency, and pick one technique (dirty pour, swipe, or puddle) to practice until it feels easy.
Save this tutorial for later, grab a small canvas, and try your first pour today because the best effects happen when you stop overthinking and let the paint move. 🎨✨📌

Lily Summers is a digital artist and creative storyteller who loves bringing colorful characters to life. With a passion for cartoons, fan art, and playful sketches, she inspires others to explore their imagination through art. When she’s not sketching, you’ll find her dreaming up new ideas for CraftedWizard.com to spark creativity in every artist. 🌈✨