

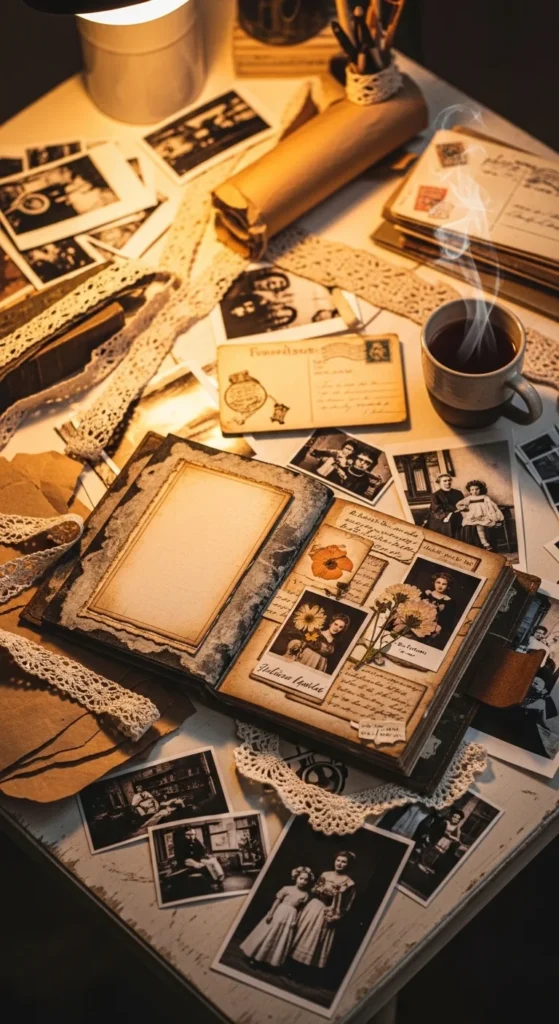
There’s something magical about flipping through a photo album that feels like it has a story soft, worn edges, warm tones, little paper details, and memories that look like they’ve lived a life. The best part? You don’t need fancy supplies or professional scrapbooking skills to create that cozy, vintage vibe. You just need a simple base, a few “old-world” textures, and a repeatable layout you can stick to without overthinking.
Pick Your Vintage Style (So the Album Feels Cohesive)
Before you glue anything down, choose a “vintage lane.” This keeps your album from turning into a random pile of cute stuff.
Easy vintage vibe options
- Cottage vintage: lace, florals, soft cream tones, botanical papers
- Old-library vintage: browns, sepia photos, book pages, wax seals
- Retro travel: postcards, maps, ticket stubs, stamps
- Film-camera vintage: black corners, grainy prints, muted colors
Quick rule: pick 2–3 main colors (like cream + brown + dusty rose) and repeat them on every page.
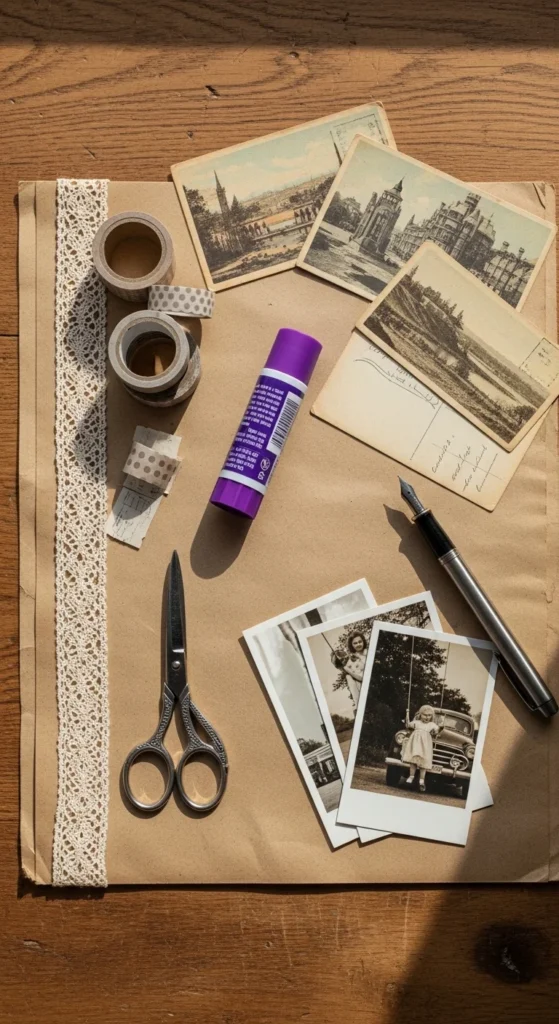
Gather Supplies You Probably Already Have
You can go simple or extra. The goal is texture + layering, not expensive materials.
Album base options
- Blank scrapbook album (easiest)
- Ring binder + cardstock pages (most flexible)
- Handmade stitched notebook (most aesthetic)
Must-haves
- Printed photos (matte looks more vintage than glossy)
- Scissors + glue stick or double-sided tape
- Kraft paper, old paper, or cardstock
- A pen for tiny notes (optional)
Vintage “texture boosters”
- Lace scraps or ribbon
- Old book pages or sheet music (thrift stores are gold)
- Brown paper bags, envelopes, or wrapping paper
- Washi tape in neutral tones
- Tea bags + sponge (for aging paper)
Prep Your Photos for That Warm, Aged Look
This step is where the vibe really happens.
3 easy ways to make photos feel vintage
- Print with a warm filter: slightly faded, warm tones, lowered contrast
- Choose matte paper: it instantly looks more “old album”
- Mix sizes: include a few tiny prints like polaroids or film strips
Bonus idea: print a few “filler” images too like a café shot, flowers, street signs, or sky photos. These make pages feel cinematic.
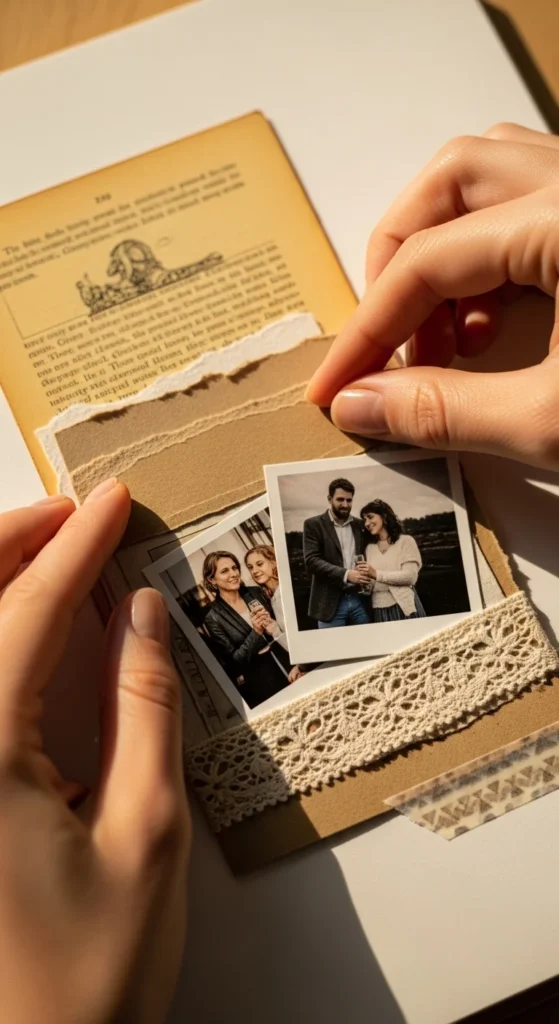
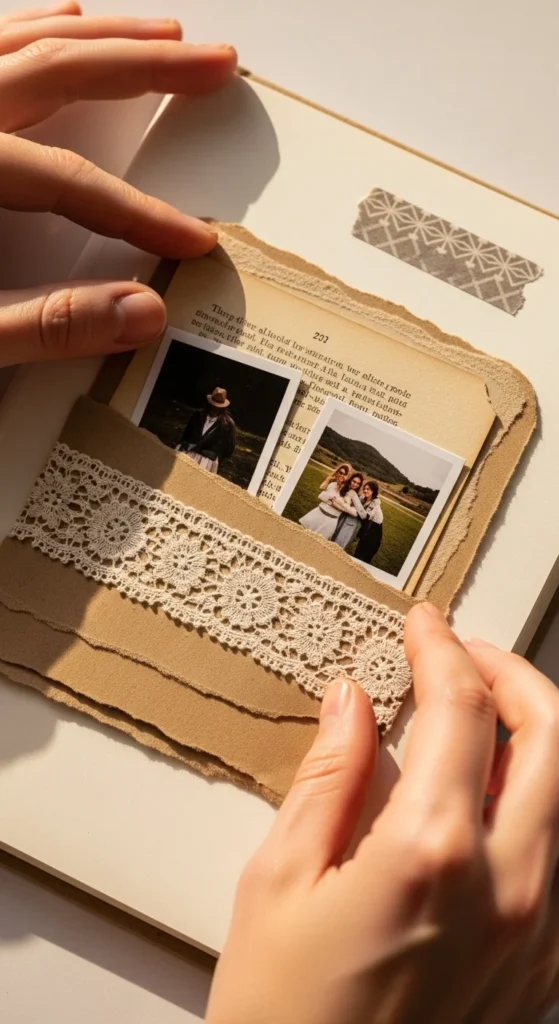
Create Vintage Pages With a Simple 3-Layer Formula
If you’ve ever started scrapbooking and then froze like, “What do I do first?”—this is your cure.
The 3-layer formula (use it on every page)
- Base layer: one large paper piece (kraft, old book page, floral cardstock)
- Photo layer: 1–3 photos, slightly overlapped
- Detail layer: small accents (lace, tickets, stamps, tiny tags)
Fast layout ideas
- One big photo + two tiny photos
- Two photos stacked with torn paper behind
- A mini “gallery” of four small prints
Pro tip: tear paper edges instead of cutting straight lines. Torn edges scream vintage.
Add “Found Object” Details Without Making It Messy
Vintage albums feel special because they look like a memory box of little pieces collected over time. But it can get chaotic fast, so keep it intentional.
Best vintage add-ins
- Ticket stubs, receipts, café napkins (clean ones!)
- Postcards or envelopes (even blank)
- Pressed flowers (real or faux)
- Small tags made from cardstock
- Faux stamps or stamp-like stickers
How to keep it clean
- Use one statement item per page (like a postcard OR lace, not ten things)
- Repeat the same element every 3 to 4 pages (same ribbon, same tape style)
- Leave breathing space blank space makes everything look more “designed”
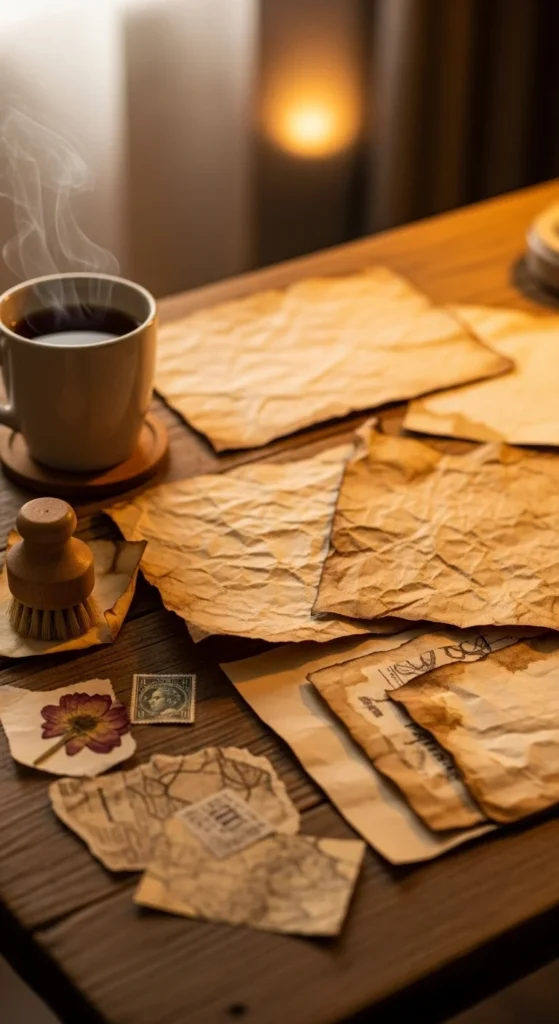
Age Paper the Easy Way (Tea-Stain Trick)
Want instant antique vibes? Tea-staining is the quickest upgrade.
Tea-stain method
- Brew strong black tea and let it cool.
- Dab the tea onto paper with a sponge or brush.
- Let it dry fully (it warps a bit—that’s the charm).
- Lightly crumple and flatten for texture.
Use tea-stained paper for
- Photo mats (the frame behind photos)
- Tiny journal cards
- Folded mini letters tucked into pages
Make It Feel Like a Story, Not Just a Scrapbook
This is the part that makes people feel something when they flip through.
Easy storytelling tricks
- Arrange photos in mini “scenes” (arrival → moment → detail)
- Add one tiny note per page:
- a date
- a place
- one sentence (“We laughed so hard here.”)
- Use repetition:
- same corner style
- same border color
- same paper type every few pages
If you don’t want to write:
Use symbols instead like a tiny heart sticker, a flower, or a wax seal.
Finishing Touches That Make It Look Boutique
These small details give the “handmade but expensive” look.
Quick upgrades
- Add photo corners (real or drawn)
- Tie a ribbon around the album spine
- Ink the page edges lightly with brown marker
- Add a vellum sheet between sections
- Use a simple “title page” made of one vintage paper layer
Final Takeaway
A vintage DIY photo album isn’t about perfection, it’s about texture, warmth, and repetition. Once you choose a style, stick to a simple layering formula, and add a few “found” details, your album starts looking like it belongs in a cozy attic trunk full of memories.
Save this idea for later, print a few favorite photos, and make one page today. You’ll thank yourself every time you flip through it.

Lily Summers is a digital artist and creative storyteller who loves bringing colorful characters to life. With a passion for cartoons, fan art, and playful sketches, she inspires others to explore their imagination through art. When she’s not sketching, you’ll find her dreaming up new ideas for CraftedWizard.com to spark creativity in every artist. 🌈✨


