Nothing transforms a party quite like soft, glowing light. Paper lanterns instantly add warmth, magic, and atmosphere whether you’re hosting a backyard dinner, birthday party, or cozy evening celebration. The best part? You can make stunning glowing paper lanterns at home with simple supplies and a little creativity.

These DIY lanterns are affordable, customizable, and surprisingly easy to make—even if you’re not “crafty.” Let’s walk through the process step by step.
Why Paper Lanterns Are Perfect for Parties
Paper lanterns work for almost any theme or occasion. They’re lightweight, flexible in style, and create instant visual impact.
Here’s why they’re a party favorite:
- Soft, flattering light
- Easy to customize colors and patterns
- Budget-friendly compared to store décor
- Reusable for future events
They also photograph beautifully, which makes them especially popular for Pinterest-style setups.
Supplies You’ll Need
Before you begin, gather your materials. Most are easy to find or already at home.
Basic supplies:
- Colored or white paper (tissue paper, cardstock, or construction paper)
- Scissors or craft knife
- Glue or double-sided tape
- Ruler and pencil
- LED tealights or fairy lights (never real candles)
Optional extras:
- Hole punch
- String or wire for hanging
- Stickers, cutouts, or paint for decoration

Safety tip: Always use LED lights. Real flames are not safe for paper lanterns.
Step 1: Choose Your Lantern Style
Before cutting anything, decide what type of lantern you want.
Popular styles include:
- Classic cylinder lanterns – simple and elegant
- Folded lanterns – textured and modern
- Round hanging lanterns – playful and festive
For beginners, the classic cylinder lantern is the easiest place to start.
Step 2: Cut and Prepare the Paper
Take one sheet of paper and follow these steps:
- Place it horizontally on a flat surface
- Measure and mark about 1 inch from the top edge
- Draw evenly spaced vertical lines from the bottom up to that mark
- Cut along the lines carefully
Once cut, gently roll the paper into a tube shape and secure the edges with glue or tape.

When you gently push the top and bottom toward each other, the lantern shape begins to form.
Step 3: Create the Lantern Shape
Now it’s time to bring your lantern to life.
- Press the top and bottom inward slightly
- Adjust until the lantern has a rounded shape
- Secure the top and bottom with a small strip of paper or glue
Don’t worry if it’s not perfect—slight variations add handmade charm.
If you want handles, punch two holes near the top and thread string or wire through.
Step 4: Add the Glow
This is the moment where everything comes together.
- Place an LED tealight inside the lantern
- Or wrap a short strand of fairy lights inside
- Secure the light so it doesn’t move around
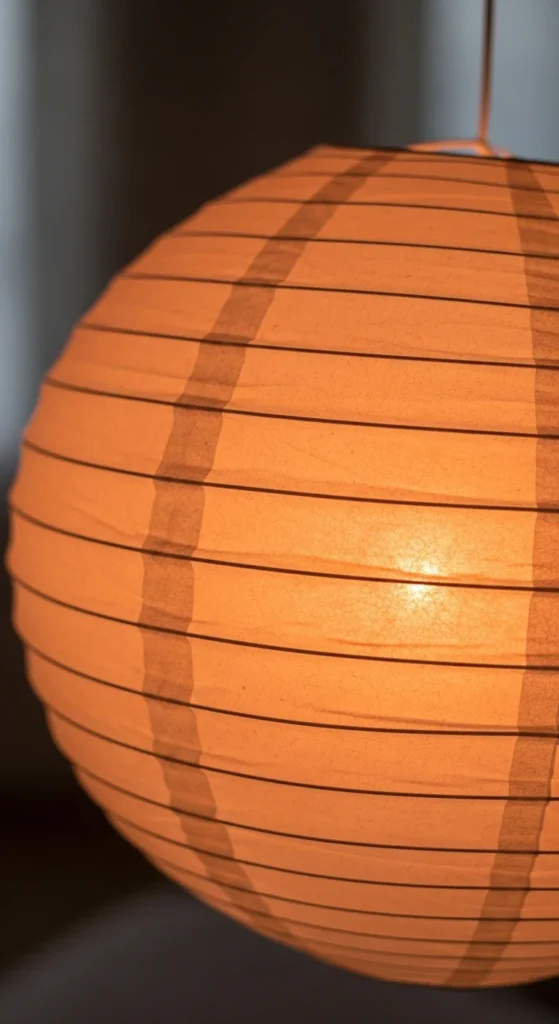
Turn off the room lights briefly to check the glow and adjust placement if needed.
Step 5: Decorate to Match Your Party Theme
This step is optional, but it’s where your lanterns become truly custom.
Decoration ideas:
- Cut shapes like stars, hearts, or leaves
- Add light brush strokes of paint
- Layer tissue paper for a stained-glass effect
- Keep them plain for a minimalist look
For outdoor parties, neutral tones look elegant. For birthdays or holidays, bold colors pop beautifully.
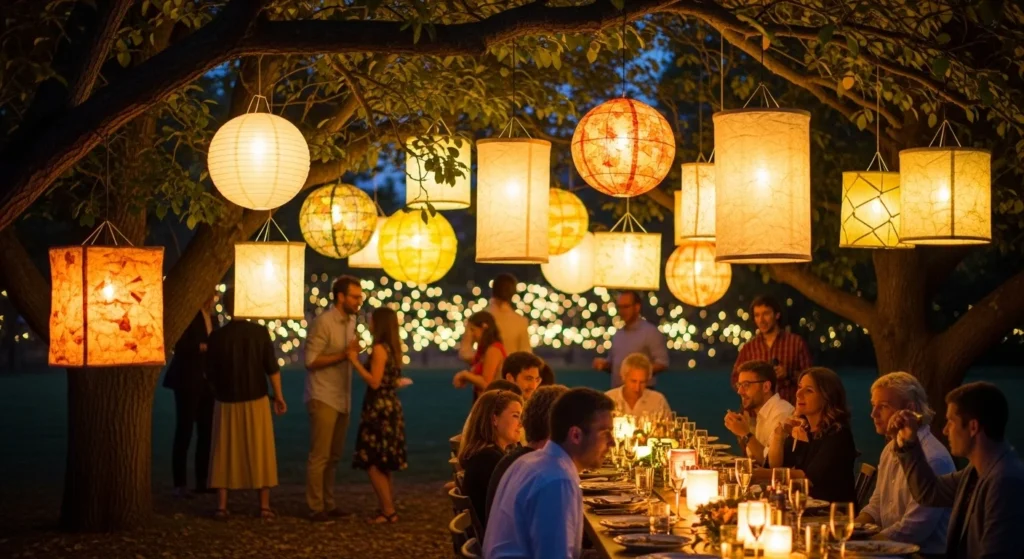
Hanging and Display Ideas
Where you place your lanterns matters just as much as how you make them.
Great display options:
- Hang from tree branches or pergolas
- String along fences or railings
- Cluster at different heights for drama
- Place on tables as glowing centerpieces
Use fishing line or thin string if you want them to appear like they’re floating.
Tips for Making Lanterns Look Professional
A few small details can elevate your DIY lanterns.
Keep in mind:
- Use consistent paper sizes
- Stick to a limited color palette
- Space hanging lanterns evenly
- Test lighting before the event
Making a few extra lanterns is always a good idea—you’ll likely want more once you see how good they look.
Make It a Fun Group Activity
Lantern crafting is perfect for:
- Pre-party prep with friends
- Kids’ party activities
- Family craft nights
Set up a simple station with supplies and let everyone create their own design. The result is décor that feels personal and joyful.
Final Takeaway
Glowing paper lanterns are one of the easiest ways to transform a party space from ordinary to magical. With simple supplies, safe lighting, and a little creativity, you can craft décor that feels warm, festive, and unforgettable.
Save this guide for your next celebration—and let your parties glow.

Lily Summers is a digital artist and creative storyteller who loves bringing colorful characters to life. With a passion for cartoons, fan art, and playful sketches, she inspires others to explore their imagination through art. When she’s not sketching, you’ll find her dreaming up new ideas for CraftedWizard.com to spark creativity in every artist. 🌈✨