
If you’ve ever looked around your room and thought, “Why does everything look messy even when I just cleaned?” it’s usually not a cleaning problem. It’s a storage problem. And the secret to instant “put-together” spaces is simple: matching storage boxes that hide the visual noise.
The fun part? You can make them yourself from cardboard—cheap, sturdy, and surprisingly stylish when you finish them the right way.
Choose the Right Cardboard (So Your Boxes Don’t Sag)
Not all cardboard is built for storage. If you use thin cereal-box cardboard for a big bin, it’ll bow fast. Start with a strong base and you’ll get a box that actually lasts.
Best cardboard sources
- Shipping boxes (Amazon-style): strongest for medium and large boxes
- Product packaging boxes: often thick and clean-looking
- Chipboard sheets (optional): amazing for reinforcing walls and lids
Quick test
- If you can bend it easily with two fingers, it’s best for small boxes only.
- If it holds its shape when you squeeze the sides, it’s storage-worthy.
Tip: If you want a luxury feel, combine shipping cardboard + a chipboard lining on the inside walls.
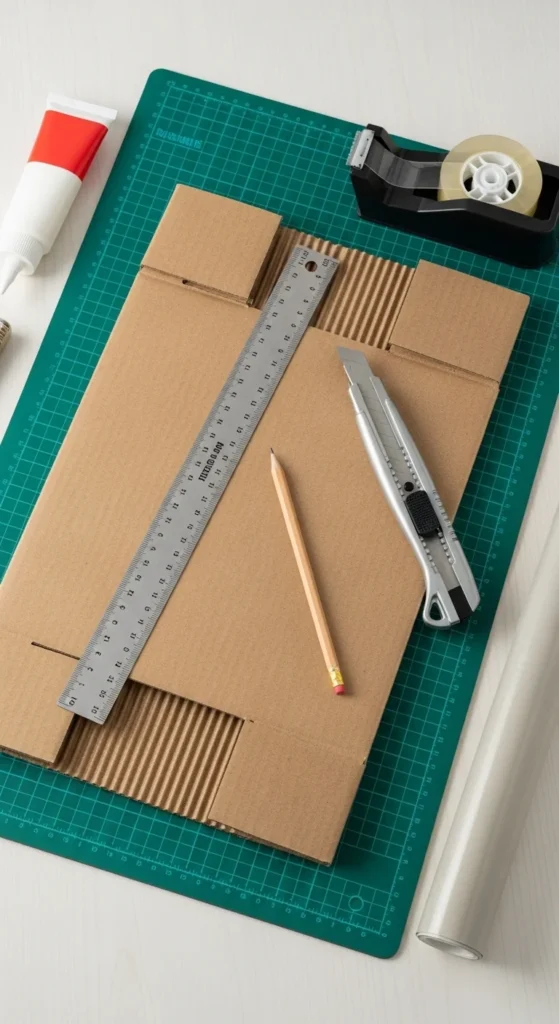
Tools and Materials You’ll Need (Simple, Beginner-Friendly)
You don’t need a full craft room—just a few basics to get clean lines.
Must-haves
- Cardboard
- Metal ruler
- Pencil
- Craft knife/utility knife + cutting mat
- Glue stick + white glue (or strong double-sided tape)
Nice-to-have upgrades
- Bone folder (or an empty pen) for scoring
- Binder clips/clamps (for holding corners while drying)
- Contact paper or wallpaper sample (for an instant “store-bought” finish)
The Easiest Build Method: One-Sheet Tray Box (No Template Needed)
This method is beginner-friendly because the box is made from one piece, and the sides fold up cleanly.
Step 1: Pick your finished box size
Decide what the box will store. Examples:
- Small: cables, skincare, socks
- Medium: books, notebooks, pantry items
- Large: blankets, toys, seasonal stuff
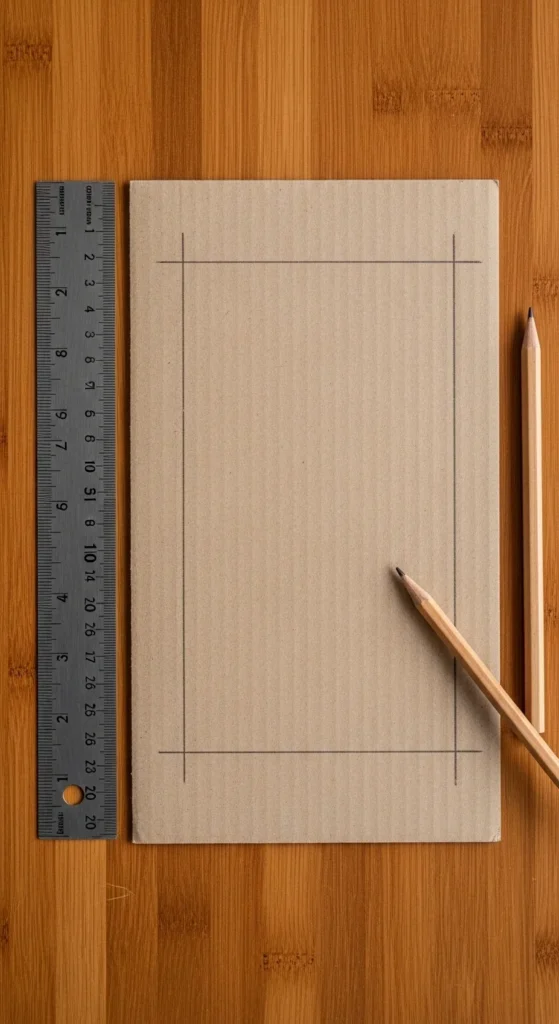
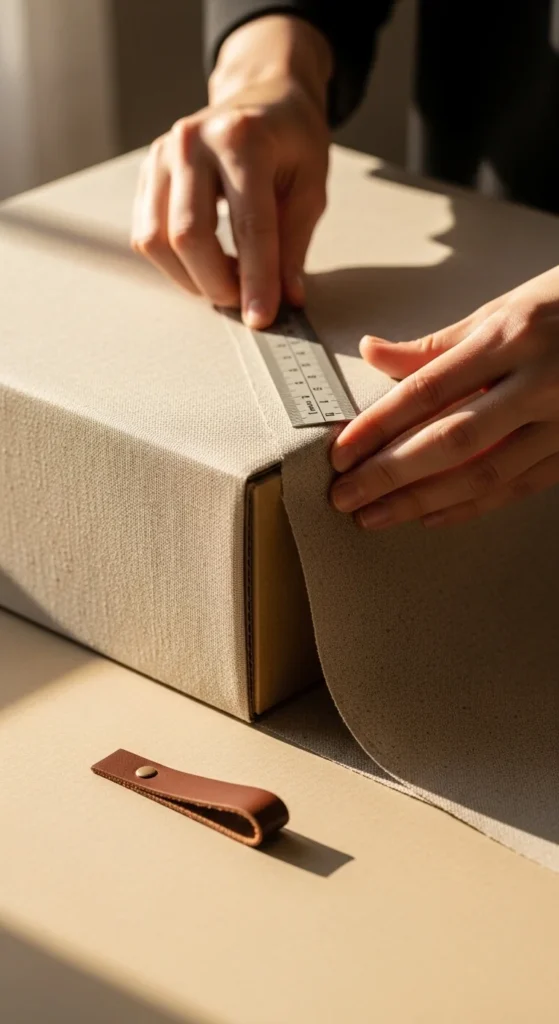
Step 2: Use the “ruler-width” sizing hack for depth
Instead of complicated math, choose a wall depth like:
- 5 cm / 2 inches for medium boxes
- 7–10 cm / 3–4 inches for deeper storage
Then:
- Mark that depth from all four edges of your cardboard sheet.
- Draw the inner rectangle (this is your base).
- The border becomes your walls.
Step 3: Score, don’t guess
Score all fold lines before folding. It’s the difference between “homemade” and “professional.”
Cut, Fold, and Secure the Corners (Clean Corners = Stylish Look)
Now you’ll turn it into a real box.
Step 1: Cut corner squares
Cut along your border lines up to the base rectangle so you can fold the walls up. Remove the small corner squares.
Step 2: Fold up the walls
Fold along the scored lines so the sides stand up straight.
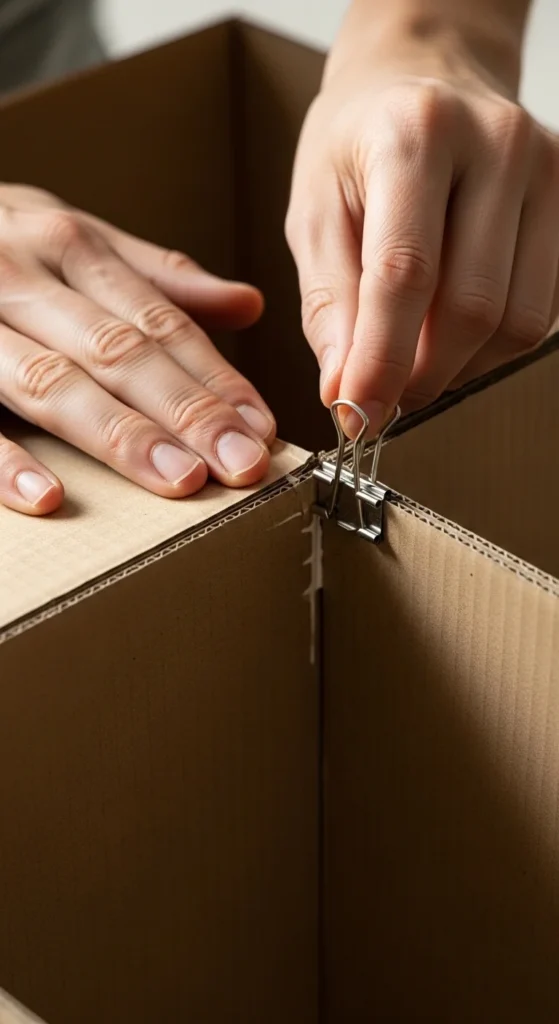
Step 3: Choose your corner fastening style
Option A: Glue (best finish + strongest)
- Apply white glue to the flap
- Press and hold
- Use clips while it dries
Option B: Tape (fastest for batches)
- Tape inside seams for a clean exterior
- Reinforce outside corners if it will hold heavy items
Pro tip: Avoid hot glue for clean boxes. It creates bumps and makes fabric/paper wraps look lumpy.
Make It Stronger: Reinforce Like a “Luxury” Storage Box
If your box will hold heavier things (books, pantry jars, tools), reinforce it. This takes 10 minutes and adds months of life.
Easy reinforcement upgrades
- Double wall method: cut extra strips and glue them inside each wall
- Chipboard lining: add chipboard strips to make rigid sides
- Base support: glue an extra cardboard rectangle to the bottom
Quick strength rule
- Reinforce corners + bottom first. That’s where boxes fail.
Add a Lid (So It Looks Store-Bought on Shelves)
A lid instantly makes your box look intentional.
Easy lid method
- Make a second tray box using the same steps
- Make it slightly larger:
- Add 2–3 mm to each side measurement
- Or increase your border depth slightly
Best lid styles
- Lift-off lid: cleanest for shelves
- Hinged lid: best for frequently used items
Make It Stylish: Wrapping and Finishing Tricks
This is where cardboard transforms into “Pinterest storage.”
Best wrap materials
- Contact paper (fastest, cleanest)
- Wallpaper samples (looks expensive)
- Fabric + glue (cozy, linen vibe)
- Kraft paper + ribbon (minimal, modern)
How to wrap cleanly
- Wrap the outside first, then the inside
- Fold corners like you’re wrapping a present
- Press edges flat with a ruler for crisp lines
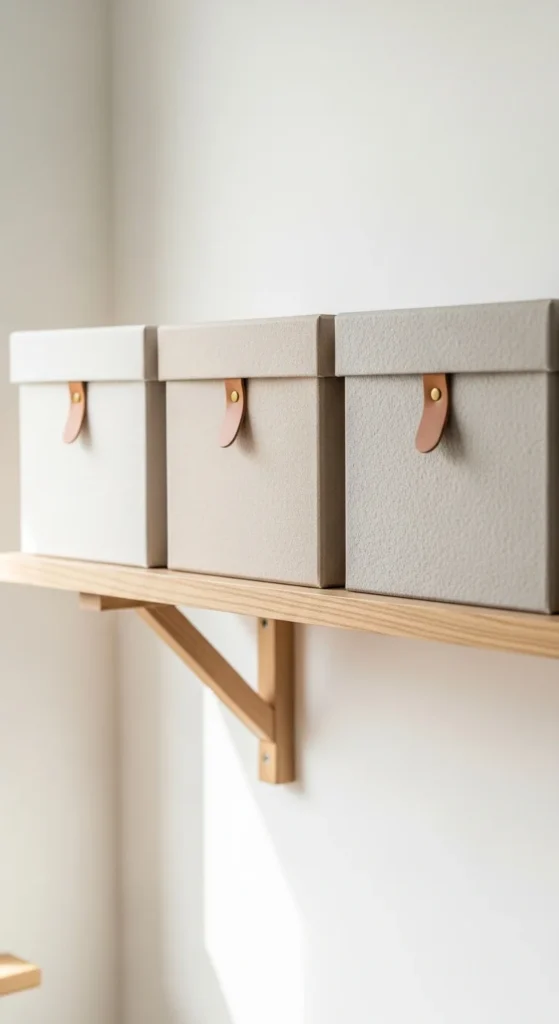
Add one “premium” detail
- Leather pull tab (from an old belt)
- Simple ribbon handle
- Brass label holder (optional)
- Rope handles (great for bigger boxes)
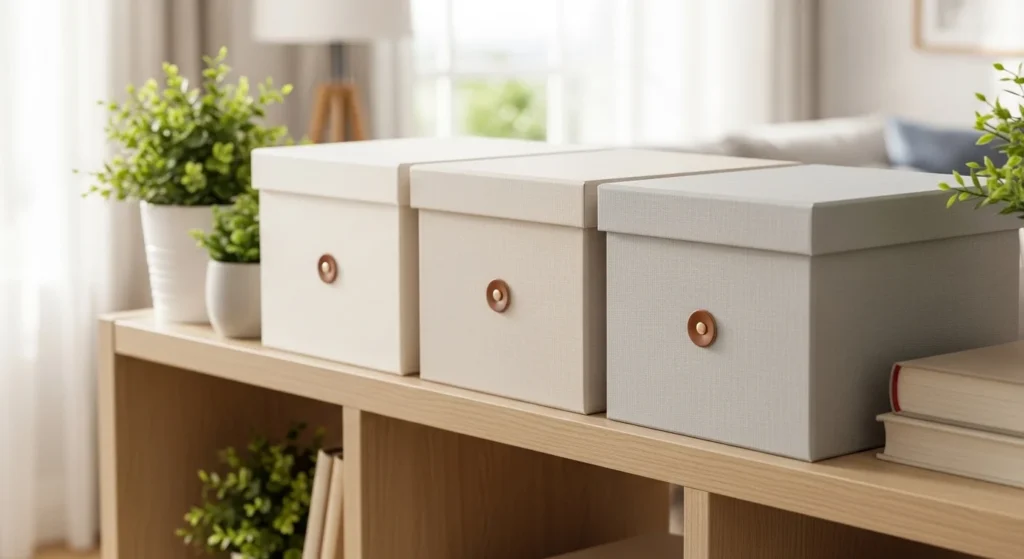
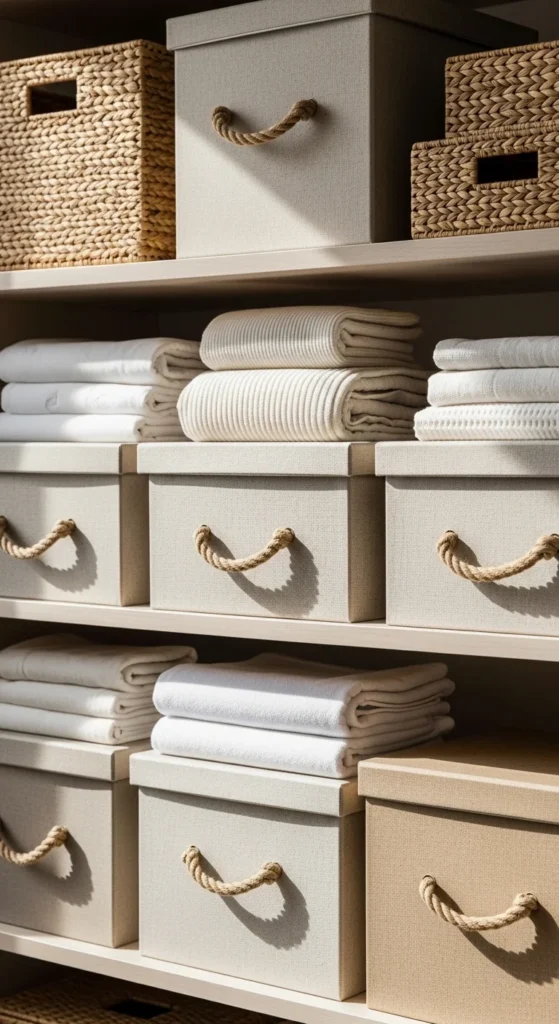
Styling Ideas: Make Them Look Like a Matching Set
Even if you’re using mixed cardboard, a consistent finish makes it look like a coordinated collection.
Easy styling themes
- All neutral (cream, beige, kraft)
- Matte black + wood handles
- White marble contact paper + gold accents
- Soft pastel fabric wraps for nursery or craft rooms
Shelf styling tip
- Make 3 boxes the same size for a “clean grid” look.
- Add 1 slightly larger box below for visual balance.
Final Takeaway
Stylish storage doesn’t have to be expensive. With sturdy cardboard, clean scoring, reinforced corners, and a good wrap, you can build storage boxes that look store-bought and keep your space calm and organized.

Lily Summers is a digital artist and creative storyteller who loves bringing colorful characters to life. With a passion for cartoons, fan art, and playful sketches, she inspires others to explore their imagination through art. When she’s not sketching, you’ll find her dreaming up new ideas for CraftedWizard.com to spark creativity in every artist. 🌈✨


