
Ever dreamt of having a jewelry box that’s not only stylish but perfectly organized for all your rings, necklaces, and earrings? Instead of buying a standard store-bought box, why not build your own DIY jewelry box that’s tailored to your collection? It’s easier than you think, budget-friendly, and a fun weekend project that gives you a beautiful, functional piece for your dresser.
With compartments for every type of jewelry and a finish you can customize, your DIY jewelry box will be as unique as your style. Let’s break it down step by step.
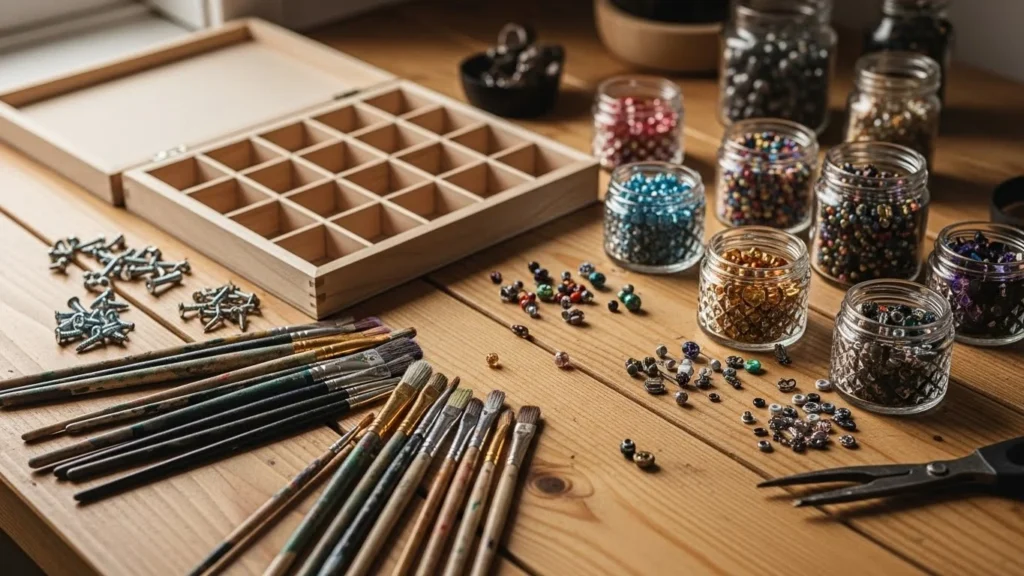
Gather Your Materials and Tools
Before you start, having the right supplies makes building your jewelry box smooth and enjoyable.
You’ll need:
- Wooden boards (plywood or MDF)
- Wood glue and nails or small screws
- Sandpaper (medium and fine grit)
- Hinges (if adding a lid)
- Paint or wood stain
- Brushes or rags for finishing
- Felt or fabric (for lining compartments)
- Pencil, ruler, and measuring tape
Optional extras:
- Decorative knobs or handles
- Small partitions or dividers
- Clear acrylic sheets for see-through lids
Budget tip:
Repurpose leftover wood or old boxes for parts of your jewelry box.
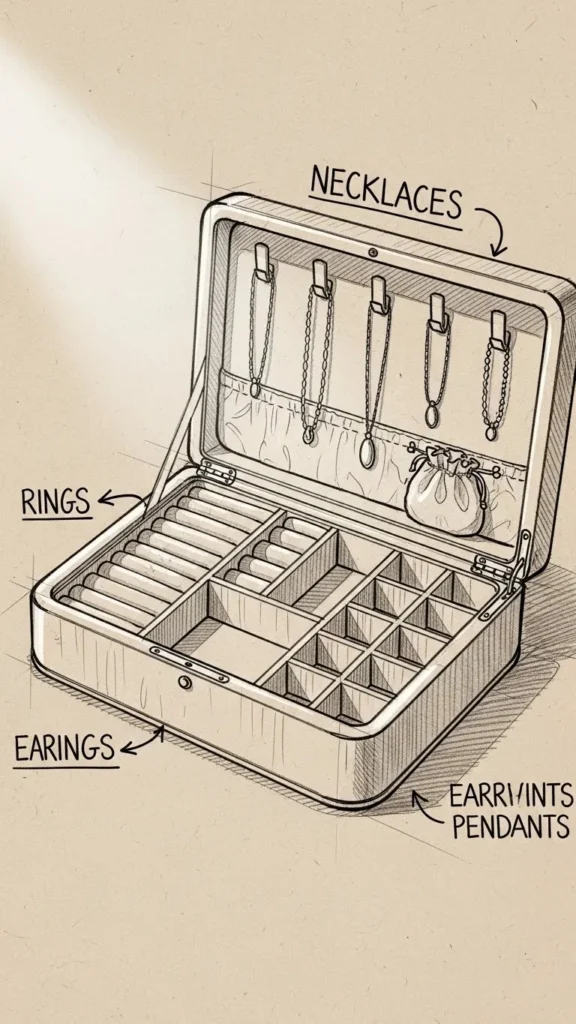
Plan Your Jewelry Box Design
Before cutting or gluing, sketch your design. Planning is key for functional compartments.
Consider:
- Size – How much jewelry do you have?
- Compartments – Separate spaces for rings, earrings, necklaces, bracelets
- Stacking – Do you want drawers, trays, or open sections?
- Lid – Hinged, sliding, or removable
Tip: Start simple with one large box and internal dividers. You can always add trays later.
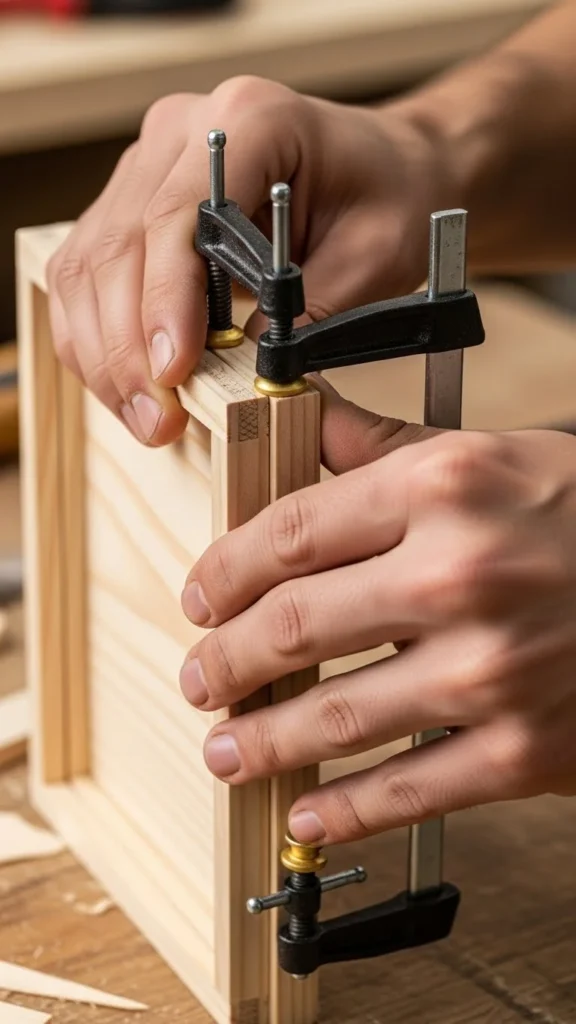
Cut and Assemble the Base Box
Once your plan is ready, cut the wooden boards to size. Accuracy matters here to ensure everything fits snugly.
Steps:
- Cut the bottom, sides, and top pieces.
- Sand edges to smooth rough spots.
- Apply wood glue to joints and assemble the base box.
- Reinforce with small nails or screws if needed.
Pro tip:
Clamp the pieces while the glue dries for stronger joints.
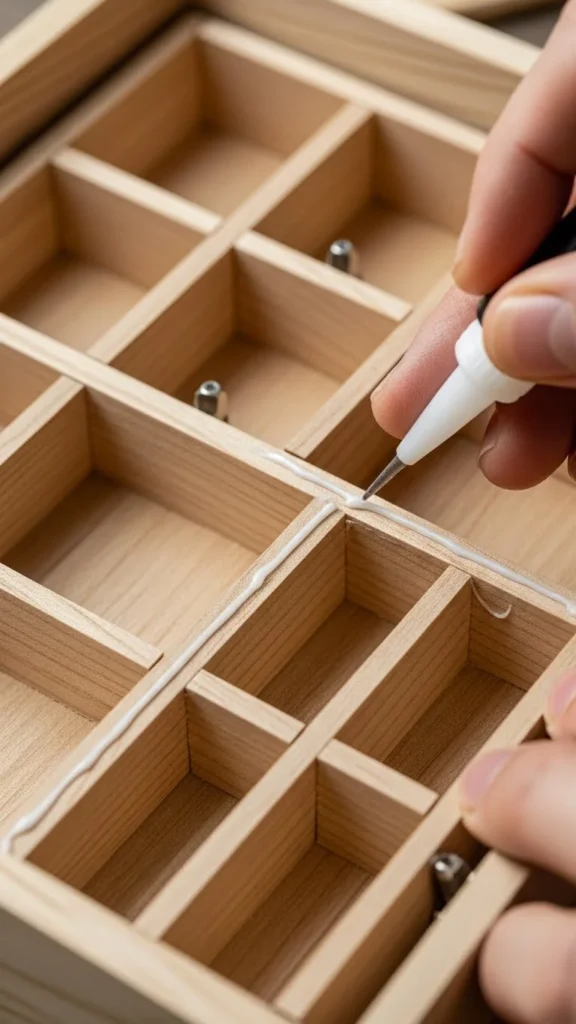
Add Compartments and Dividers
Now for the fun part: creating compartments for your jewelry.
Options:
- Use thin wooden strips to make dividers
- Customize sizes for rings, earrings, or bracelets
- Glue and secure firmly
- Sand edges for a polished look
Tip: For necklaces, consider a small section with hooks or a raised divider to prevent tangling.
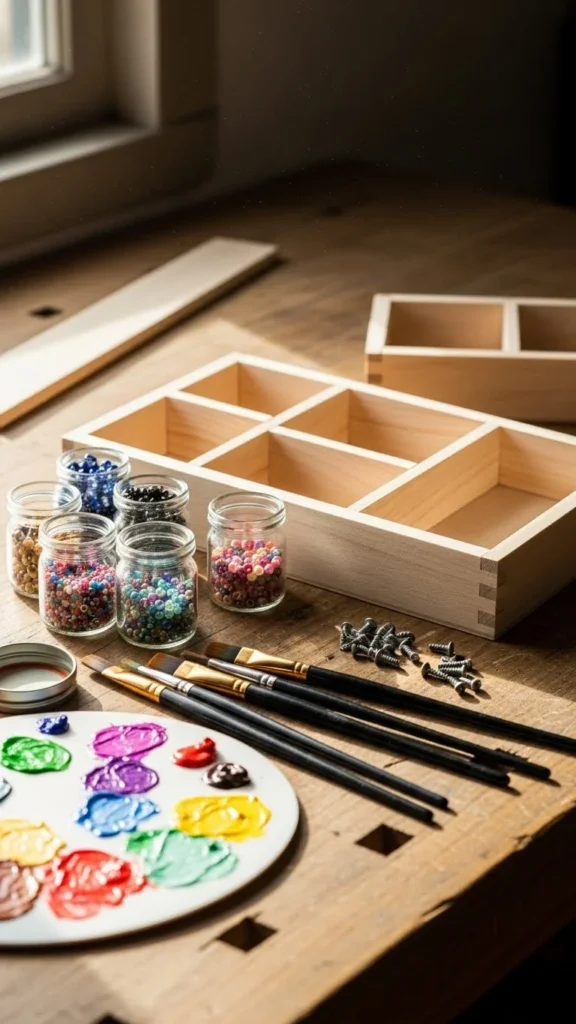
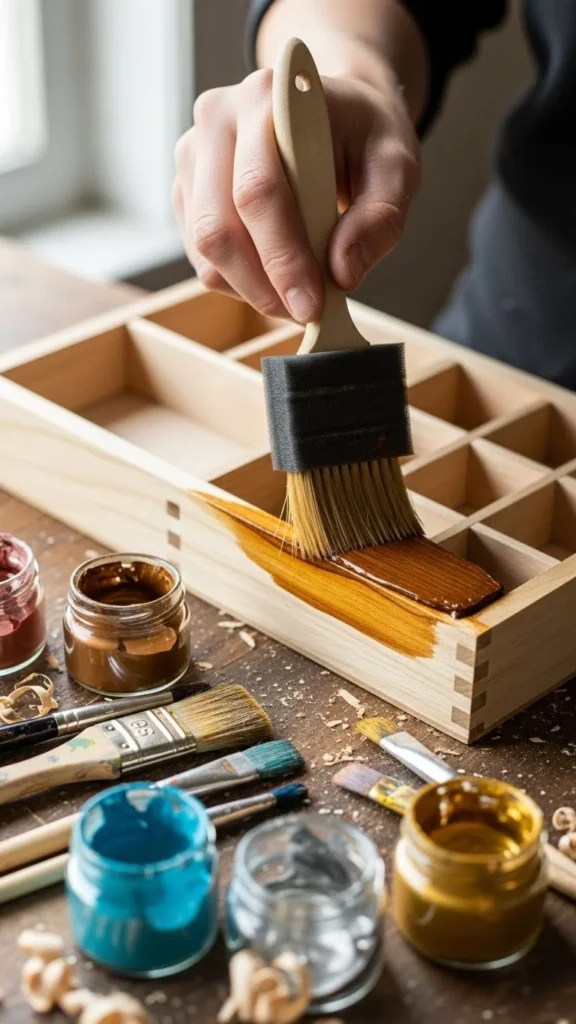
Finish and Decorate
Once the structure is solid, it’s time to make it beautiful and smooth.
Finishing steps:
- Sand the entire box with fine-grit sandpaper
- Wipe dust off with a damp cloth
- Paint, stain, or varnish as desired
- Allow to dry completely
Optional décor:
- Add felt or fabric lining to compartments
- Attach small decorative knobs
- Personalize with hand-painted designs or decals
Add the Lid and Final Touches
If your box has a lid:
- Attach hinges securely
- Check that the lid opens and closes smoothly
- Consider a magnetic closure or clasp
Final details:
- Line the lid underside with fabric
- Double-check compartments for secure placement
- Clean off any excess glue or paint
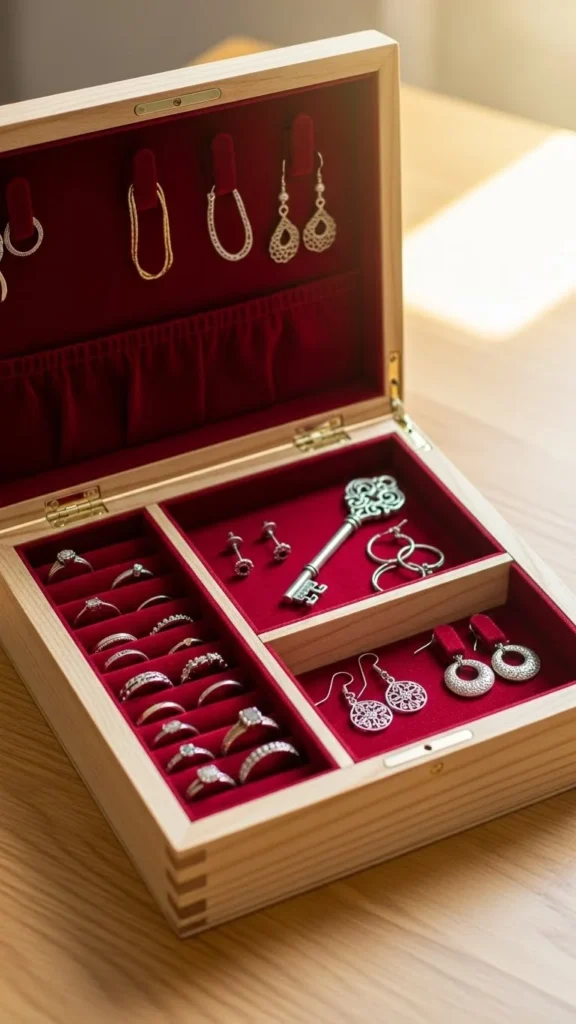
Organize and Enjoy Your Handmade Jewelry Box
Your jewelry box is now ready to use! Organize by type, color, or occasion. Not only will your jewelry be tangle-free, but your dresser will instantly look more organized and stylish.
Pro tip:
- Use small trays or bowls for rings and studs
- Roll bracelets or chains to prevent tangles
- Update compartments as your collection grows
Final Takeaway
Building a DIY jewelry box with compartments is a fun, creative project that results in a functional and stylish home accessory. You get complete control over the design, materials, and finishing touches making it truly yours.
Save this guide and start crafting your perfect jewelry box today!

Lily Summers is a digital artist and creative storyteller who loves bringing colorful characters to life. With a passion for cartoons, fan art, and playful sketches, she inspires others to explore their imagination through art. When she’s not sketching, you’ll find her dreaming up new ideas for CraftedWizard.com to spark creativity in every artist. 🌈✨


