
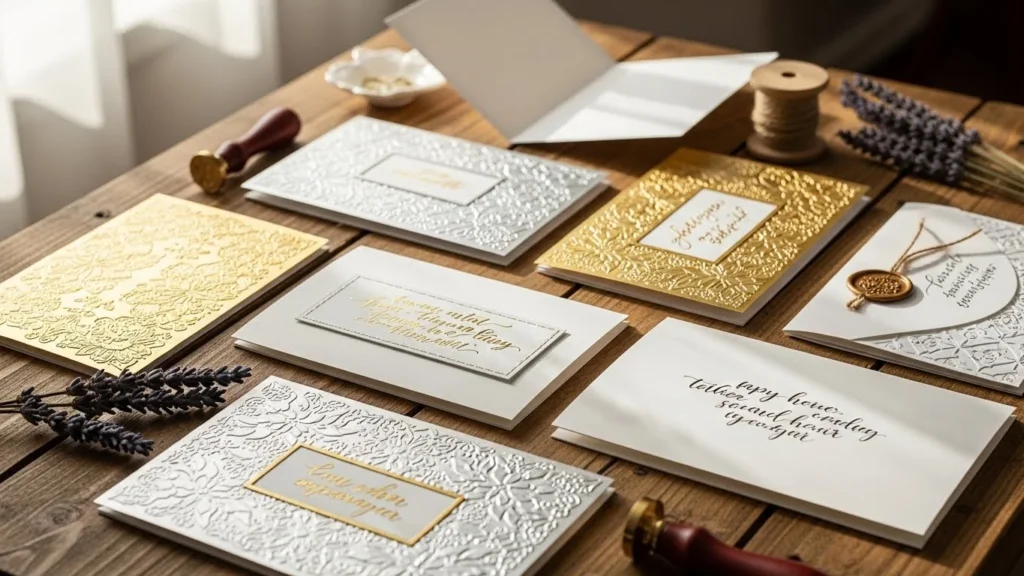
Ever picked up a greeting card or product label and instantly noticed the shine? That subtle raised metallic detail has a way of making even simple paper feel special. The good news is you don’t need a studio, fancy machines, or a big budget to get that look. Metallic embossing is very doable at home, even if you’re new to crafting.
This guide walks you through clear, beginner-friendly ways to add metallic embossing to cards and labels. Think practical steps, affordable supplies, and realistic results you can enjoy right away.
What Is Metallic Embossing?
Metallic embossing is a technique that creates raised, shiny designs on paper. It works by melting metallic powder or pressing textured materials into the surface.
You’ll often see it used on:
- Greeting cards
- Wedding invitations
- Gift tags
- Product labels
- Scrapbook pages
The appeal comes from two things:
- Texture you can feel
- Metallic shine that catches light
Both are possible with basic tools.
Basic Supplies You’ll Need
You don’t have to buy everything at once. Start small and build over time.
Common supplies include:
- Cardstock or label paper
- Clear embossing ink or glue pen
- Metallic embossing powder (gold, silver, copper)
- Heat tool (or careful alternative)
- Rubber stamps or stencils
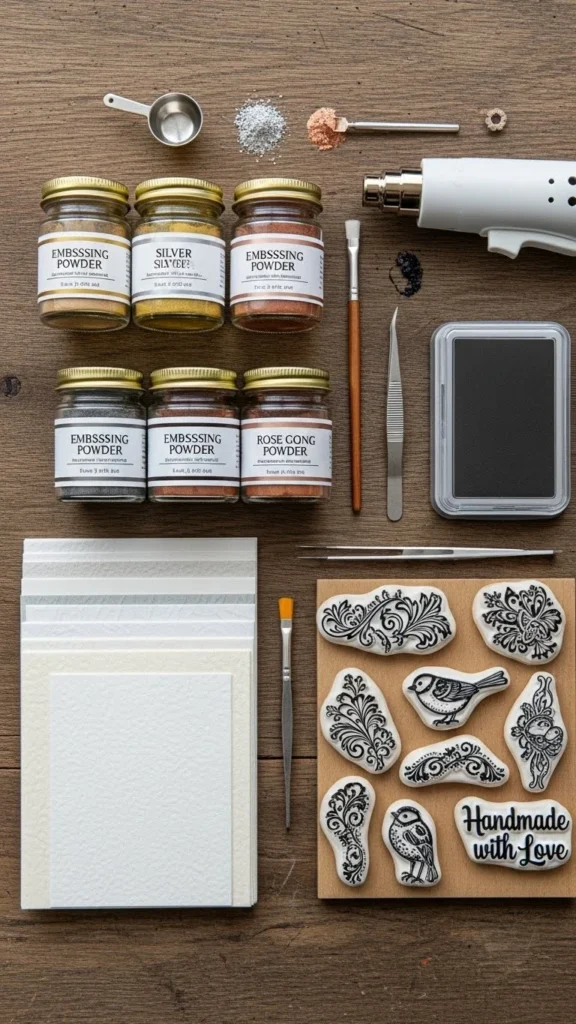
Budget tip: Small embossing powder jars last surprisingly long. One metallic color can cover dozens of projects.
Method 1: Heat Embossing With Metallic Powder
This is the most popular method and a great starting point.
Step-by-step:
- Stamp your design using clear or sticky embossing ink.
- Sprinkle metallic embossing powder over the ink.
- Tap off excess powder onto a scrap paper.
- Apply heat until the powder melts and turns shiny.
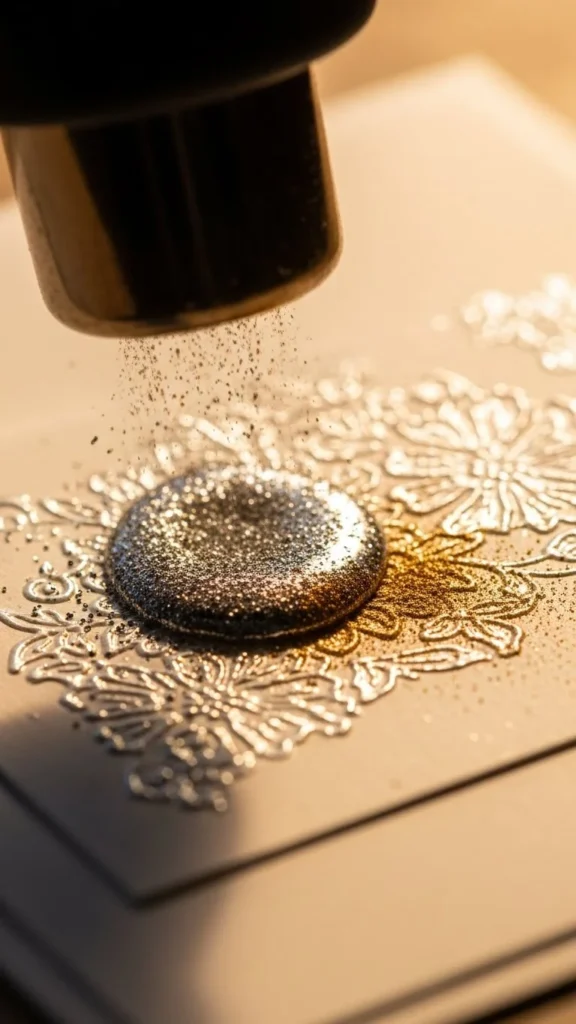
Helpful tips:
- Keep the heat moving to avoid scorching.
- Stop heating once the shine appears.
- Let the paper cool before touching.
DIY example: Emboss a small icon or border instead of full text for cleaner results.
Method 2: Using Metallic Ink Pads for Light Texture
If you want shine without heat, metallic ink pads work well.
How it works:
- Stamp directly onto cardstock using a metallic ink pad.
- Allow the ink to dry fully before handling.
This creates:
- Light shine
- Very subtle raised feel
Best for:
- Minimal labels
- Flat cards
- Quick projects
Budget tip: Silver ink stands out on both light and dark paper, making it more flexible.
Method 3: Foil Embossing With Adhesive
Foil adds strong shine and works without heat.
How to do it:
- Apply adhesive using a glue pen or adhesive sheet.
- Place metallic foil over the sticky area.
- Press firmly and peel away slowly.
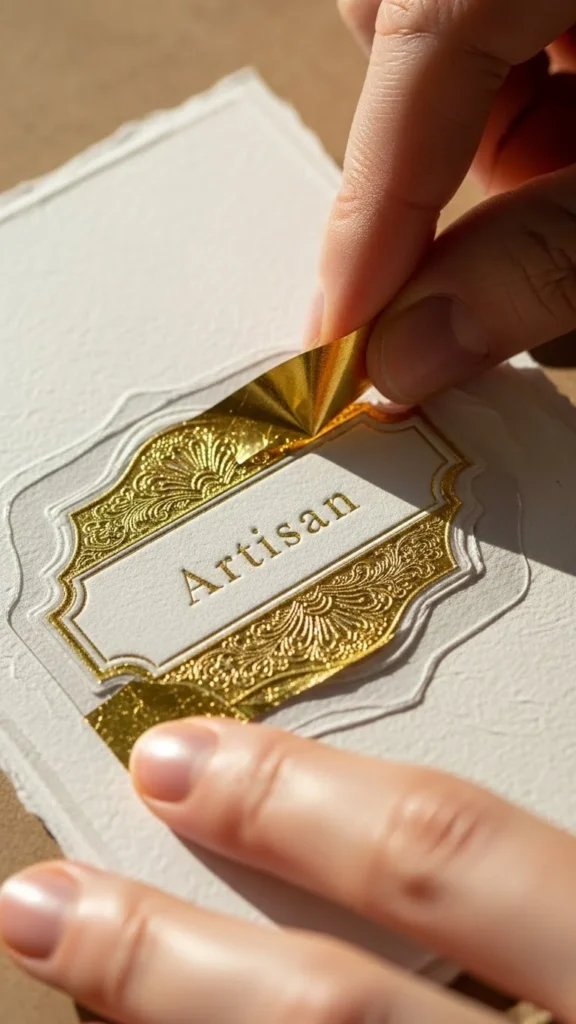
DIY idea: Hand-draw thin borders around labels. Slight imperfections still look artistic.
This method works well for:
- Product labels
- Gift tags
- Small batch projects
Method 4: Faux Embossing With Pressure
No powders. No heat. Just pressure.
What you’ll need:
- Metallic cardstock
- A blunt tool (bone folder or empty pen)
- Soft surface like a mouse pad
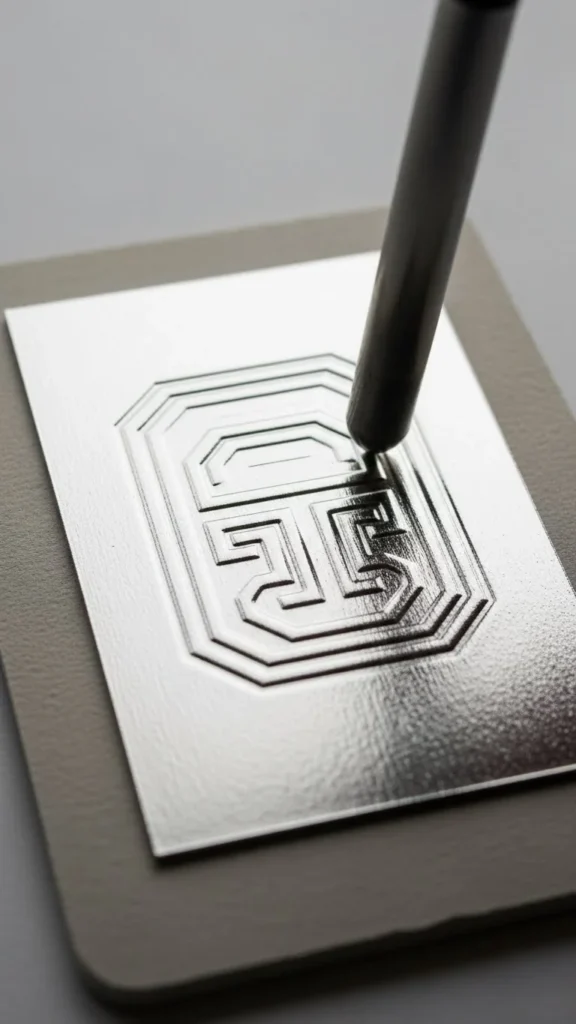
Steps:
- Place paper face down.
- Trace your design firmly from the back.
- Flip over to reveal raised metallic lines.
This works best for:
- Simple shapes
- Frames
- Line art
It’s quiet, clean, and great for relaxed crafting sessions.
Tips for Cleaner Results
Keep these simple habits in mind:
- Use thicker paper to avoid warping
- Test designs on scraps first
- Stick to simple shapes when starting
- Work slowly with heat and adhesives
Small steps often give the best-looking results.
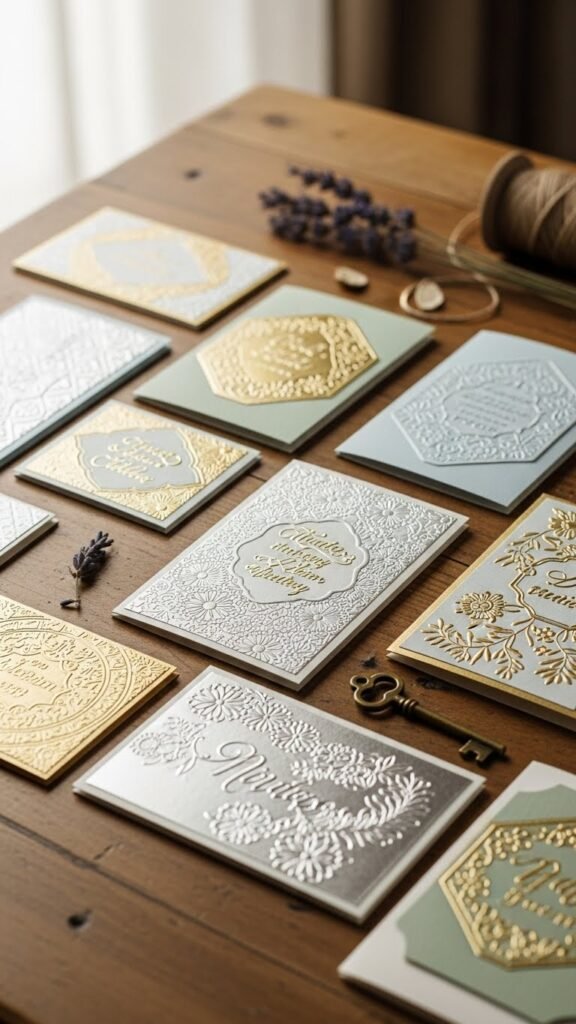
Where Metallic Embossing Shines Most
Metallic embossing stands out on:
- Dark cardstock
- Matte paper
- Minimal designs
Try pairing shiny embossing with plain backgrounds for contrast. Less detail often looks better.
Final Thoughts
Metallic embossing adds texture, shine, and personality to cards and labels without making things complicated. With a few affordable tools and some practice, you can create pieces that feel thoughtful and polished.
Start with one method. Experiment on scraps. Enjoy the process.
Save this guide for later, grab your supplies, and try adding a little shine to your next project ✨

Lily Summers is a digital artist and creative storyteller who loves bringing colorful characters to life. With a passion for cartoons, fan art, and playful sketches, she inspires others to explore their imagination through art. When she’s not sketching, you’ll find her dreaming up new ideas for CraftedWizard.com to spark creativity in every artist. 🌈✨


