Scrapbooking is one of the easiest ways to preserve memories while getting creative with paper, photos, and simple decorative touches. You don’t need expensive tools or artistic skills to make pages that look polished. Beginners often get the best results by focusing on clean layouts, themed pages, and balanced embellishments. With a few printed photos, patterned paper, glue, and scissors, you can build beautiful spreads that tell a story. These beginner-friendly scrapbook ideas follow current style trends while staying simple, affordable, and fun to create at home.
1. One-Photo Spotlight Page
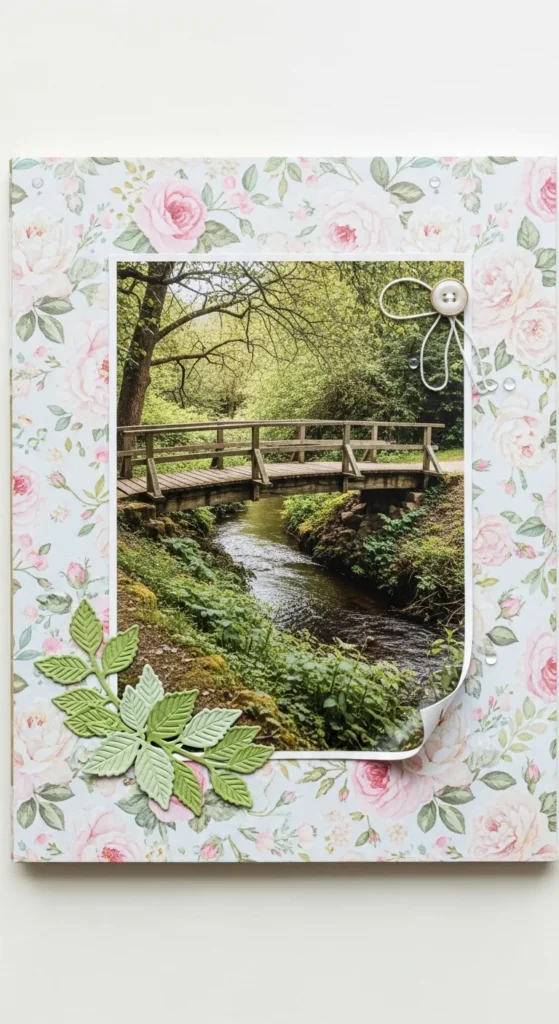
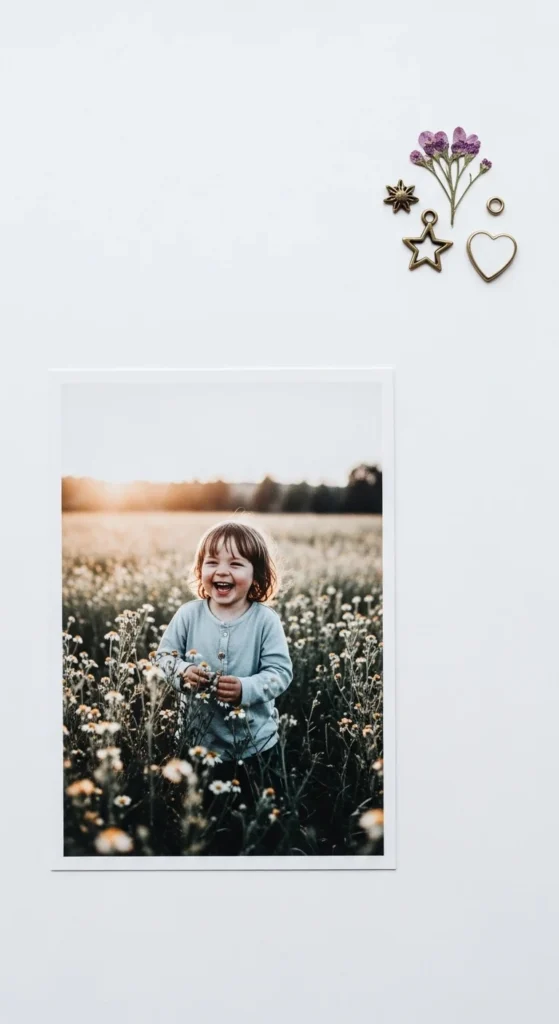
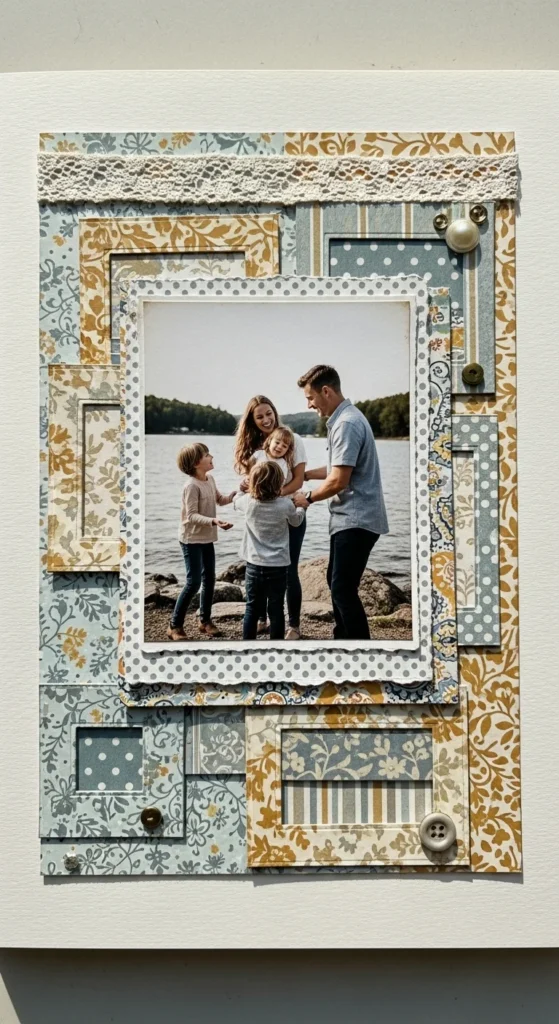
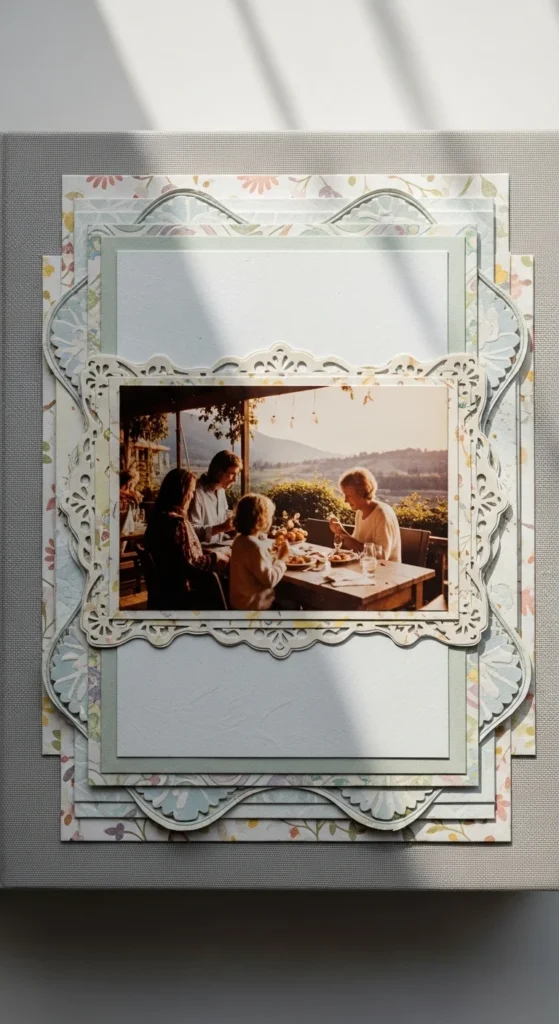
A one-photo spotlight page is perfect when you want a clean and striking layout. Choose one favorite photo and make it the main focus. Use a piece of patterned paper as a background, preferably something soft like florals or light gingham. Mount the photo on slightly larger cardstock to create a frame effect. Leave space around the photo so the page doesn’t look crowded. Add just a few embellishments, such as small stickers or paper flowers, near one corner. This keeps attention on the image while adding interest. Beginners find this layout easy because there are fewer elements to arrange. It works beautifully for portraits, special moments, or travel highlights. By keeping the design simple, the page looks polished without much effort.
2. Botanical Border Layout
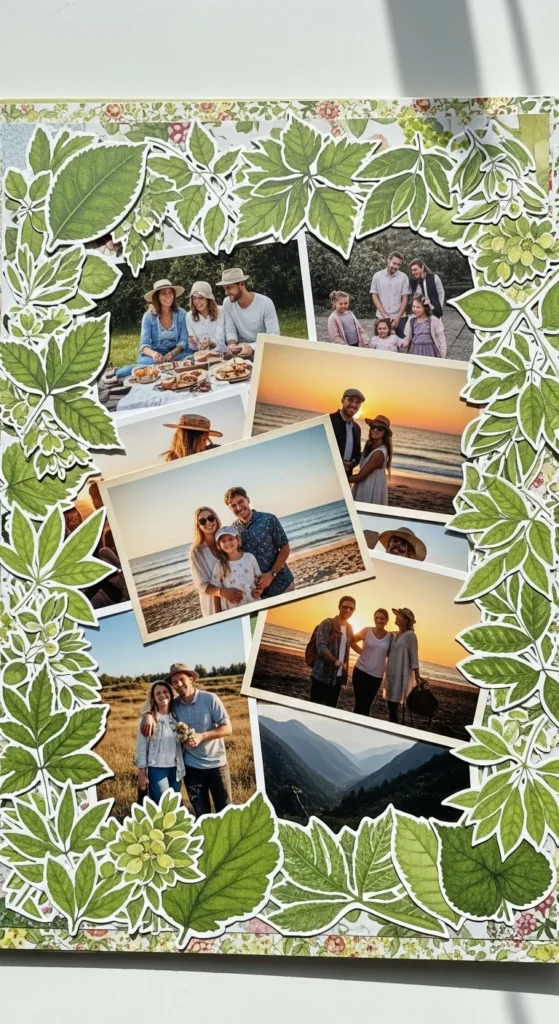
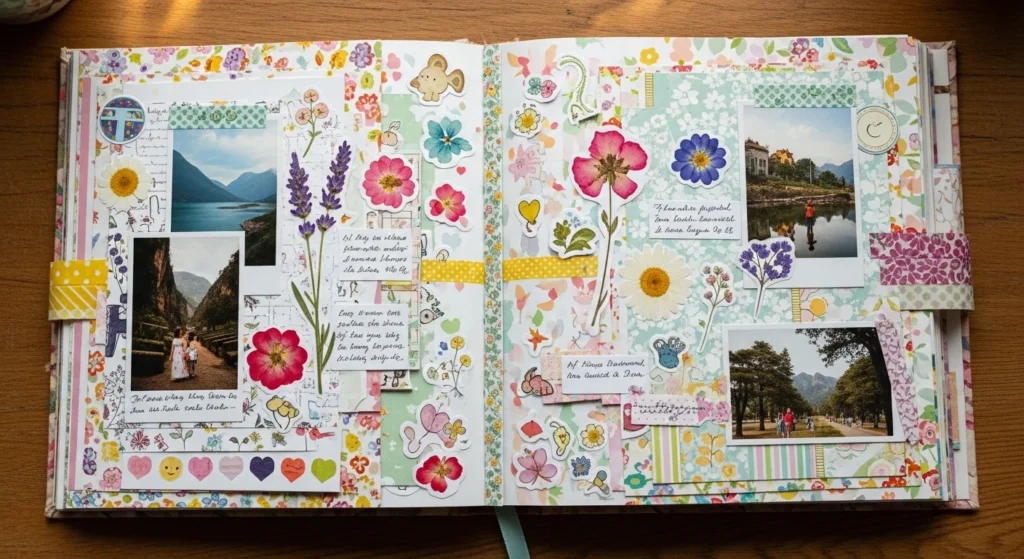
A botanical border layout brings soft nature-inspired charm to your scrapbook. Start with a plain background and use leaf or floral patterned paper to create a border along the edges. Trim the paper into strips and layer them slightly for depth. Place your photos in the center so they stand out against the botanical frame. Add a few small leaf stickers or pressed flower shapes for texture. Keep colors within the same palette for a cohesive look. This style is beginner friendly because the border does most of the decorative work. It’s ideal for outdoor photos, garden memories, or spring themes.
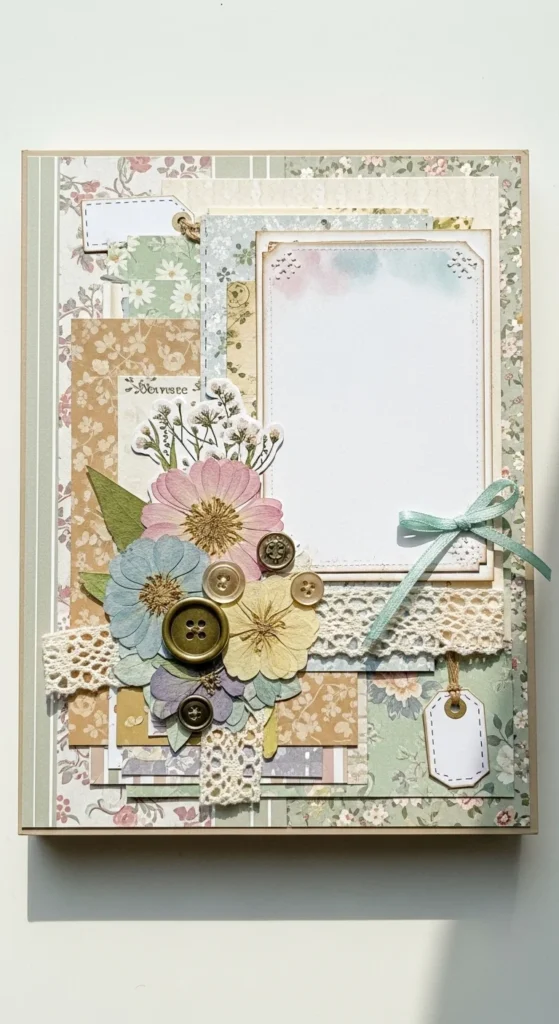
3. Vintage Junk Drawer Style
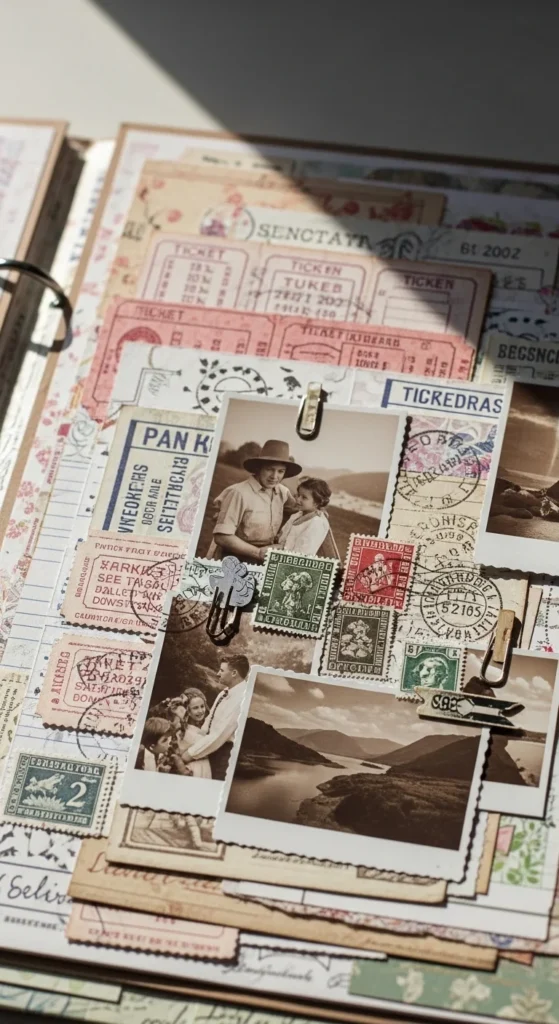
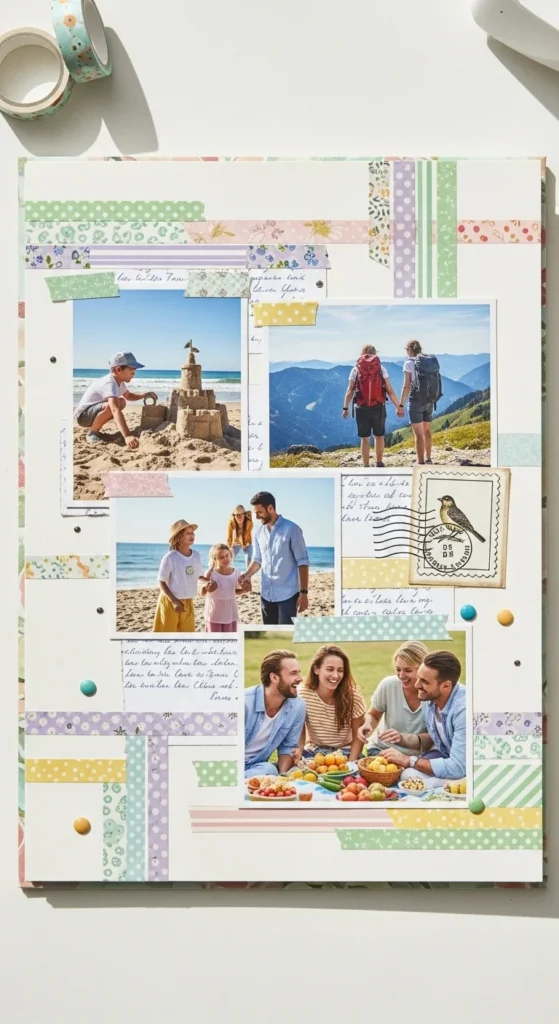
The vintage junk drawer style uses layered bits and pieces to tell a story. Gather scraps like old tickets, kraft paper, lace, and small printed images. Arrange them in overlapping layers like a collage. Don’t worry about perfect alignment; slight randomness adds charm. Use muted colors like beige, brown, and soft pastels for a nostalgic feel. Add a small photo in the middle so it doesn’t get lost. This design feels artistic and personal without needing precise measuring.
4. Travel Memory Map Page
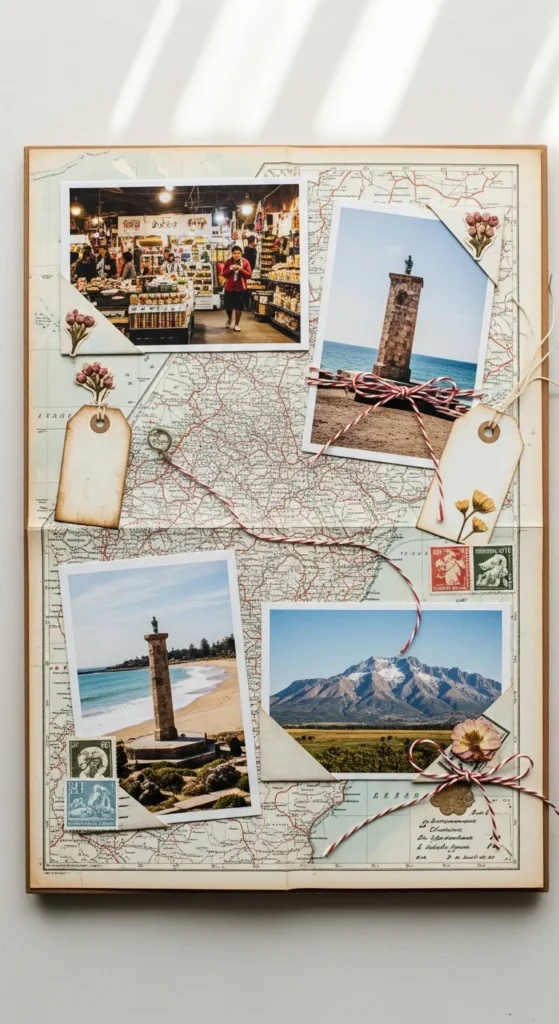
A travel memory map page highlights trips and adventures. Use a photocopy of a map as the background. Place photos from your trip on top, slightly angled for interest. Add small tags or paper arrows pointing to locations. Twine or string pieces can add texture. This layout is simple yet meaningful.
5. Simple Grid Layout
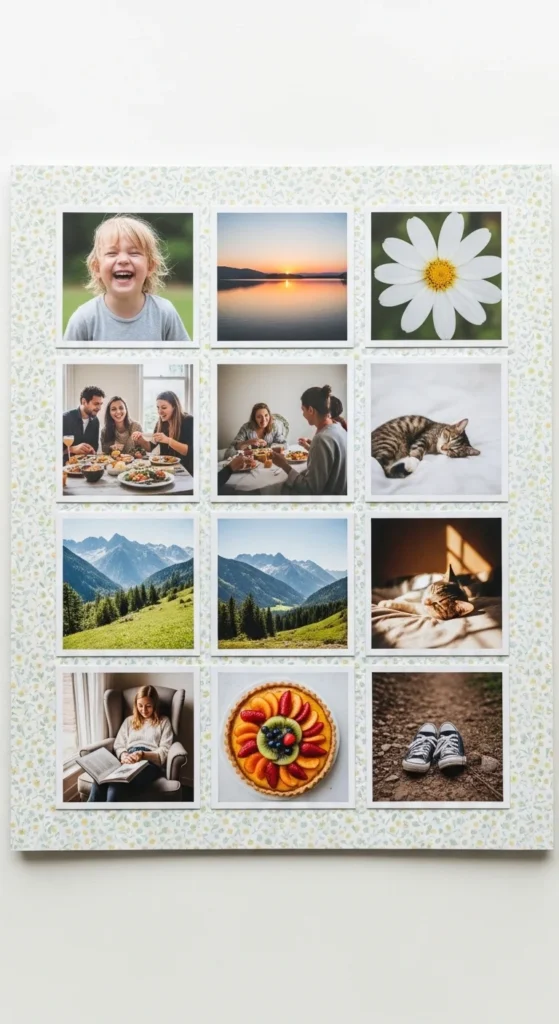
Grid layouts keep everything neat and balanced. Trim photos into equal sizes and arrange them in rows. Use patterned paper behind them for color. Add small embellishments only in a few corners. This helps beginners avoid clutter.
6. Mixed Media Background
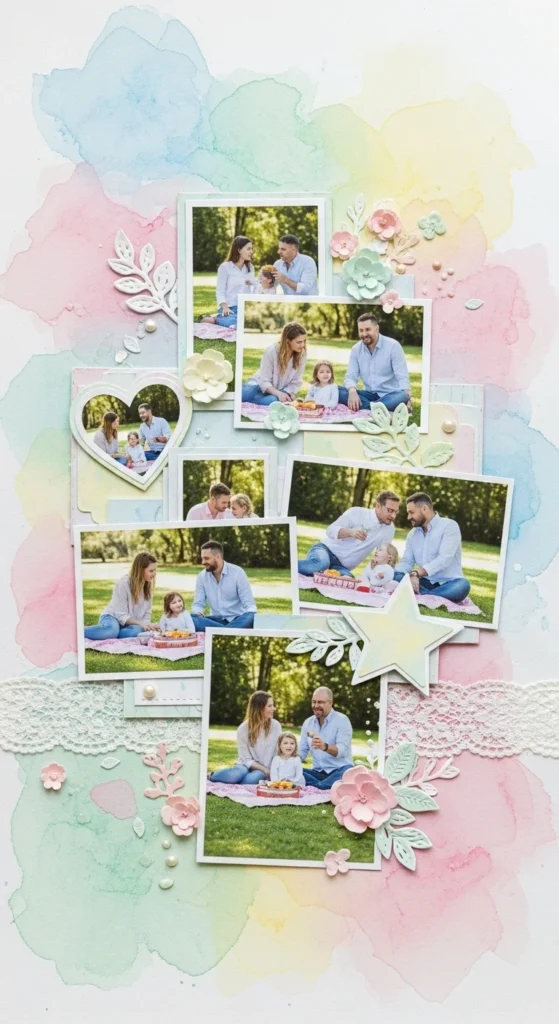
A mixed media background adds gentle texture without making the page feel busy. Start by brushing a light layer of watered-down acrylic paint or ink onto plain cardstock. Use a sponge or old brush for a soft, uneven finish. Let the background dry completely before adding photos. This subtle color wash gives depth while keeping the layout calm. Choose soft tones like pale pink, beige, or light blue for a beginner-friendly look. Once dry, place your photos on top using simple paper mats to help them stand out. Add only a few embellishments such as small stickers or washi tape pieces. The painted background does most of the decorative work. This method is affordable and uses supplies you may already have at home.
7. Seasonal Theme Page
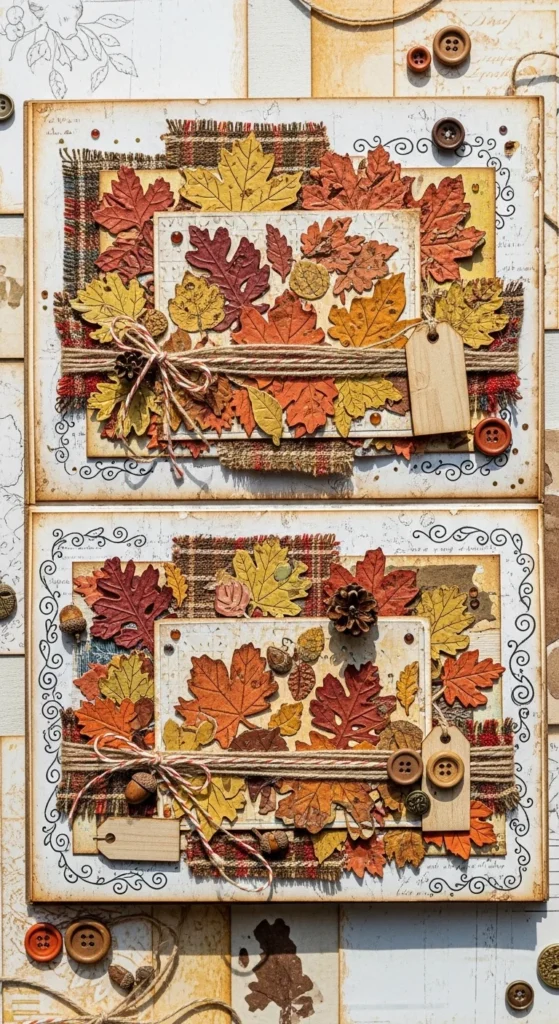
A seasonal theme page is easy to plan and always looks cohesive. Pick one season and build the color palette around it. For autumn, use browns, oranges, and leaf shapes. For spring, choose soft greens, florals, and light pastels. Select photos that match the season to keep the story clear. Use patterned paper that reflects weather, plants, or seasonal activities. Add small embellishments like paper leaves or snowflake shapes depending on the theme. Keep decorations in one area so the page doesn’t feel crowded. This approach makes design decisions simpler and helps beginners stay focused. Seasonal layouts are also fun to revisit year after year.
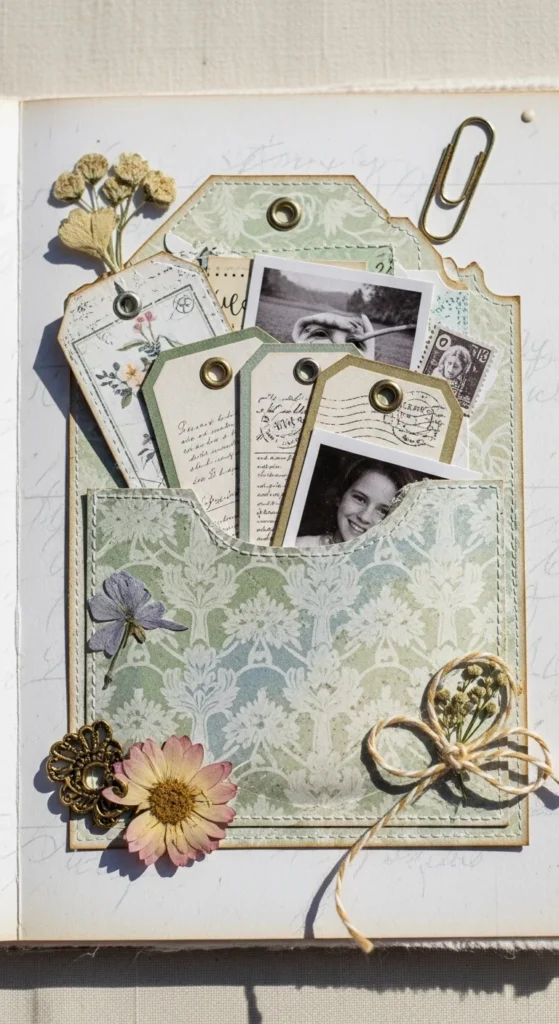
8. Envelope Memory Pocket
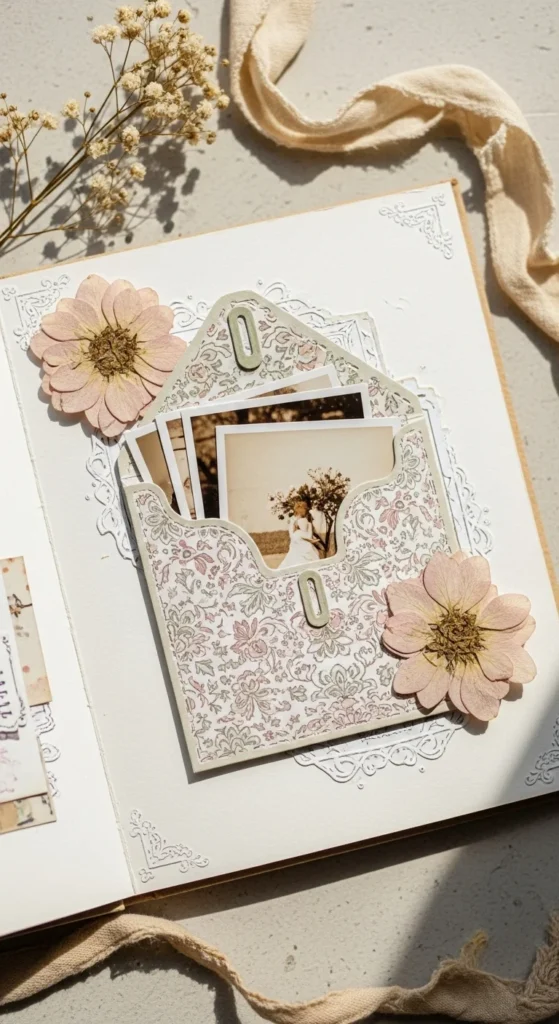
An envelope memory pocket adds both function and charm to your scrapbook. Glue a small envelope onto one corner of the page. Tuck extra photos, ticket stubs, or handwritten notes inside. Decorate the envelope with washi tape or a small sticker to match the theme. This creates an interactive element without adding clutter. Keep the rest of the page simple so the pocket stands out. You can also make your own envelope by folding scrapbook paper. This idea works well for travel memories, birthday notes, or special keepsakes. It’s an easy way to store more memories on one page.
9. Minimal White Space Page
A white space page looks modern and calm. Start with a plain background and place one or two photos on one side. Leave the rest of the page empty to let the photos stand out. Add a few small embellishments like dots, stickers, or a short strip of patterned paper. Keep everything grouped together in one area for balance. This style is perfect for beginners who feel overwhelmed by too many decorations. The simplicity makes the page look polished with very little effort. It also helps highlight meaningful photos.
10. Gingham and Floral Mix
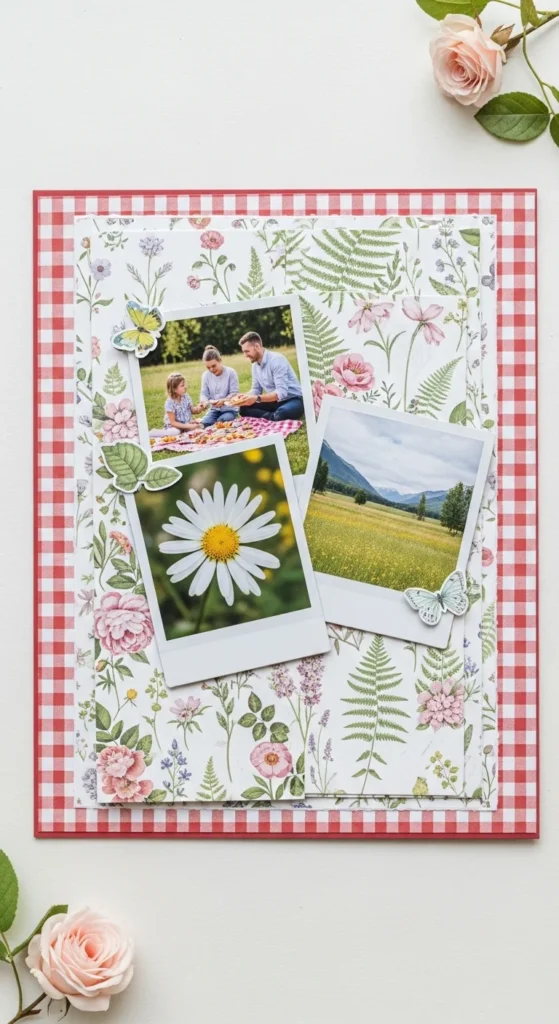
Mixing gingham and floral prints creates a cheerful and trendy layout. Use gingham paper as the base for a clean, structured look. Add a floral patterned paper behind your photo as a soft accent. Keep the color palette consistent so the prints don’t clash. Layering these two patterns adds interest without needing many embellishments. Trim edges with scissors for a handmade touch. This pairing works well for outdoor photos, family moments, or spring themes. It’s a simple way to make a page look thoughtfully designed.
11. Monthly Photo Dump
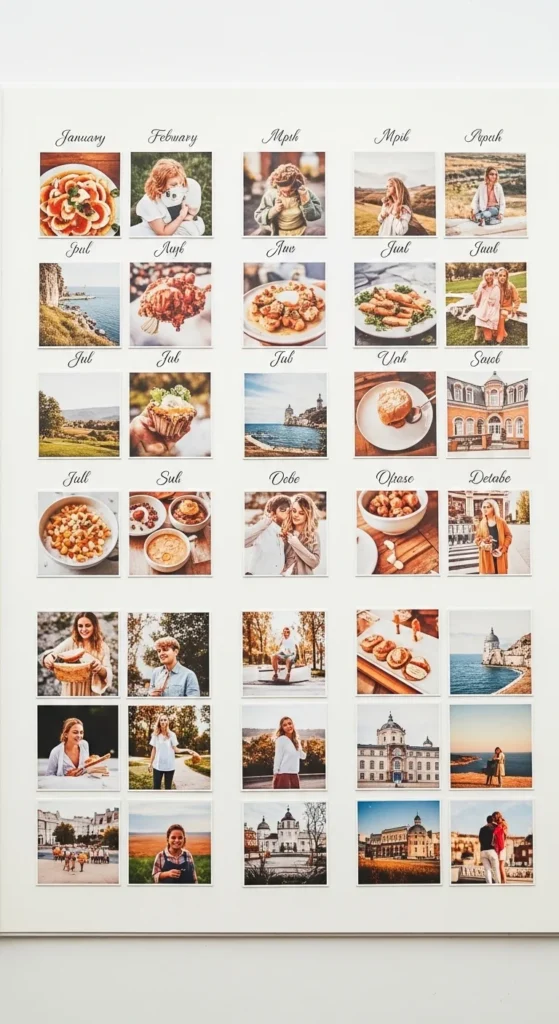
A monthly photo dump page gathers everyday memories in one place. Print several small photos from the same month. Arrange them in a simple grid or loose cluster. Keep the background plain so the photos stand out. Add a small label with the month and year. This layout feels casual but still organized. It’s perfect for beginners who want to document daily life without overthinking design.
12. Polaroid Frame Style
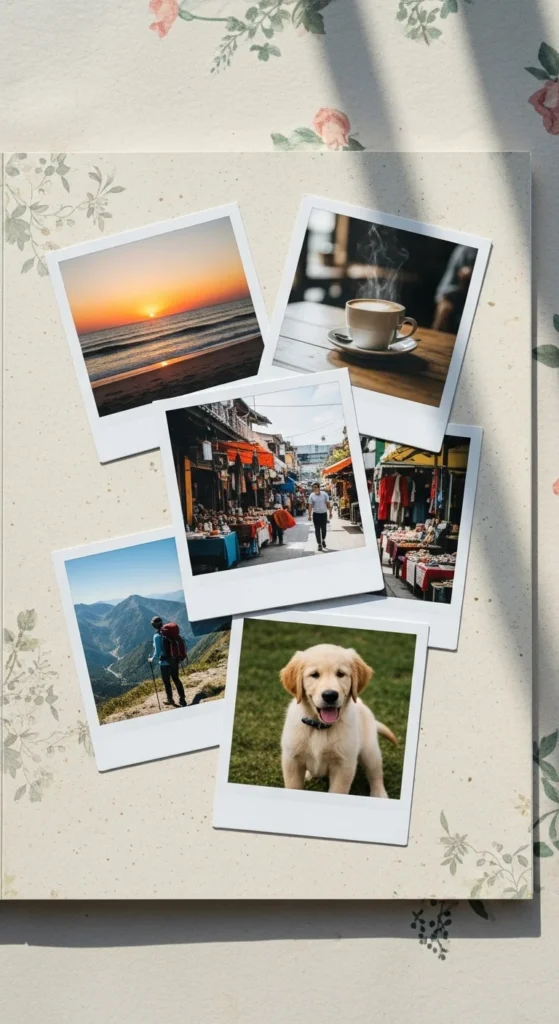
Polaroid-style frames give your scrapbook a playful vintage feel. Mount each photo on white cardstock, leaving extra space at the bottom. This mimics instant camera prints. Arrange the “frames” slightly tilted for a relaxed look. Add small captions below each photo. This idea is easy and works with any theme.
13. Washi Tape Borders
Washi tape borders are one of the easiest ways to decorate a scrapbook page. Choose two or three tape patterns that share similar colors. Place strips along the edges of the page or around your photos to create frames. Tear the ends instead of cutting for a soft handmade look. This method adds color without adding thickness to the page. If a photo looks slightly crooked, the tape border helps disguise it. You can also layer two tapes slightly overlapping for extra interest. Beginners love this idea because it requires no measuring or precision tools. Washi tape is affordable and comes in many patterns, so you can change styles often. Keep the rest of the page simple so the borders stand out. This technique works well for travel pages, daily memories, or school photos.
14. Milestone Memory Page
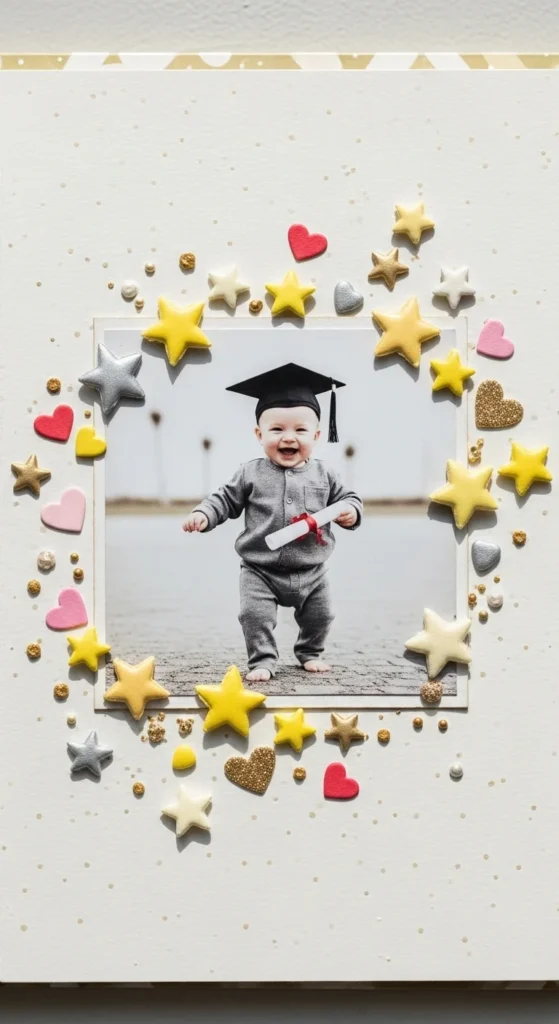
A milestone memory page highlights one special moment in a clean, focused way. Choose one large photo from a birthday, graduation, or celebration. Place it near the center or slightly off to one side for a balanced layout. Use a piece of patterned paper behind the photo as a mat to help it stand out. Add a few small embellishments like stars, hearts, or banners near one corner. Keep decorations limited so the memory remains the main focus. This style is great for beginners because there are only a few elements to arrange. It also helps you avoid clutter while still creating a meaningful page. Write a short note on a small card and tuck it beside the photo. This keeps the story connected to the image in a simple way.
15. Layered Paper Frames
Layered paper frames add depth and color without needing many embellishments. Start by cutting one piece of cardstock slightly larger than your photo. Then cut two or three more pieces of patterned paper, each a bit larger than the last. Stack them behind the photo so the edges of each layer show. Keep the colors coordinated so the layers look balanced rather than busy. Slightly angle one layer for a playful touch. This technique makes the photo pop and fills space without extra stickers. Beginners find this helpful because the layers do most of the decorating work. You can use paper scraps for this idea, which keeps costs low. Finish the layout with a small sticker or label in one corner. The result looks polished while staying simple to assemble.
16. Sticker Scatter Page
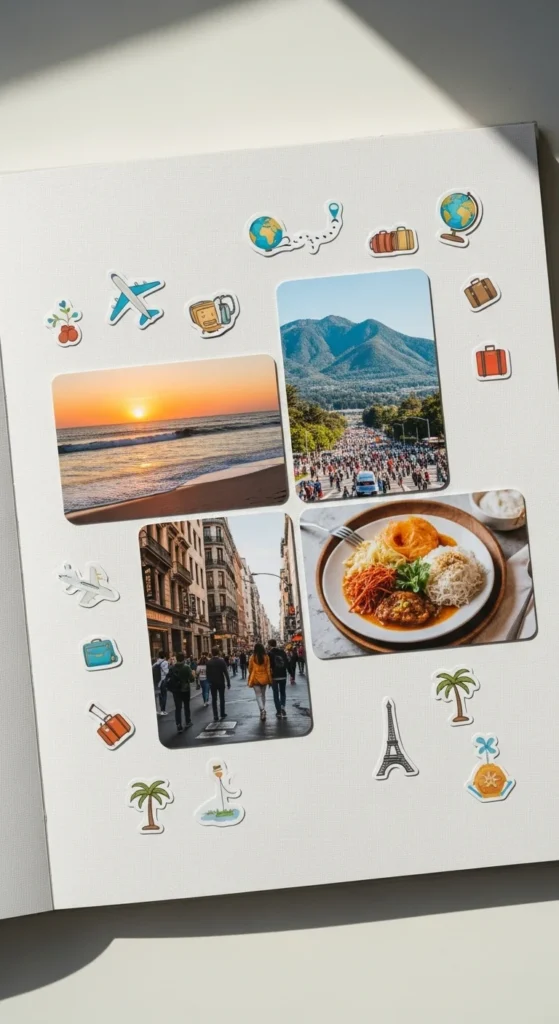
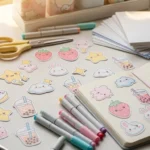
A sticker scatter page adds charm using just a few small decorations. Choose a sticker sheet that matches your theme, such as travel, flowers, or everyday icons. Place your photos on the page first so you know where space is available. Scatter stickers lightly around the edges of the photo cluster rather than spreading them everywhere. Keep most of the page clear to avoid a cluttered look. Use different sizes of stickers for variety while keeping colors consistent. This style is beginner friendly because it doesn’t require cutting or layering. It’s also easy to adjust if something doesn’t look right. A few well-placed stickers can make the page feel complete without overwhelming it. This works well for casual memories and daily snapshots.
17. Pocket Folder Insert
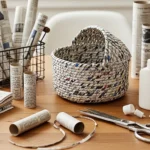
A pocket folder insert adds storage and interest to your scrapbook page. Fold a piece of patterned paper into a simple pocket shape and glue the sides down. Leave the top open so you can tuck in small photos, notes, or keepsakes. Decorate the pocket with a strip of washi tape or a tiny sticker. Keep the rest of the page simple so the pocket remains the highlight. This design is useful when you have more memories than space. Beginners like it because it hides extra items without making the page look crowded. You can change what’s inside later if you want. It’s a practical way to keep your scrapbook interactive and personal.
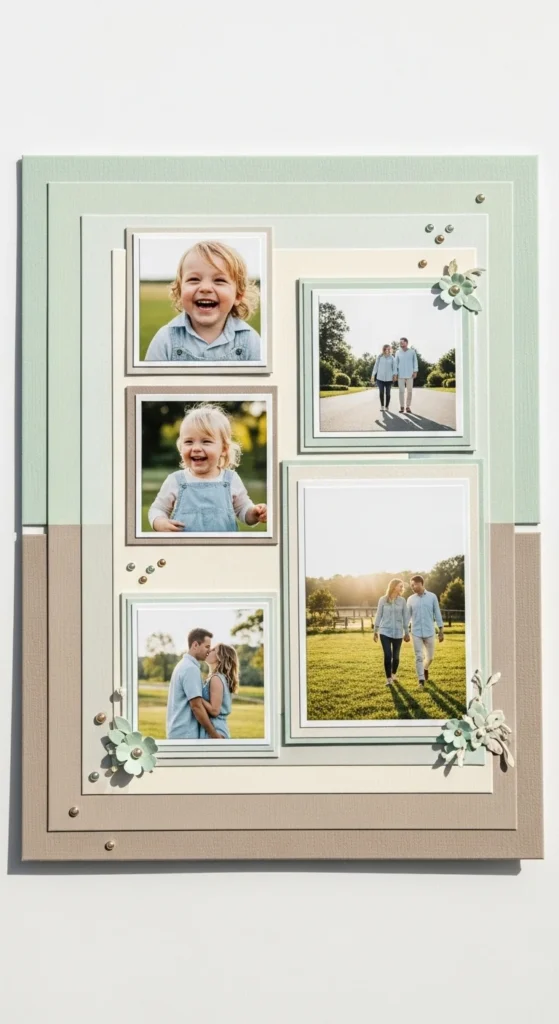
18. Baby Memory Board
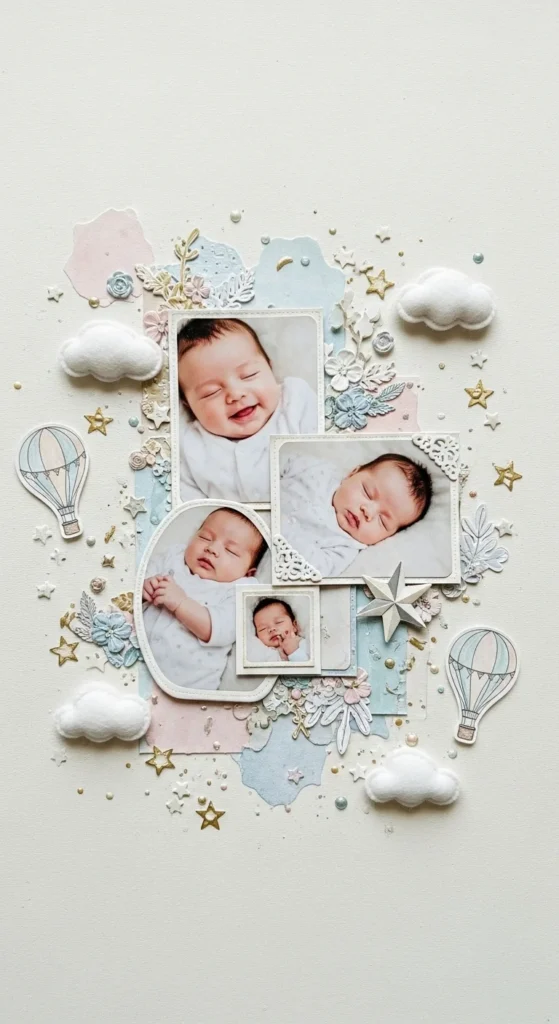
A baby memory board layout uses soft colors and simple shapes. Choose pastel patterned papers such as light pink, blue, or yellow. Arrange baby photos in a gentle cluster near the center of the page. Add a few small embellishments like stars, clouds, or hearts around the photos. Keep everything spaced out so the page feels calm and sweet. Avoid too many decorations, since baby photos already carry strong emotion. Beginners find this theme easy because the soft color palette guides design choices. Write a short note about the milestone or memory on a small card. This layout becomes a treasured keepsake over time.
19. Pet Theme Page
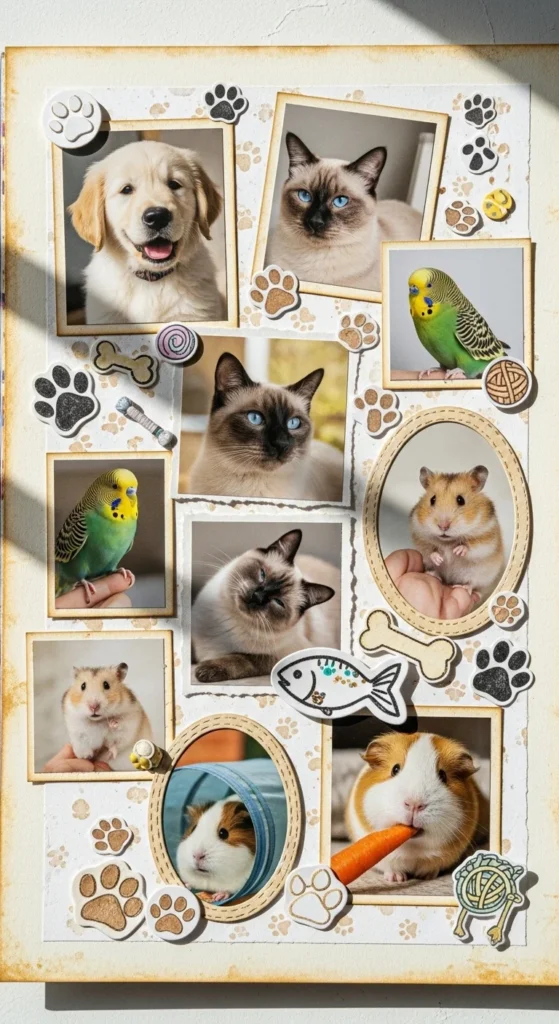
A pet theme page celebrates furry family members in a fun way. Choose photos of your pet playing, sleeping, or posing. Use patterned paper in soft browns, greys, or cheerful colors that match your pet’s personality. Add small paw print stickers or bone shapes around the photos. Keep the layout playful but not crowded. This design is easy for beginners because the theme guides decoration choices. Use a small tag to write your pet’s name or a funny habit. The result feels warm and personal without needing complex layers. Pet pages often become favorites in a scrapbook.
20. Bold Color Block Page
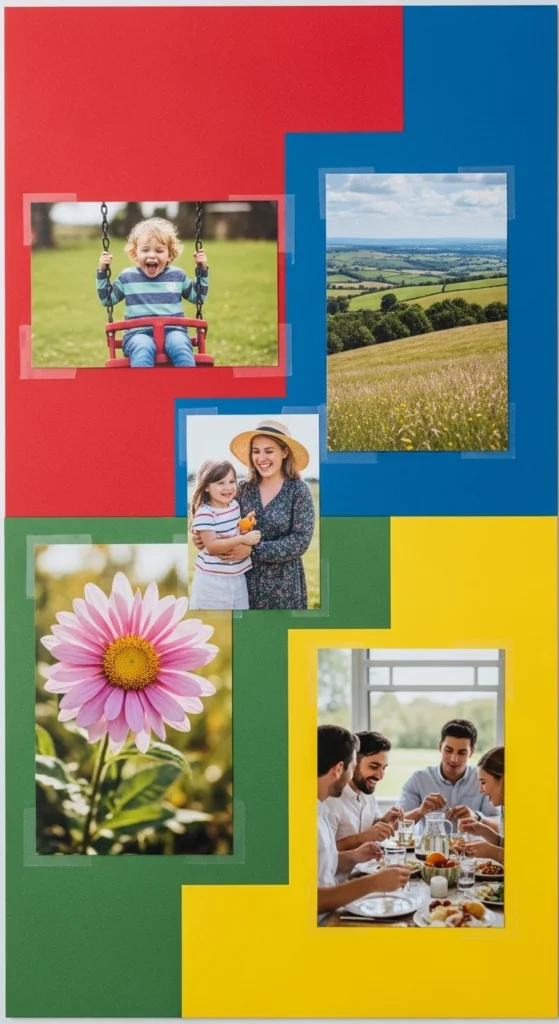
A bold color block page uses strong shapes to organize the layout. Cut large rectangles of colored paper and glue them onto the background. Arrange photos on top of these blocks so each section stands out. Use two or three colors that work well together. Keep embellishments minimal so the color blocks remain the focus. This design is simple yet eye-catching. Beginners like it because the layout is structured and easy to follow. Straight lines and clear sections make arranging photos less stressful. The page looks modern and tidy without much effort.
21. Pressed Flower Layout
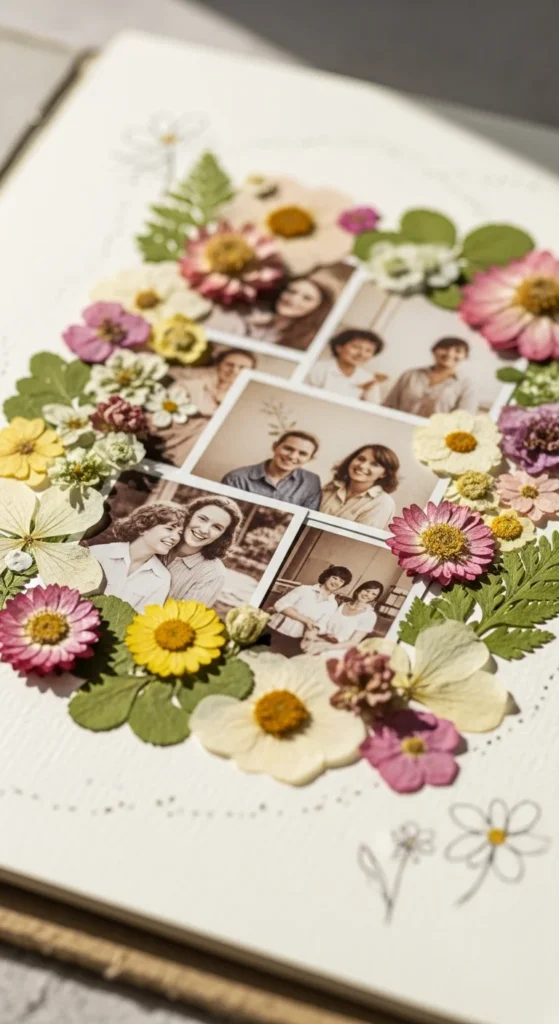
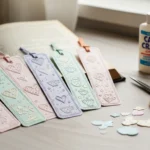
A pressed flower layout adds natural beauty and texture. Collect small flowers or leaves and press them between book pages for a few days. Once dry, glue them gently onto the scrapbook page around your photos. Use a clear-drying glue to keep the flowers in place. Keep the arrangement light so the page doesn’t feel heavy. This design pairs well with outdoor or garden photos. Beginners enjoy this idea because nature does most of the decorating work. The result feels soft, personal, and unique every time.
22. Journal Card Corner
A journal card corner gives you space to write memories alongside your photos. Choose a small decorative card that matches your theme. Tuck it into one corner of the page or glue it lightly so one edge stays open. Write a short note, date, or memory on the card. Keep embellishments around the card minimal. This makes the writing stand out without clutter. Beginners find this helpful because it adds meaning without complex design. It’s an easy way to include personal stories.
23. Travel Ticket Collage
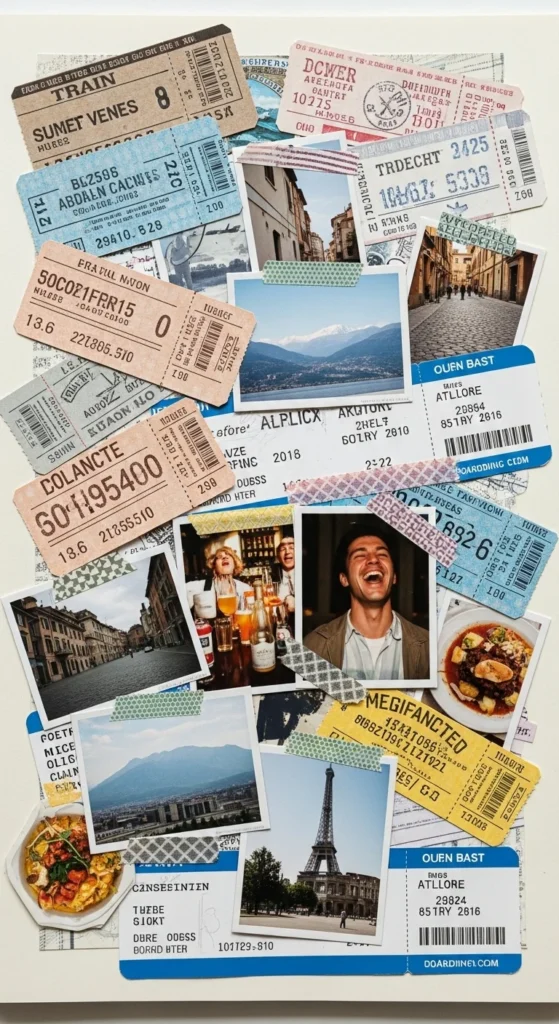
A travel ticket collage captures the feeling of a trip through small details. Gather ticket stubs, boarding passes, or museum entry slips. Arrange them in overlapping layers like a casual collage. Place a small photo on top so the page still has a focal point. Use soft colors in the background to keep the collage readable. This layout is simple and meaningful. Beginners enjoy it because the memorabilia adds interest without extra decorations. It turns everyday paper scraps into lasting memories.
24. Themed Color Palette Page
A themed color palette page looks polished with very little effort. Choose one color family, such as blues or warm neutrals. Use patterned papers and embellishments that stay within that range. Arrange photos on top, leaving some space between them. Keeping the palette limited makes the layout look cohesive. Beginners find this easier because color decisions are already made. It reduces clutter and helps the page feel calm. A small label or sticker in the same color family can finish the design.
25. Simple Cover Photo Page
A simple cover photo page sets the tone for the whole scrapbook. Choose one strong image that represents the theme of the album. Place it in the center of the cover and frame it with a thin border of patterned paper. Keep decorations light so the photo remains the focus. Add a small embellishment in one corner for balance. This approach looks clean and welcoming. Beginners appreciate this idea because it requires only a few supplies. The cover becomes a preview of the memories inside.
Conclusion
Scrapbooking becomes easy when you focus on simple layouts, limited colors, and meaningful photos. You don’t need many supplies to make pages that look polished and personal. Start with one idea, keep embellishments light, and let your memories shine. With practice, your scrapbook will grow into a beautiful collection of moments you’ll love revisiting.

Lily Summers is a digital artist and creative storyteller who loves bringing colorful characters to life. With a passion for cartoons, fan art, and playful sketches, she inspires others to explore their imagination through art. When she’s not sketching, you’ll find her dreaming up new ideas for CraftedWizard.com to spark creativity in every artist. 🌈✨