Scrapbooking is more than gluing photos on paper. It’s a way to hold onto tiny moments, sweet memories, and everyday magic. Cute scrapbook pages feel personal, soft, and full of heart. You don’t need expensive supplies or perfect handwriting to make something meaningful. Simple paper scraps, printed photos, stickers, and little notes can turn into pages that make you smile every time you flip through them. These ideas focus on easy layouts, playful details, and affordable DIY touches that make your scrapbook feel warm, creative, and full of love.
1. Mini Wallet Photo Book
A mini wallet scrapbook is small, adorable, and easy to carry. Use one sheet of thick paper or cardstock and fold it into sections like an accordion. Each fold becomes a tiny page for a photo or short note. This format is perfect for best friend memories, pet photos, or favorite selfies. Decorate each panel with small stickers, washi tape strips, or doodled hearts. Because the space is small, you won’t feel pressure to over-decorate. Budget tip: Print photos in wallet size at home using regular paper, then glue them onto thicker scraps for stability. You can punch a hole in one corner and tie ribbon or string to keep it closed. This makes a sweet handmade gift too. The tiny size makes every detail feel extra special.
2. Paper Bag Memory Album
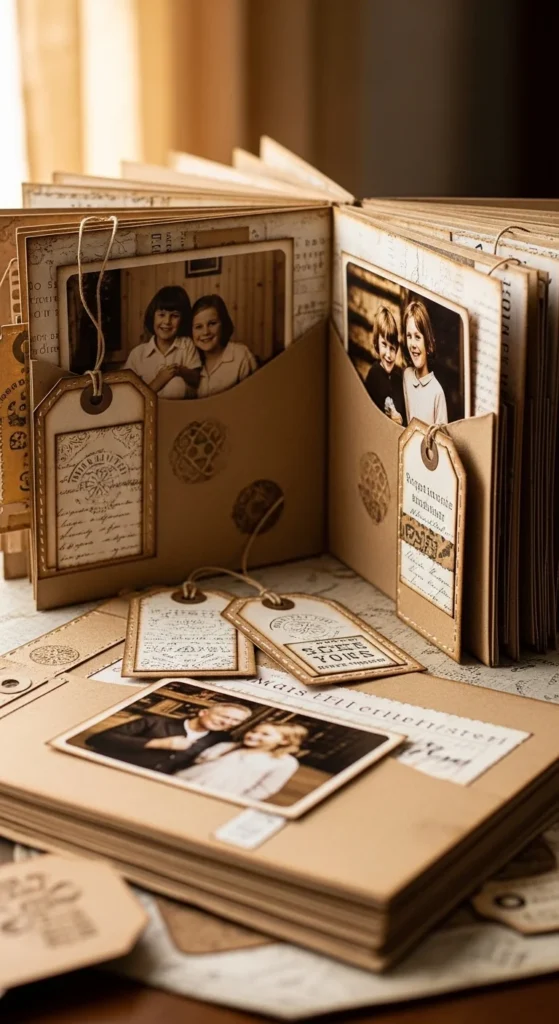
A paper bag scrapbook turns simple lunch bags into charming memory pages. Stack several paper bags together, fold them in half, and staple or stitch along the fold. The open ends become pockets where you can slide in photos, notes, or tickets. Decorate the outside of each bag page with patterned paper, doodles, or fabric scraps. Add tags with handwritten dates or short memories. Budget tip: Use grocery bags or recycled kraft paper to keep costs low. This style feels cozy and handmade, and the pockets make it interactive. It’s perfect for travel memories or school moments where you have lots of small keepsakes.
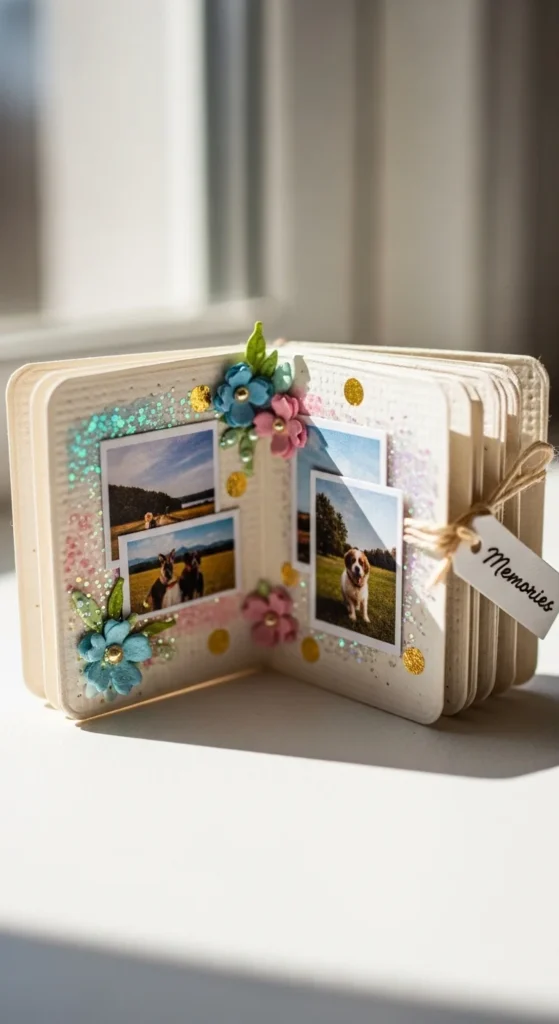
3. Binder Ring Flip Book
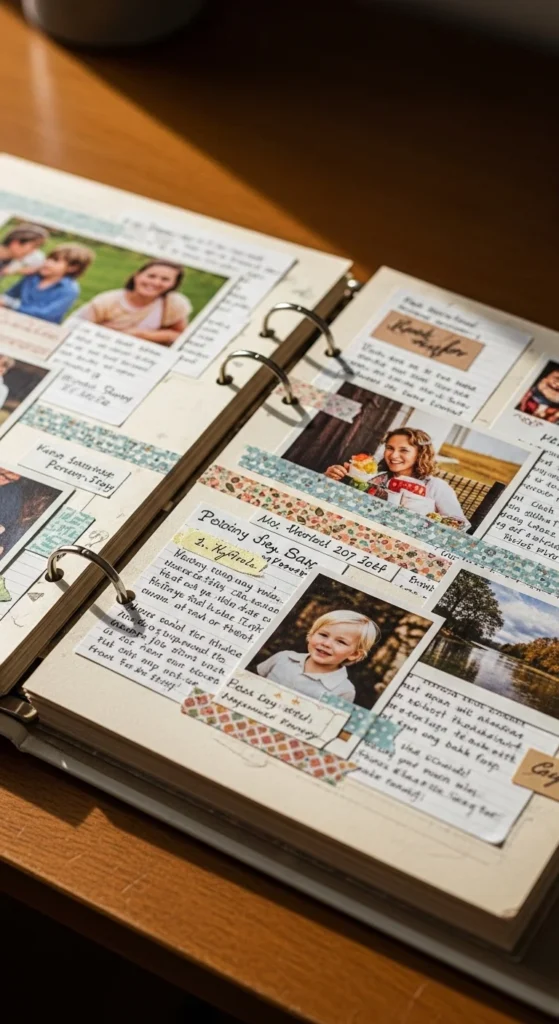
A binder ring scrapbook is flexible and beginner-friendly. Punch holes in your decorated pages and hold them together with metal binder rings or string loops. You can easily add or remove pages later. Use different paper colors for variety. Decorate each page with a photo, stickers, and a short caption. Budget tip: Cut pages from old notebooks or packaging boxes covered with paper. This format is great if you want a scrapbook that can grow over time.
4. Pressed Flower Cover Page
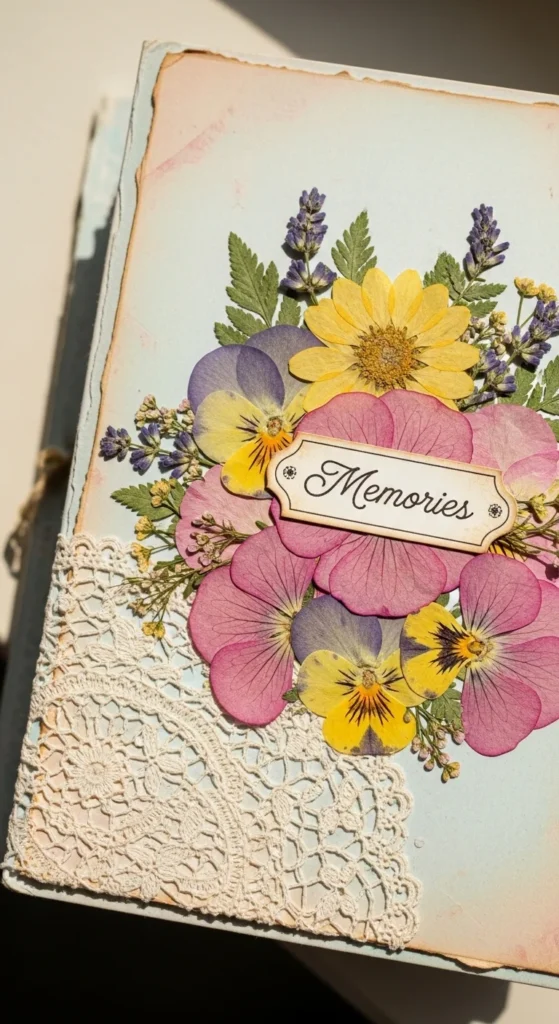
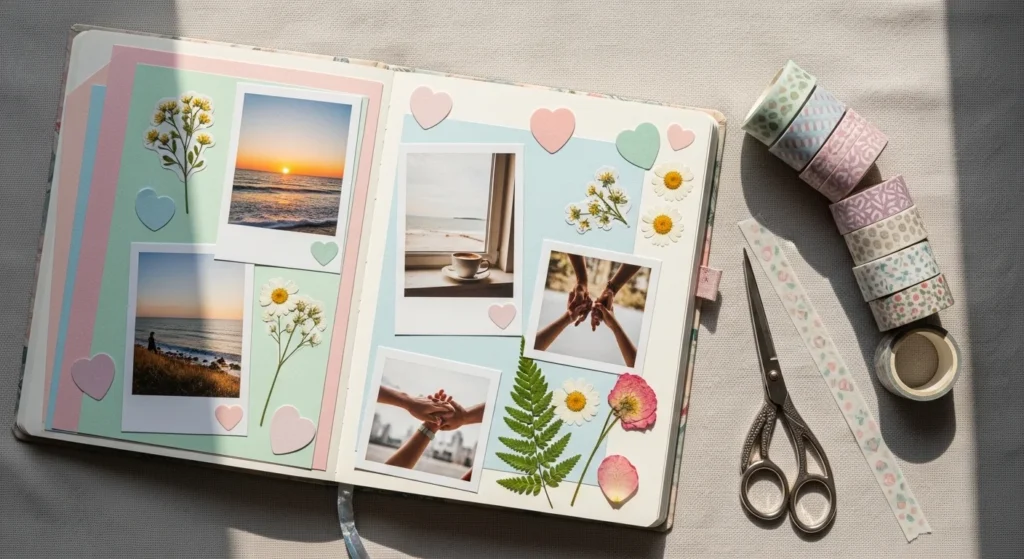
A pressed flower cover gives your scrapbook a soft, romantic feel. Glue dried flowers or leaves onto the cover and frame them with a paper border. Add a lace doily or soft fabric behind the flowers for texture. Budget tip: Press flowers from your garden inside a heavy book for a week. Seal them with clear glue to keep them secure. This cover sets a gentle tone before anyone even opens the album.
5. Sequin Shaker Pocket
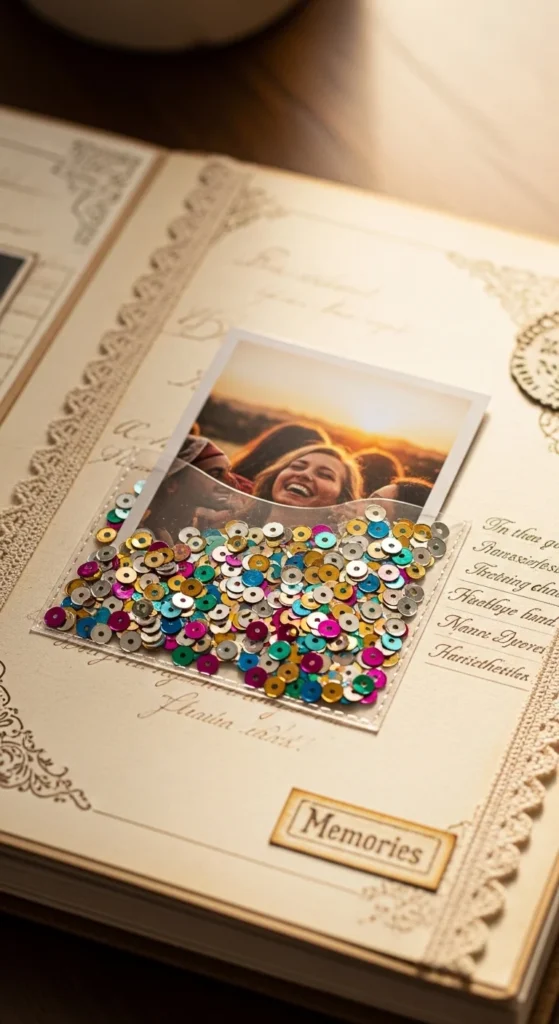
A sequin shaker pocket adds playful movement. Place a photo inside a small clear plastic sleeve. Add a few sequins before sealing the edges with tape or glue. When you shake the page, the sequins move around the photo. Budget tip: Use recycled plastic packaging as the clear window. This detail adds fun texture without much effort.
6. Waterfall Photo Flip
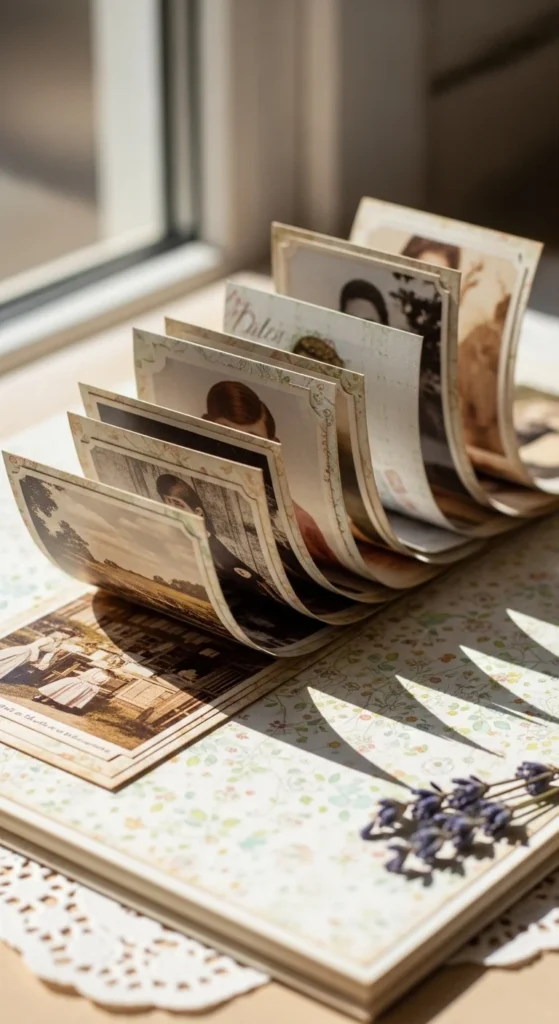
A waterfall photo flip lets you show many pictures in a small space while keeping the page tidy. Cut several small rectangles from paper. Glue a photo on each one. Stack them slightly overlapping from top to bottom, then secure the top edges under a narrow strip of paper. When you pull the bottom tab, each photo flips up one by one. It feels playful and interactive without being hard to make. Budget tip: Use scrap paper for the hidden tabs since they won’t be seen. Keep decorations simple around the flip area so the focus stays on the moving photos. This layout works well for birthdays, school days, or any event with lots of snapshots. It makes flipping through memories feel like opening tiny surprises.
7. Pop-Up Surprise Page
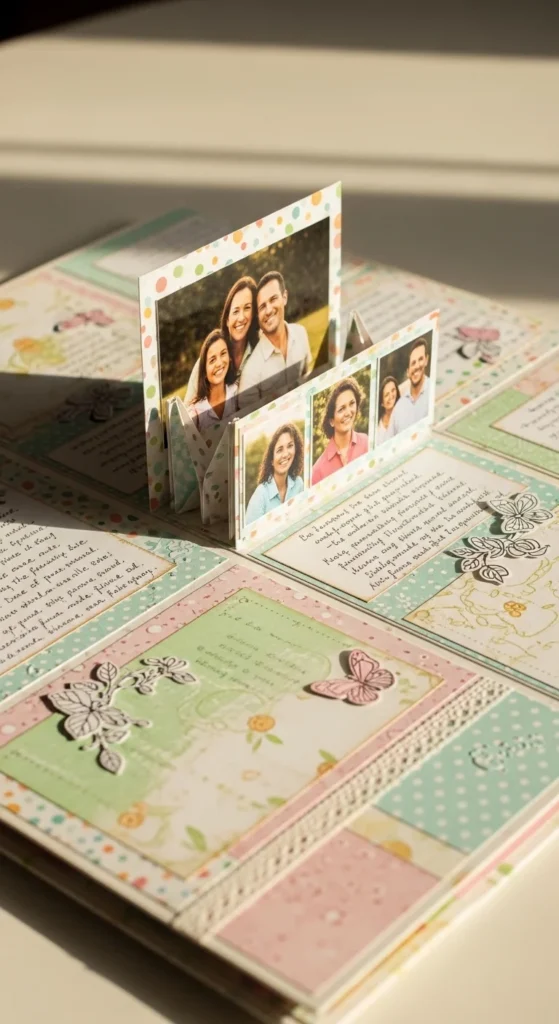
A pop-up surprise page adds a sweet 3D moment when the scrapbook opens. Fold a small strip of paper into a “V” shape and glue the ends inside the page fold. Attach a small photo or sticker to the center of the “V.” When the page opens, the image pops forward. Keep the pop-up piece small so the page still closes easily. Budget tip: Test the fold with plain paper first before gluing your final piece. Decorate lightly around the pop-up so it has room to stand out. This idea works beautifully for baby photos, pets, or funny snapshots that deserve extra attention. It feels playful and thoughtful without needing special tools.
8. Pocket Page for Notes
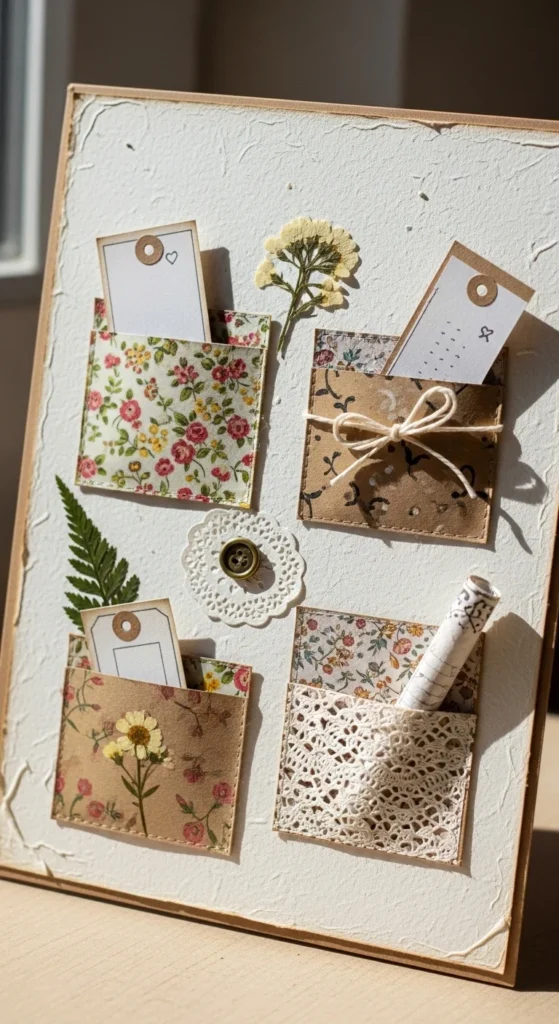
A pocket page keeps little memories safe and easy to access. Fold small rectangles of paper into pockets and glue them onto the page. Slide in tiny notes, ticket stubs, or mini photos. You can add a half-circle cut at the top of the pocket so it’s easier to grab what’s inside. Decorate the pocket edges with washi tape or doodles. Budget tip: Cut pockets from old envelopes, gift bags, or leftover wrapping paper. Write short messages or dates on the inserts to make the page feel more personal. This style adds layers and interest without crowding the layout. It’s perfect for pages where you have extra bits you want to save but don’t want glued down permanently.
9. Washi Tape Background
A washi tape background is one of the quickest ways to make a page look bright and cheerful. Tear or cut strips of washi tape and place them side by side or in crossing angles. Let some strips overlap slightly for a relaxed feel. Leave a clear space in the center for photos so the background doesn’t feel too busy. Budget tip: If you don’t have washi tape, use masking tape and color it with markers or watercolor. This method adds color and pattern without needing extra paper layers. It works well for fun, everyday memories like hangouts, selfies, or family dinners.
10. Border Punch Edge Frame
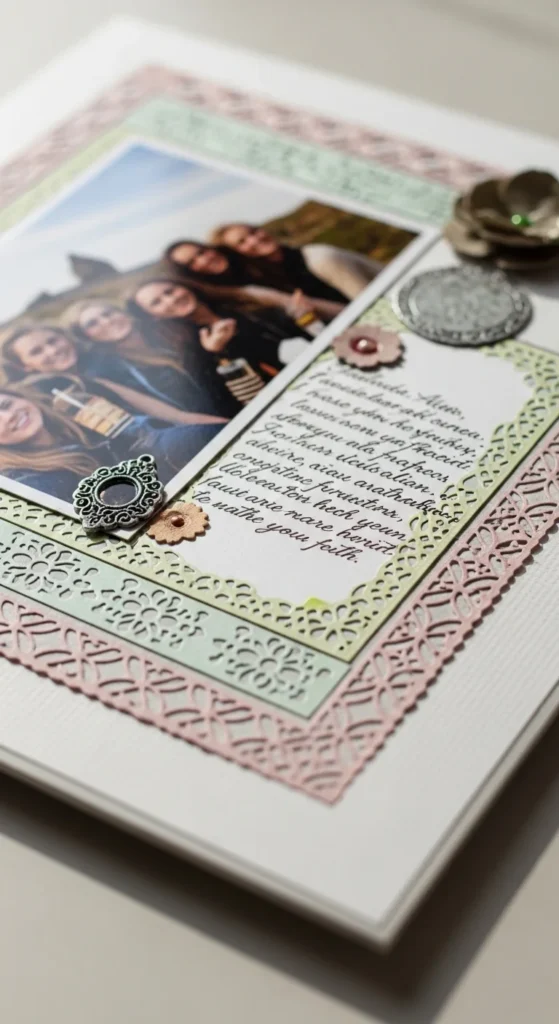
A decorative edge frame makes even simple paper look special. Use a border punch to create patterns along the edges of a strip of paper. Glue this strip around your photo like a frame. If you don’t have a punch, carefully cut small scallops, waves, or triangles by hand. Keep the border color slightly darker or lighter than the background so it stands out gently. Budget tip: Use scraps from other projects for borders instead of cutting into new paper. This small detail gives structure to the page and makes photos feel highlighted without heavy decoration.
11. Heart Envelope Love Notes
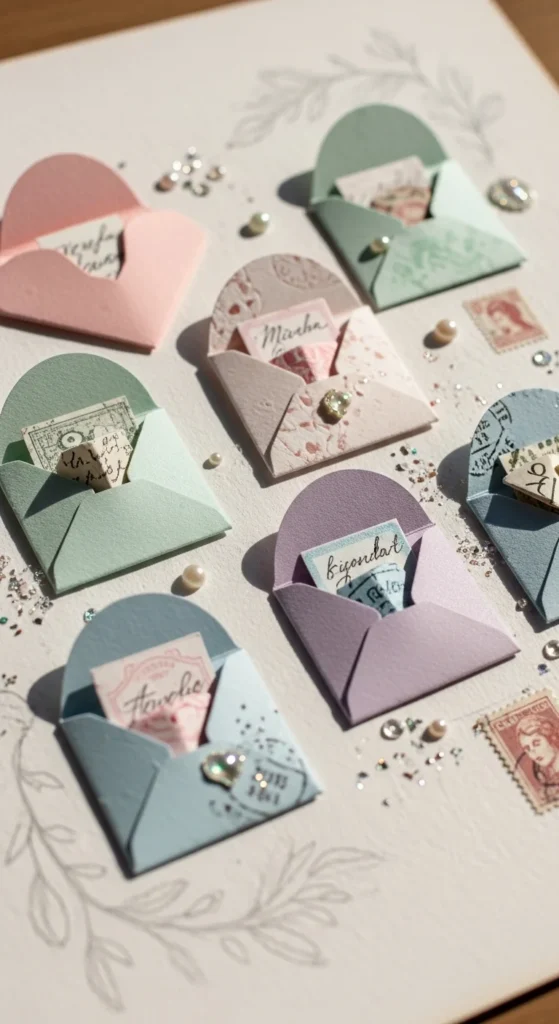
Heart envelopes are perfect for secret messages and sweet memories. Fold small pieces of paper into simple heart shapes that open like envelopes. Glue them lightly on one side so they can still open. Inside, tuck a short handwritten note, a tiny drawing, or a date. Keep the area around the heart simple so it stays the focus. Budget tip: Use old magazines or colored notebook paper for fun patterns. This idea is lovely for friendship pages, family memories, or relationship scrapbooks. It adds emotion and interaction in a small, meaningful way.
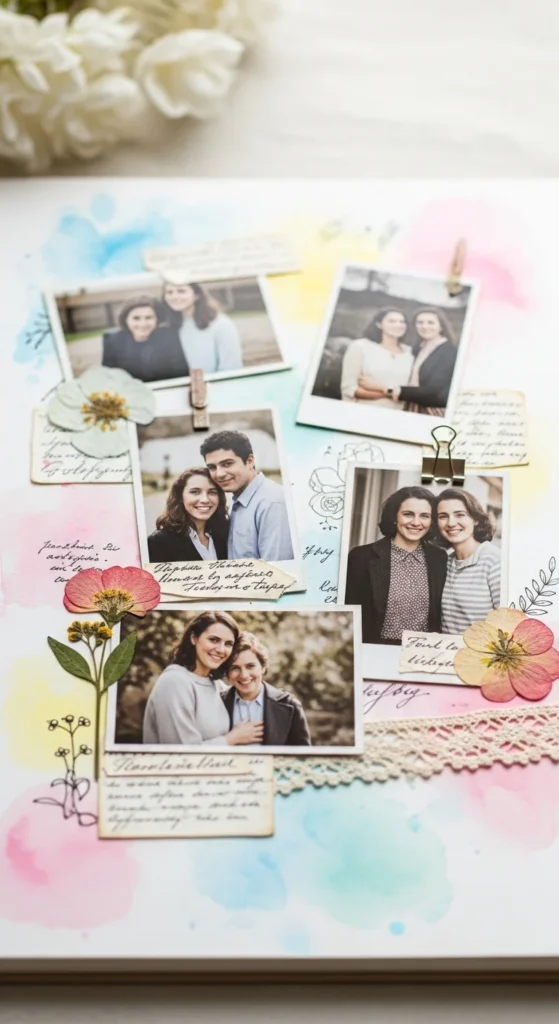
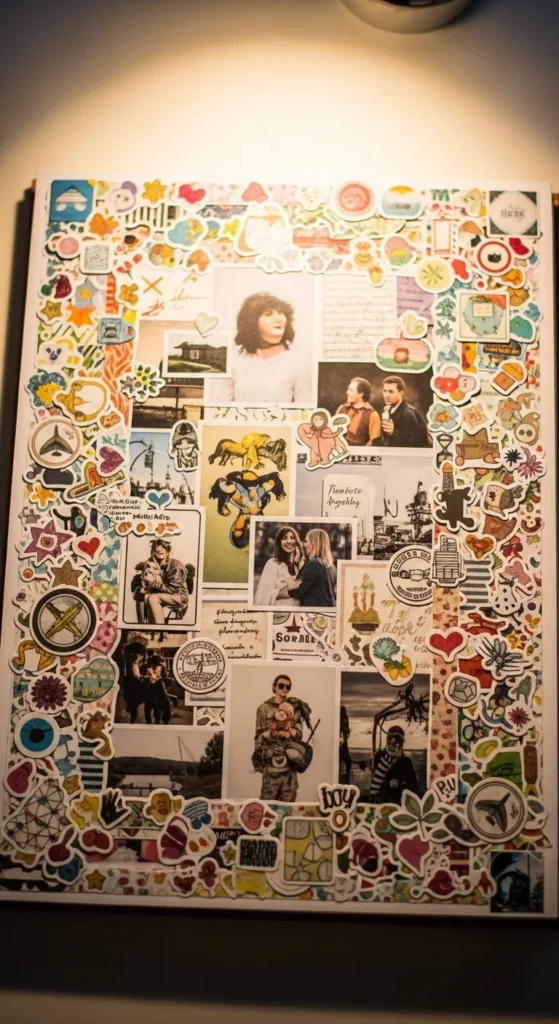
12. Scattered Photo Collage

A scattered photo collage feels lively and full of movement. Print several small photos and arrange them at different angles across the page. Let a few overlap slightly. Add tiny stickers or dots in the empty spaces to connect everything visually. Keep the color theme simple so the layout doesn’t feel messy. Budget tip: Print photos in black and white if colors clash. This layout works great for event days with lots of moments, like parties or school trips. It tells a story through many small glimpses instead of one big picture.
13. Watercolor Wash Background
A watercolor wash background gives a dreamy, soft base. Dip a brush in water and light paint, then sweep it gently across the page. Let the color fade toward the edges. Allow it to dry completely before adding photos or decorations. Keep the photo mats simple so the wash remains the star. Budget tip: Use children’s watercolor sets or even diluted food coloring for soft tones. This background works beautifully for calm memories like sunsets, nature walks, or quiet family days.
14. Vintage Distressed Page
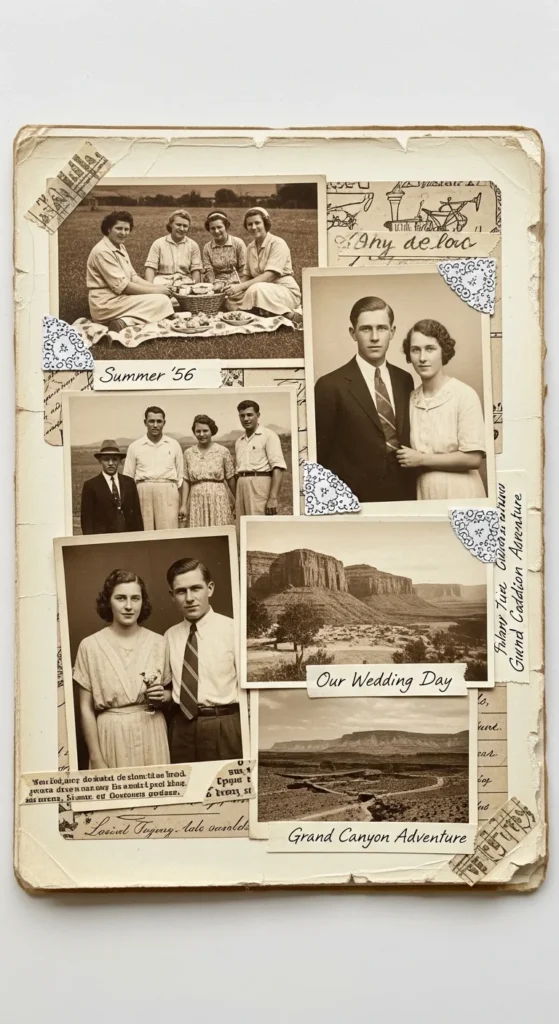
A vintage distressed page gives old memories a warm, nostalgic feel. Lightly tear the edges of your paper and rub brown ink or diluted coffee along the edges for an aged look. Use sepia or black-and-white photos to match the tone. Add lace scraps or old-style patterns for texture. Budget tip: Dab a used tea bag on paper and let it dry to create soft stains. This style works beautifully for childhood photos, grandparents, or old family stories.
15. Polaroid Style Grid
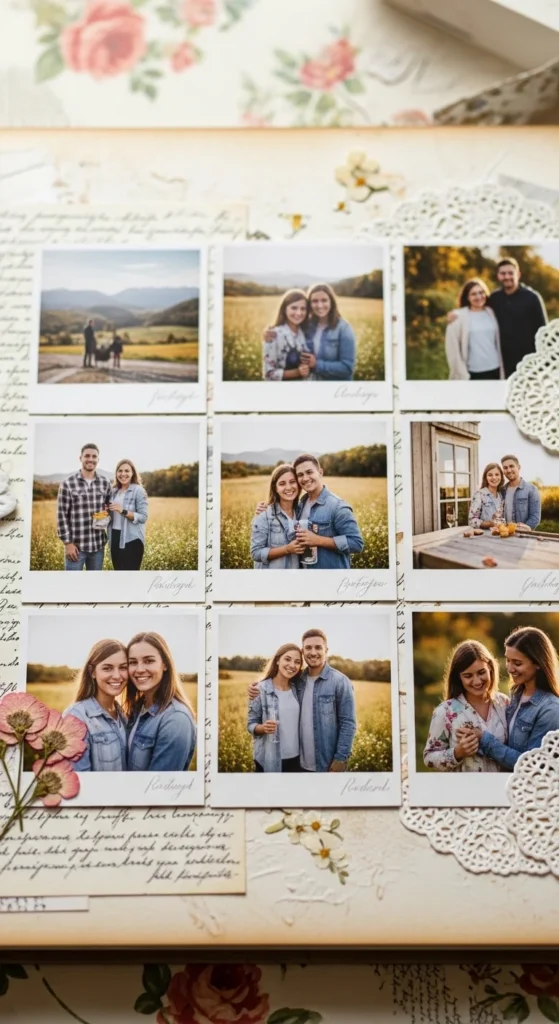
A Polaroid-style grid keeps the page neat and modern. Print square photos and glue them in straight rows. Leave a small white space under each photo for a handwritten caption. Keep decorations minimal so the clean layout shines. Budget tip: Draw white borders around regular photos with a white gel pen if you can’t print Polaroid-style images. This design works well for everyday moments and looks organized without much effort.
16. Travel Map Memory Page
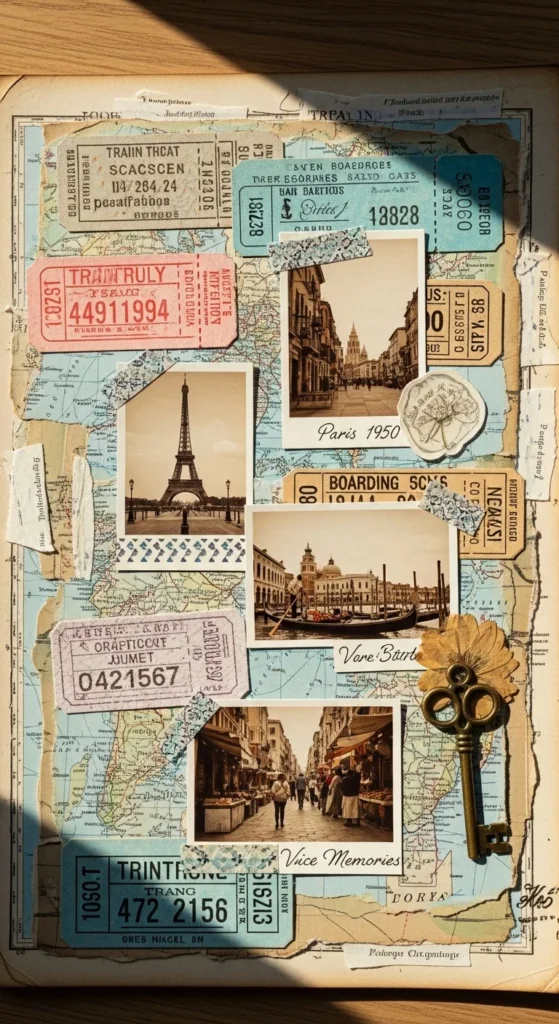
A travel map memory page tells the story of a trip in a simple, visual way. Cut a section from an old map or print one at home. Place it as the background. On top, glue small photos from your trip. Add ticket stubs, receipts, or tiny paper flags marking places you visited. Keep layers thin so the page still closes flat. Use short handwritten notes to describe one memory from each location. Budget tip: Print mini maps in black and white if you don’t have color ink. You can trace routes with a colored pencil to highlight the journey. This layout feels personal and full of story without needing fancy supplies.
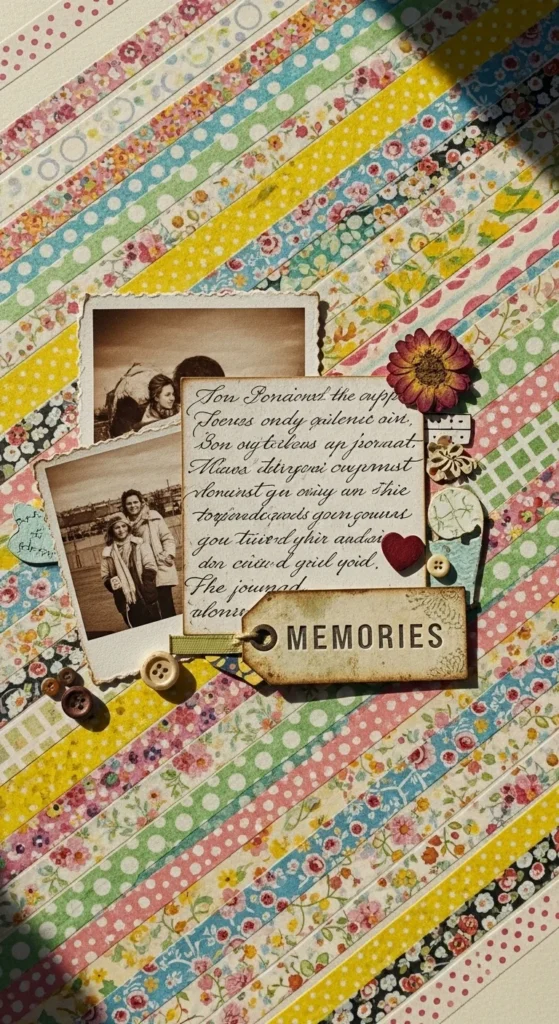
17. Wax Seal Detail Corner
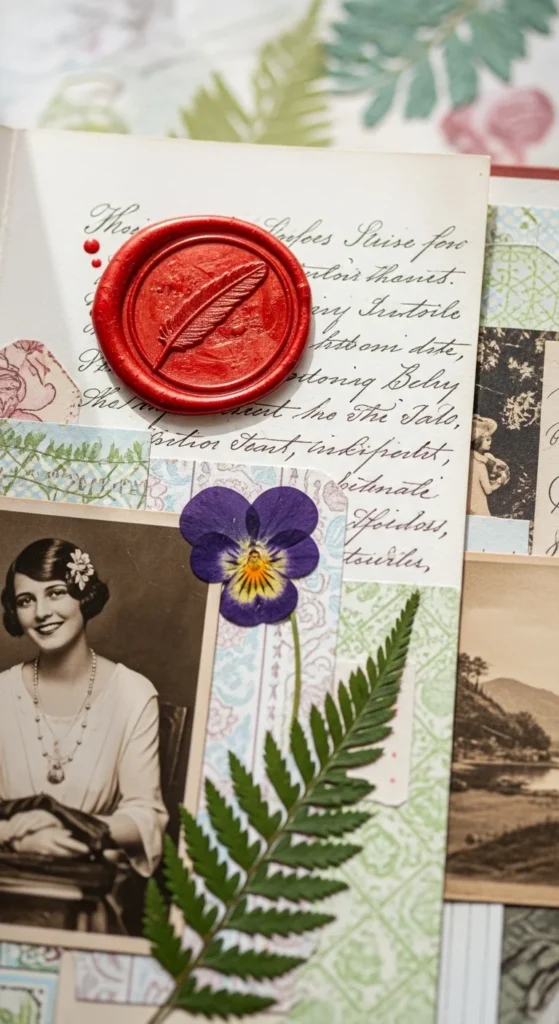
A wax seal corner gives a scrapbook page a vintage, storybook feel. Use sealing wax or even hot glue colored with marker to create a raised seal. Press a small button or coin into it while warm to create texture. Place the seal in one corner of the page near a photo or note. Keep the rest of the layout simple so the detail stands out. Budget tip: If real wax feels tricky, cut a small circle from red paper and add a drawn swirl design to mimic a seal. This little touch adds charm and makes the page feel thoughtfully decorated without a lot of effort.
18. 3D Flower Cover Accent
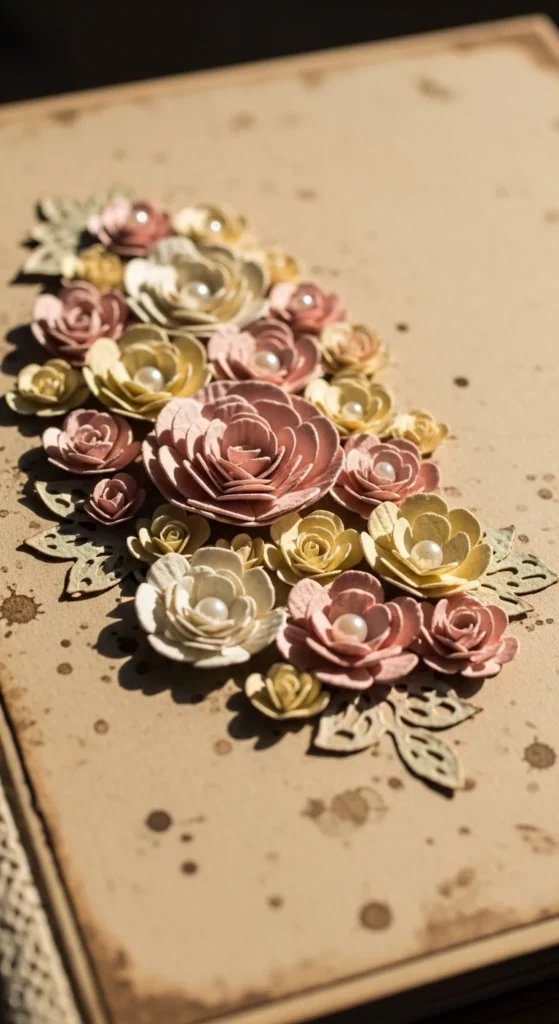
3D paper flowers add gentle depth to a scrapbook cover or special page. Cut flower shapes from colored paper and stack two or three layers together. Slightly curl the petals upward with your fingers. Glue a small bead or dot of paint in the center. Arrange a few flowers in one corner rather than covering the whole page. Budget tip: Use pages from old magazines or gift wrap for colorful petals. Keeping the flowers small prevents bulk while still giving the page a soft, decorative look.
19. Ephemera Fill Spaces
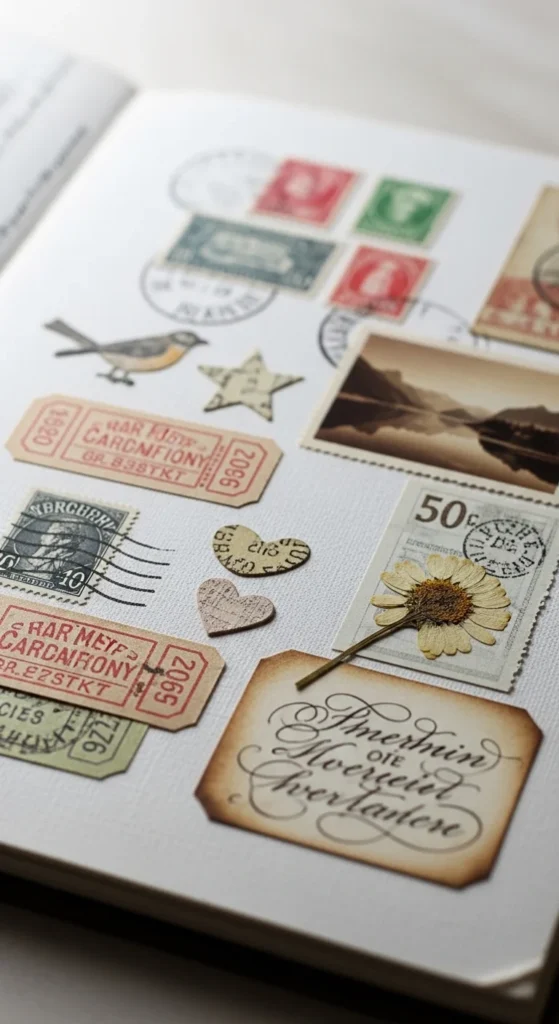
Ephemera pieces help fill empty spots and tie a layout together. Use small paper bits like ticket shapes, stamps, tiny labels, or patterned scraps. Tuck them under photo corners or along page edges. Stick to one color family so the page feels calm instead of messy. Budget tip: Cut shapes from junk mail or packaging designs. Even simple lined notebook paper can look cute when trimmed into small tags. These little details make the page feel layered and thoughtful without extra cost.
20. Cut Photo Shapes
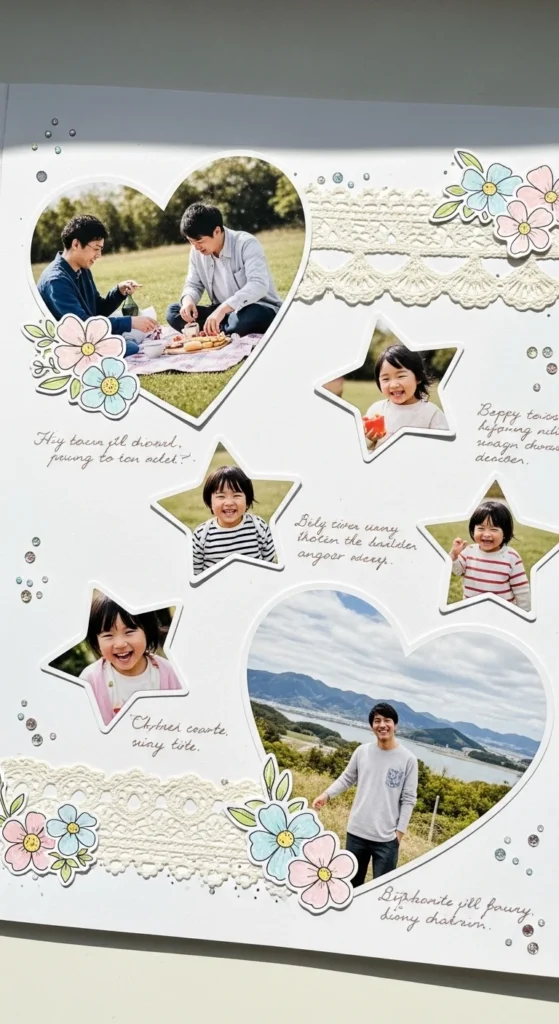
Cutting photos into shapes adds playful personality. Trim a favorite picture into a heart, circle, or star. Leave a thin border around the shape so important details don’t get cut off. Arrange shaped photos with regular rectangular ones for variety. Budget tip: Practice cutting shapes from scrap paper first. This idea works great for childhood photos or pet pictures where the mood is light and fun.
21. Simple Layout Template Page
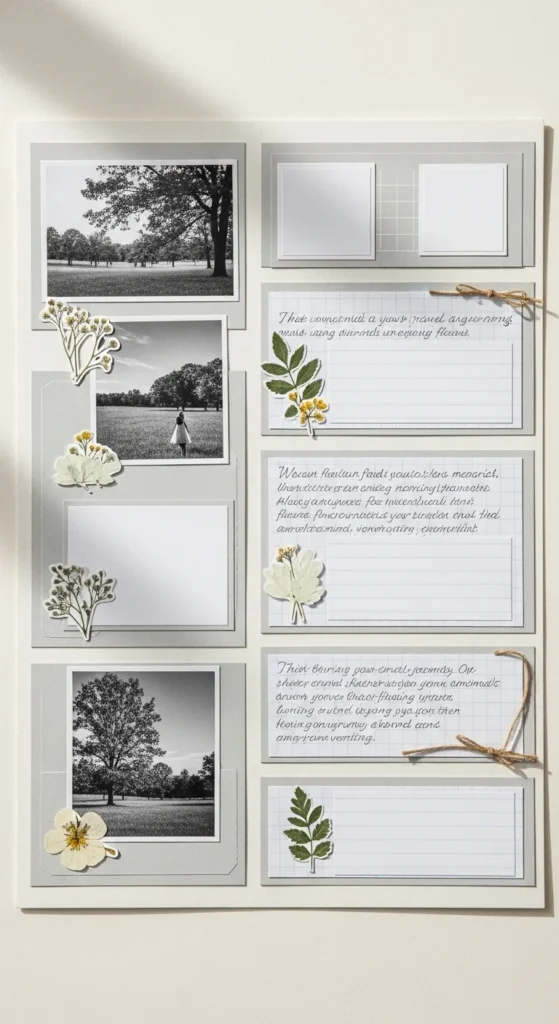
A layout template page keeps things neat when you feel stuck. Divide the page into clear sections: one spot for a large photo, two for small ones, and one area for notes. Lightly draw pencil lines as a guide, then decorate inside those spaces. Budget tip: Reuse the same layout on several pages with different colors or themes. This saves time and reduces decision stress while still looking polished.
22. Sticker and Washi Line Border
A sticker and washi border frames the page without much effort. Run a strip of washi tape along one or two edges. Add small stickers spaced along the tape. Keep spacing even for a tidy look. Budget tip: Cut tiny shapes from colored paper if you don’t have stickers. This simple border ties the page together and adds color without covering the photos.
23. Pom-Pom Ribbon Edge
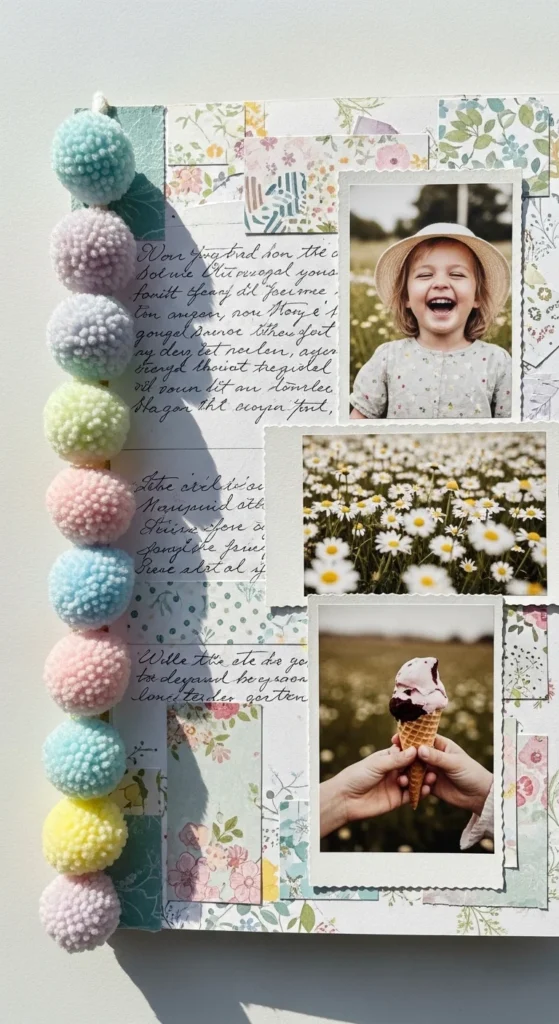
A pom-pom ribbon edge adds soft texture and a cozy feel. Glue a short strip of pom-pom trim along the outer edge of the page or cover. Keep it to one side so the book still closes easily. Choose colors that match your photos for a gentle look. Budget tip: If you don’t have ribbon, glue small yarn loops along the edge for a similar effect. This detail makes the scrapbook feel handmade and extra sweet.
Conclusion
Cute scrapbook pages come from small, thoughtful details rather than expensive supplies. Simple folds, pockets, tiny decorations, and playful textures can turn everyday photos into pages full of warmth and personality. Start with one idea, use what you already have at home, and let each page grow naturally. Your scrapbook doesn’t have to be perfect — it just has to feel like you.

Lily Summers is a digital artist and creative storyteller who loves bringing colorful characters to life. With a passion for cartoons, fan art, and playful sketches, she inspires others to explore their imagination through art. When she’s not sketching, you’ll find her dreaming up new ideas for CraftedWizard.com to spark creativity in every artist. 🌈✨