Origami is one of the sweetest ways to turn simple paper into something meaningful. With just a few folds, you can create tiny hearts, adorable animals, and charming decorations that feel handmade and thoughtful. Cute origami projects are perfect for gifts, bookmarks, party décor, or relaxing craft time at home. You don’t need special tools or fancy paper to get started. Basic square sheets and a little patience go a long way. These ideas focus on beginner-friendly folds and lovable designs that look impressive while staying fun and affordable to make.
1. Classic Origami Heart
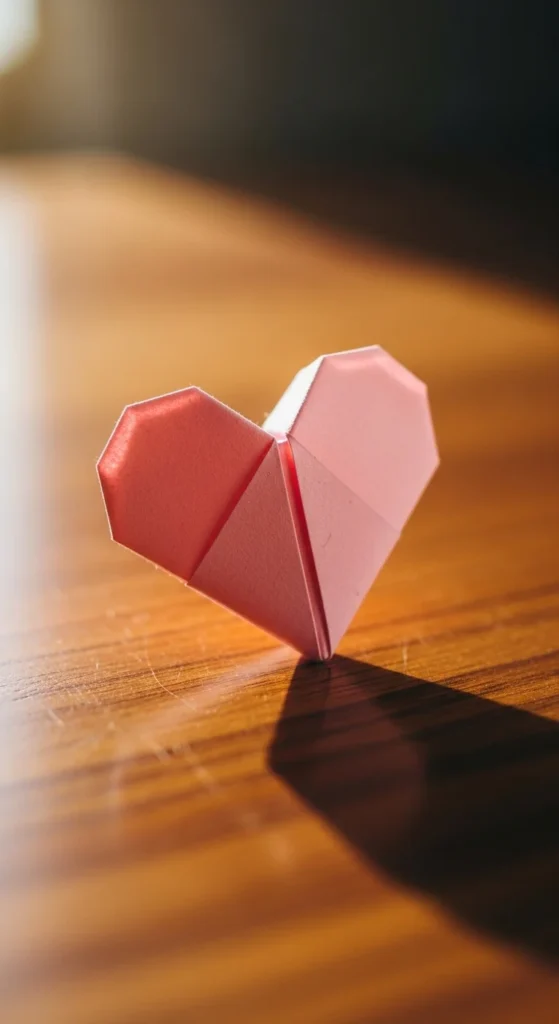
A classic origami heart is one of the most loved paper crafts because it feels simple and meaningful at the same time. Start with a square sheet and fold it in half diagonally to form a triangle. Shape the top corners inward to create the rounded top of the heart. Tuck small tips down to soften the edges and make the shape smooth. This fold is great for decorating cards, gift wraps, or lunchbox notes. Budget tip: Cut squares from old magazines for colorful patterns without buying craft paper. Write a tiny message on the paper before folding so the note stays hidden inside. These hearts are small, sturdy, and easy to make in batches for friends or family.
2. Fox Face Fold
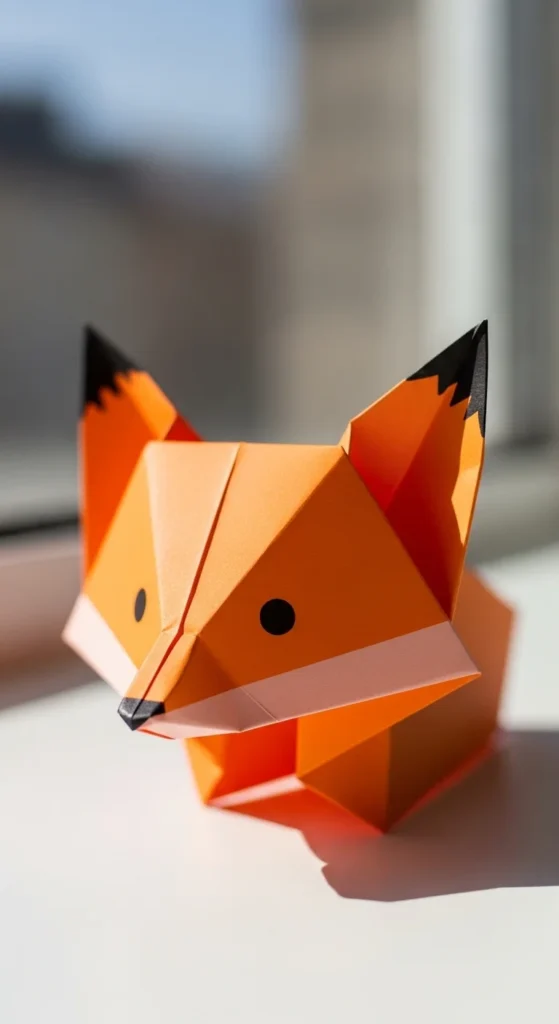
A fox face origami uses just a few folds and looks charming right away. Begin with a square sheet and fold it diagonally into a triangle. Bring the bottom corners upward to form pointed ears. Flip the shape over and fold the bottom tip slightly upward to create the snout area. Draw tiny eyes and a nose using a black pen or marker. Budget tip: Use orange scrap paper or color white paper with crayons for a bright look. These fox faces make cute bookmarks when tucked into pages. You can also glue them onto greeting cards or notebooks. Because the steps are short and simple, this project is great for kids or beginners trying origami for the first time.
3. Panda Face Mini
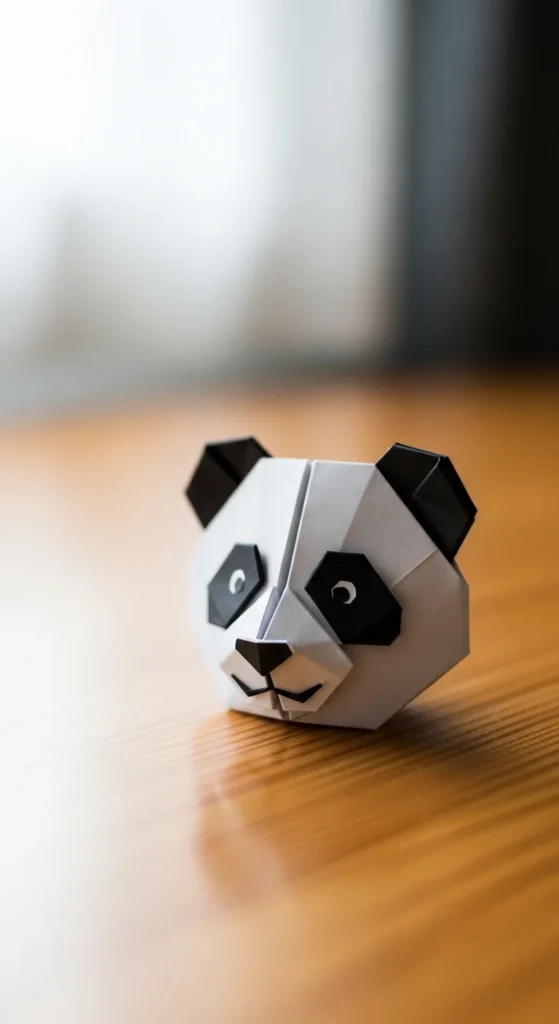
A panda face fold is quick, beginner-friendly, and always adorable. Start by folding a square into a triangle. Fold the top corners down slightly to form rounded ears. Flip the model and fold a small triangle at the bottom to create the chin shape. Use a black pen to draw round panda eyes and a tiny nose. Budget tip: Use white paper and color the ears and eye patches with a marker instead of buying black paper. These tiny panda faces look cute glued into notebooks or journals. You can also turn them into mini cards by writing a note on the back. The simple folds make it easy to create several in just a short time.
4. Heart Corner Bookmark

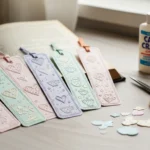
A heart corner bookmark is both useful and sweet. Start with a square and fold it into a smaller square, then into a triangle. Open one flap and tuck folds inside to form a pocket shape. Shape the top edges into rounded heart curves by folding small corners down. Slide the pocket over the corner of a book page. Budget tip: Use patterned paper from old gift wrap to make colorful designs. These bookmarks make thoughtful handmade gifts for readers. You can even write a tiny message inside the pocket before giving it away. Because they are flat and sturdy, they last a long time without slipping out of pages.
5. Frog Face Fold
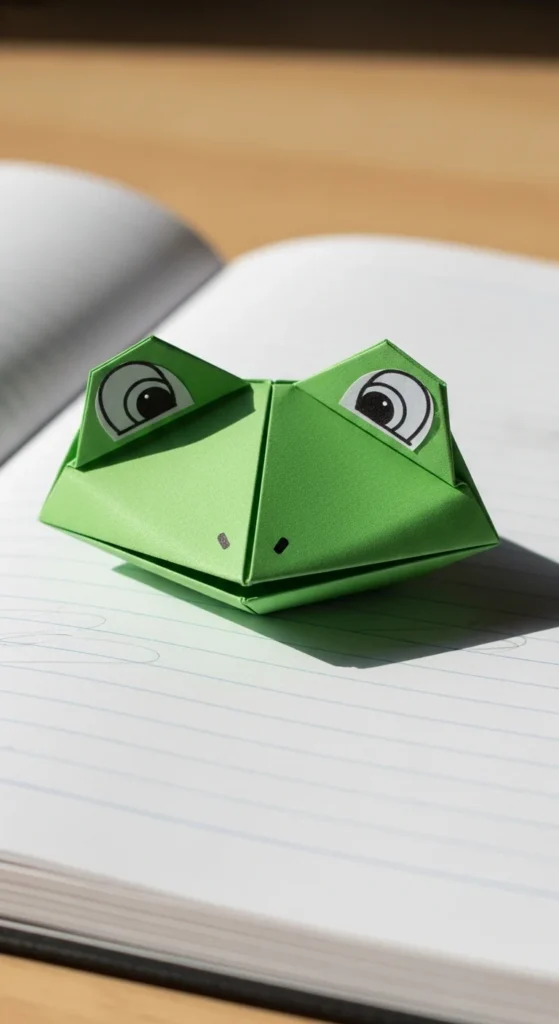
A frog face origami is playful and easy to recognize. Fold a square diagonally to make a triangle. Bring the bottom corners up slightly to create two eye bumps. Flip the model and fold a small tip upward for the mouth area. Draw big round eyes and a smiling mouth with a marker. Budget tip: Use green paper from scrap wrapping sheets or color plain paper with crayons. These frogs are fun for kids’ craft time or classroom decorations. You can glue them onto sticks to make simple puppets. The design is flat, so it’s easy to store or use in cards. Quick folds and drawn details make this a fast project with lots of personality.
6. Origami Tulip Flower
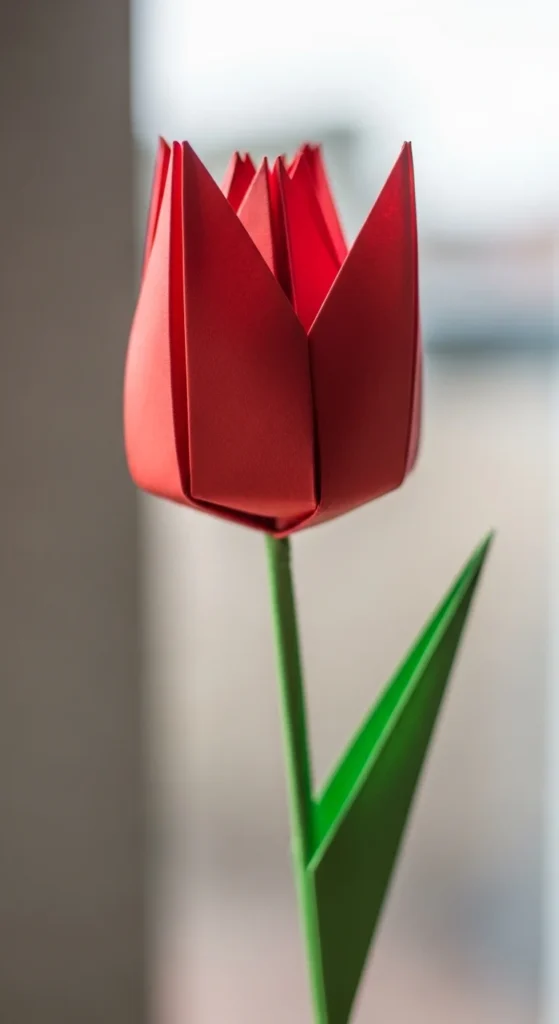
An origami tulip adds bright cheer without glue or tape. Fold a square into a triangle and then shape the sides inward to form petals. Gently open the bottom to puff the flower head slightly for a rounded look. Create a simple stem by rolling green paper tightly into a stick shape. Insert the stem into the base of the tulip. Budget tip: Use colored notebook paper or wrapping paper scraps instead of buying craft sheets. Make a few tulips in different colors to form a small bouquet. These flowers look lovely in jars or taped to gift bags. Because the folds are simple, you can make several quickly for decorations or handmade gifts.
7. Blossom Heart Fold
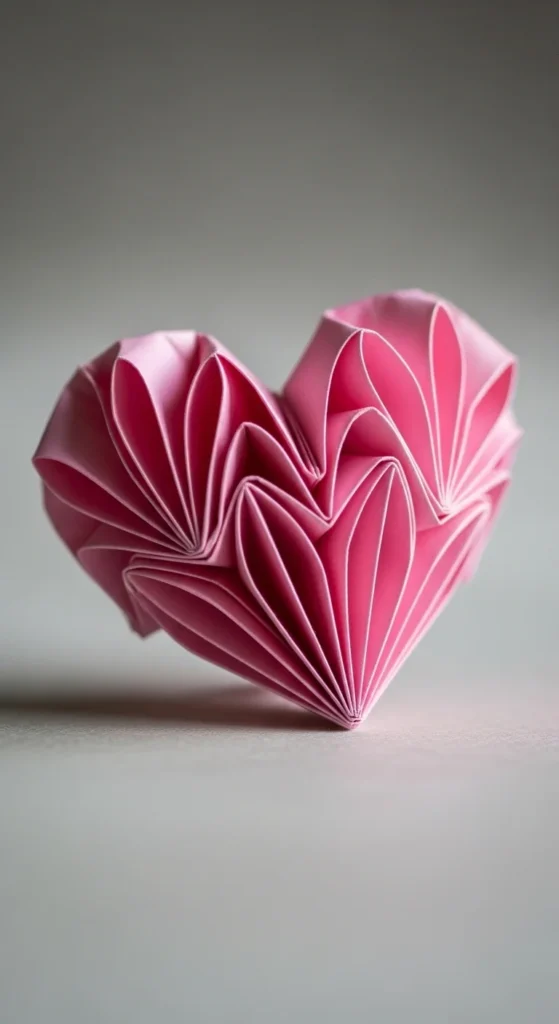
A blossom heart fold combines a flower look with a heart shape for extra charm. Start with a basic origami heart base. Then fold small petal shapes at the top edges to create a floral effect. Press creases firmly so the petals hold their shape. Use pink, red, or floral patterned paper for a soft romantic look. Budget tip: Try double-sided scrapbook paper to show different colors in the petals. These blossom hearts make sweet decorations for cards or gift boxes. You can also string several together to make a paper garland. The added petal detail makes this heart feel special without adding many extra steps.
8. Origami Heart Box
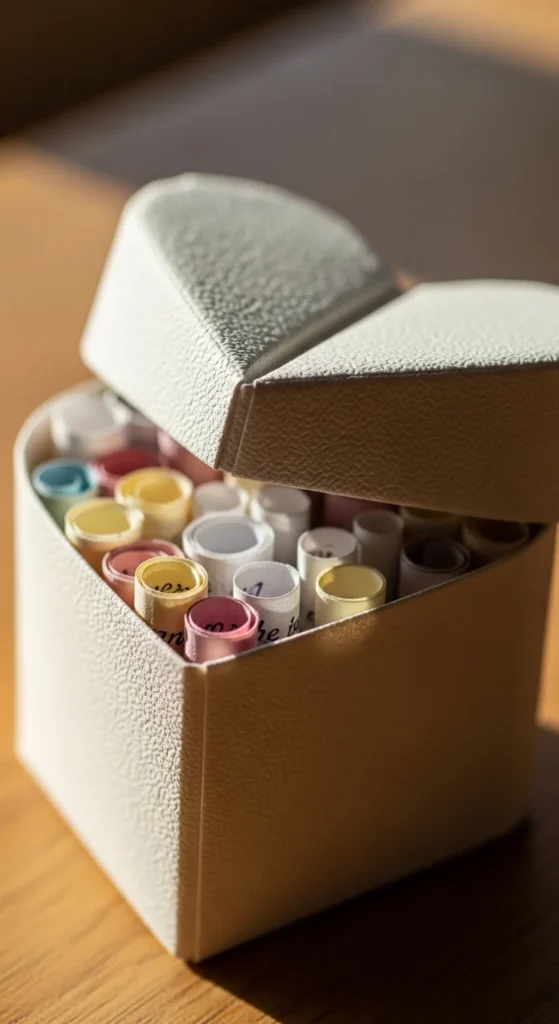
A heart box is both cute and practical. Fold a square into a shallow box base by shaping corners upward. Make a second folded piece shaped like a heart to use as the lid. Fit the lid gently over the base. Budget tip: Use slightly thicker paper like old greeting cards so the box holds its shape. These little boxes are perfect for tiny notes, candies, or rings. You can decorate the lid with a drawn bow or small sticker. Because the box is small and lightweight, it makes a lovely handmade surprise for birthdays or celebrations.
9. Simple Cat Face
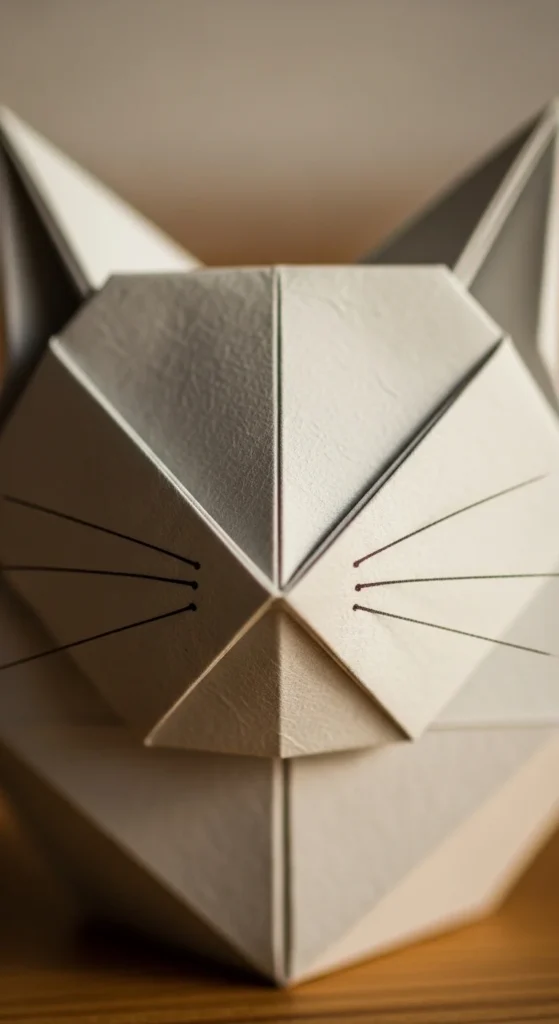
A cat face origami is a favorite for animal lovers. Fold a square diagonally into a triangle. Bring the two bottom corners upward to form pointed ears. Fold a small tip upward at the bottom for the chin. Draw whiskers, eyes, and a tiny nose. Budget tip: Use patterned or colored scrap paper to give each cat a unique look. These faces are great for bookmarks or small cards. Kids love adding different expressions with markers. The flat design makes them easy to glue onto notebooks or gift tags.
10. Easy Dog Face
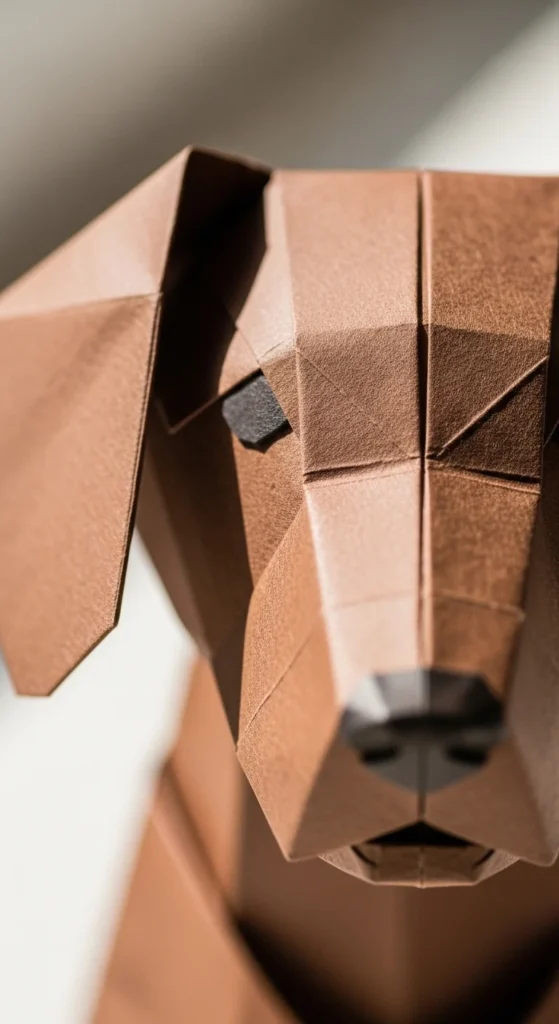
An origami dog face is friendly and simple to fold. Start with a triangle base and fold the top corners downward to create floppy ears. Flip the model and fold a small bottom tip upward for the snout. Draw a round nose and happy eyes. Budget tip: Use brown paper from packaging or grocery bags. These dog faces look cute attached to thank-you cards or used as decorations in kids’ rooms. The folds are basic, making this a great project for beginners.
11. Bunny Box Fold
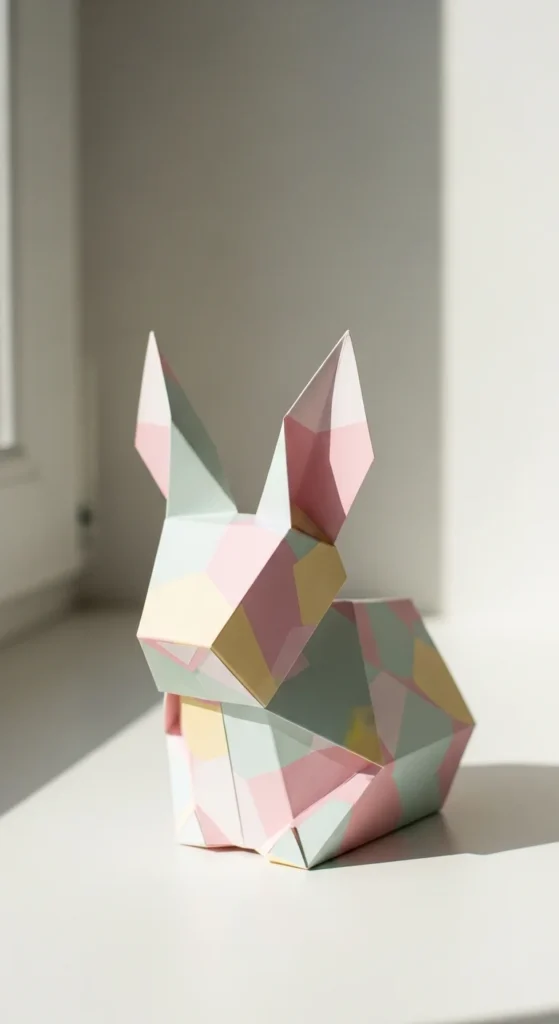
A bunny box combines storage and cuteness in one simple design. Fold a square into a shallow box shape first. Then form two pointed flaps at the top to create bunny ears. Press creases well so the ears stand upright. Draw a small face with whiskers and eyes for extra charm. Budget tip: Use pastel paper from old gift wrap for soft colors. These boxes are perfect for holding tiny candies or notes during spring celebrations. Because the design stays flat at the base, the box is stable on tables. You can make several and arrange them as party decorations or small gifts.
12. Origami Chick
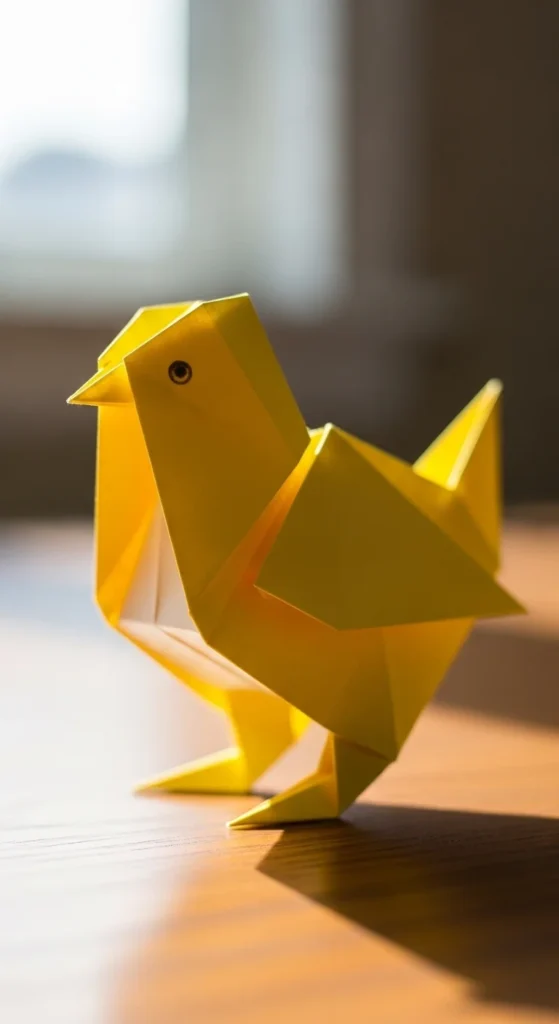
A paper chick is bright, cheerful, and easy to make. Fold a square into a triangle and then fold small tips on the sides to shape wings. Fold a tiny triangle at the front to create a beak. Draw eyes and a simple smile with a pen. Budget tip: Cut squares from yellow sticky notes for a quick project. These chicks are great for seasonal decorations or classroom crafts. You can glue them onto cards or place them on desks as small cheerful figures. The simple folds and drawn details make them fun for all ages.
13. Fox Bookmark
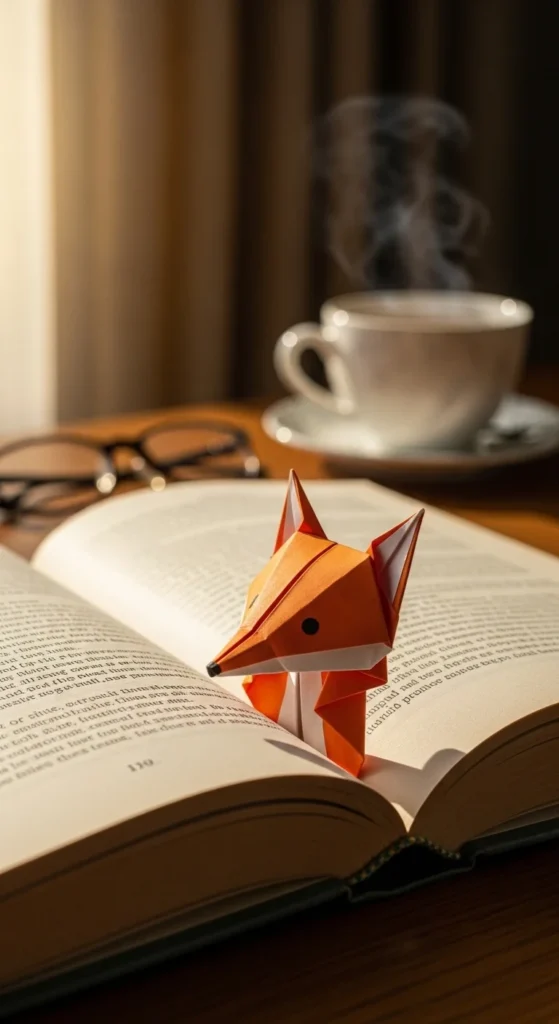
A fox bookmark mixes a fox face with a useful pocket fold. Start with a square and fold it into a corner bookmark base. Then add ear folds at the top to create the fox face shape. Draw small eyes and a nose. Slide the finished piece over a book page corner. Budget tip: Use orange magazine pages or colored paper scraps. These bookmarks are practical and cute, making reading time more fun. They also make thoughtful handmade gifts for book lovers.
14. Cat Corner Bookmark

A cat corner bookmark follows the same pocket base as other bookmarks but adds cat ears. Fold the ears upward from the top corners. Draw whiskers and eyes to complete the face. Budget tip: Use patterned paper to make playful cat designs. These bookmarks peek out from book pages in an adorable way. They are sturdy and reusable, making them perfect for school or home use.
15. Origami Dove

A paper dove looks graceful and symbolic. Fold a square into a bird base and shape a small head and tail. Gently lift the wings outward. Use thin white paper for a soft look. Budget tip: Plain printer paper works perfectly. These doves are lovely for decorations, gifts, or meaningful events. You can hang them with thread for floating décor. The simple folds create a peaceful shape that feels elegant.
16. Origami Lion Face
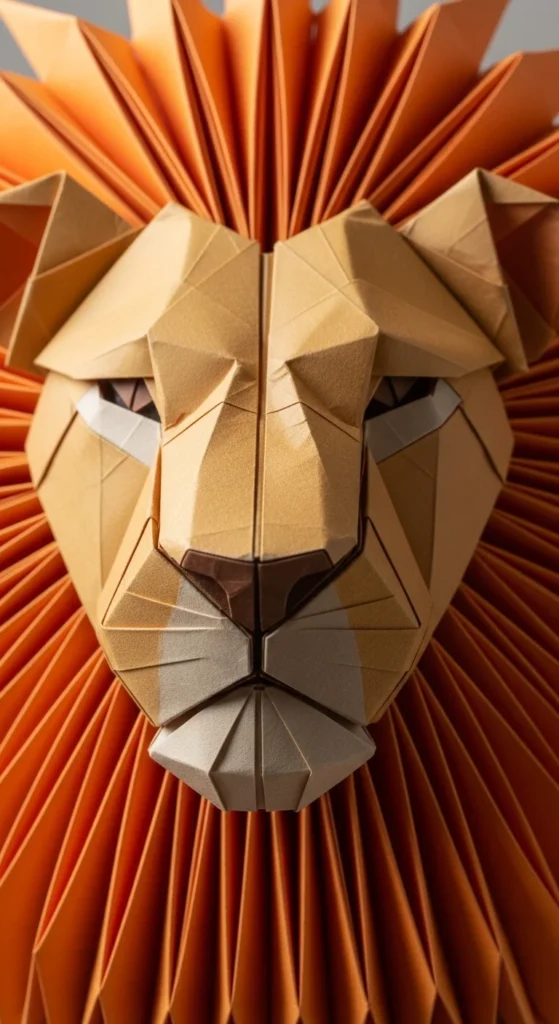
A lion face fold is bold yet easy to make. Fold a square into a triangle and shape small folds around the edges to create a mane. Fold a small tip for the chin area. Draw friendly eyes and a nose. Budget tip: Use orange or yellow paper from scrap sheets. These lions are great for kids’ crafts or themed decorations. The simple design makes them quick to produce in groups.
17. Origami Mouse
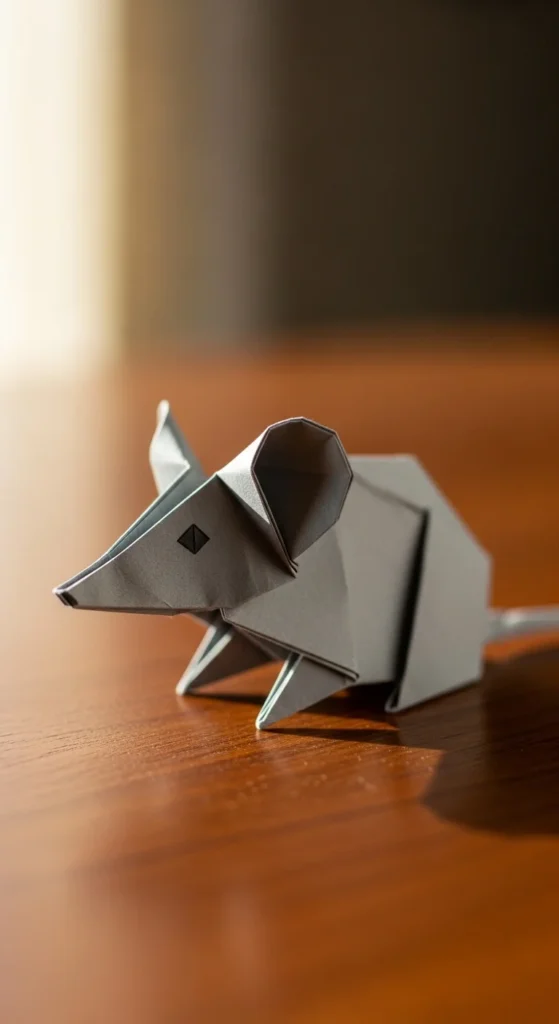
A mouse fold uses just a few sharp creases to form ears and a pointed nose. Fold a square into a triangle, then shape the top corners into round ears. Pull a small tip forward to create the snout. Draw whiskers and eyes with a pen. Budget tip: Use gray notebook paper or color white paper lightly with pencil. These little mice look cute on desks, shelves, or greeting cards. The simple shape makes it easy to make several quickly.
18. Origami Hummingbird

A hummingbird fold looks delicate and graceful. Use thin paper so the wings fold easily. Shape a long beak and angled wings with careful creases. Gently curve the wings upward to give a lifelike pose. Budget tip: Try patterned paper for colorful bird designs. Hang several from thread near a window for a floating decoration. Though it looks detailed, the steps stay manageable with patience.
19. Origami Phoenix
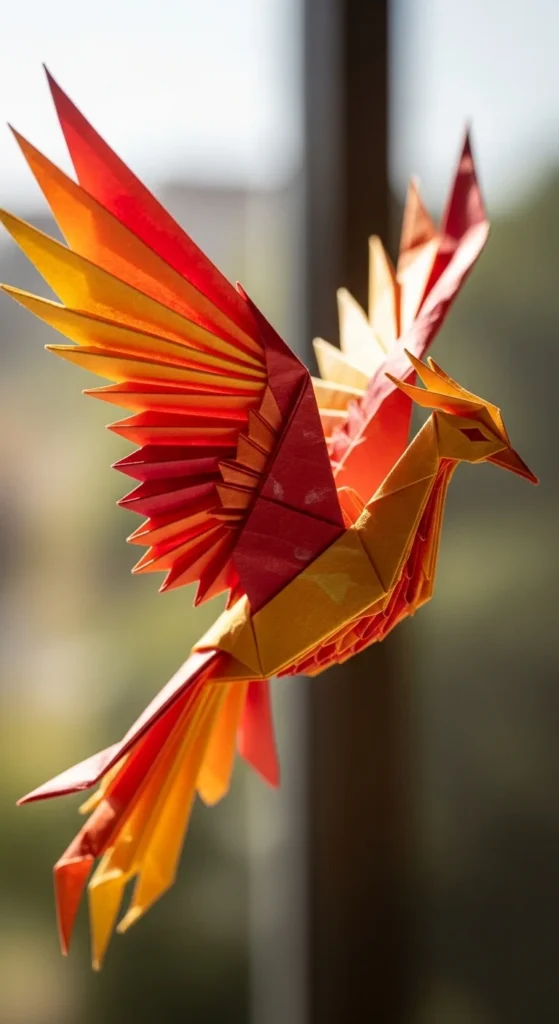
A phoenix fold looks dramatic but can be done with steady folding. Shape large wings and a pointed tail from a square sheet. Use larger paper to make the process easier. Press each crease firmly so the model holds its form. Budget tip: Use colorful scrap paper for bold wings. This figure makes an impressive decoration or gift. It’s a great step up once you feel confident with simpler animal folds.
20. Origami Pirate Hat

A pirate hat is a fun wearable fold. Start with a large square sheet and fold broad flaps upward to form the hat shape. Adjust the size by choosing bigger or smaller paper. Budget tip: Use newspaper or old poster paper. These hats are perfect for parties or playtime. Kids love decorating them with drawn skulls or stripes.
21. Origami Graduation Cap

A graduation cap fold celebrates achievements in a cute way. Fold a square into a flat top shape and a small base. Add a drawn tassel detail with a pen. Budget tip: Use black paper from magazines. These caps make sweet decorations for graduation cards or party tables.
22. Origami Witch Hat
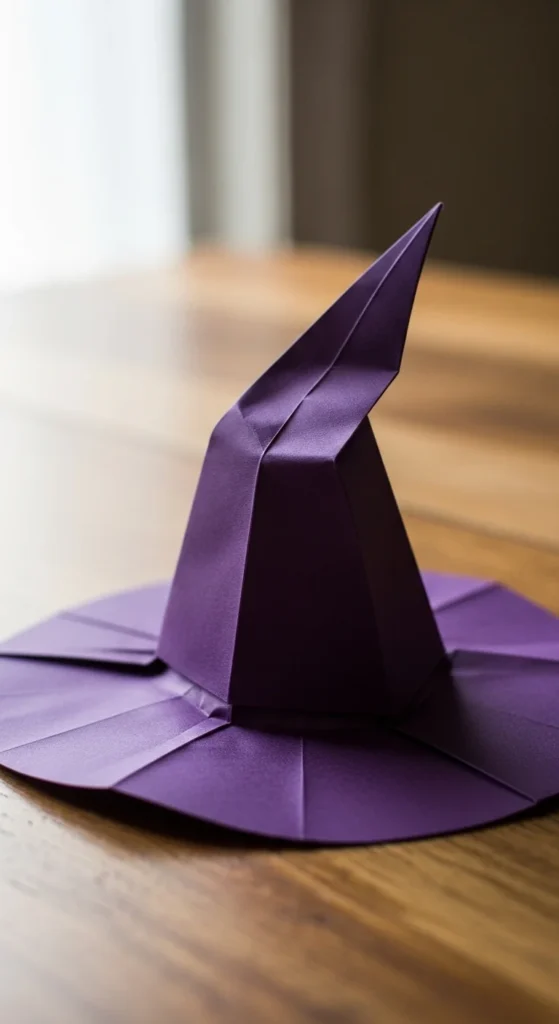
A witch hat fold is playful and seasonal. Shape a pointed cone top and flat brim using simple folds. Use dark paper for a spooky look. Budget tip: Cut squares from old wrapping paper. These hats are fun for Halloween decorations or themed crafts.
23. Origami Infinity Cube
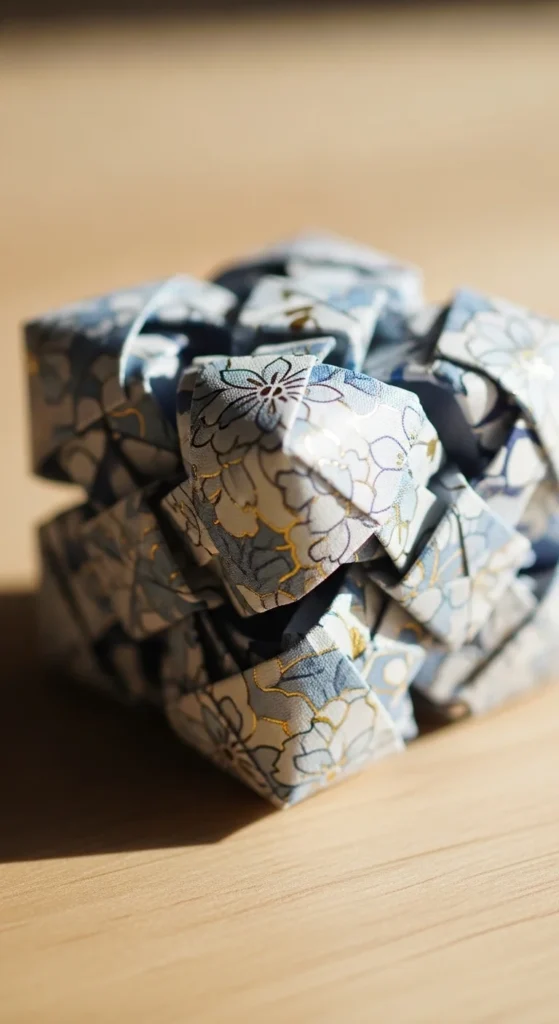
An infinity cube creates a simple fidget toy from connected folded pieces. Fold several small rectangles into modules and join them together. Flip and fold it repeatedly to see the shape change. Budget tip: Use scrap paper strips. It’s fun to make and keeps hands busy.
24. Origami Finger Trap
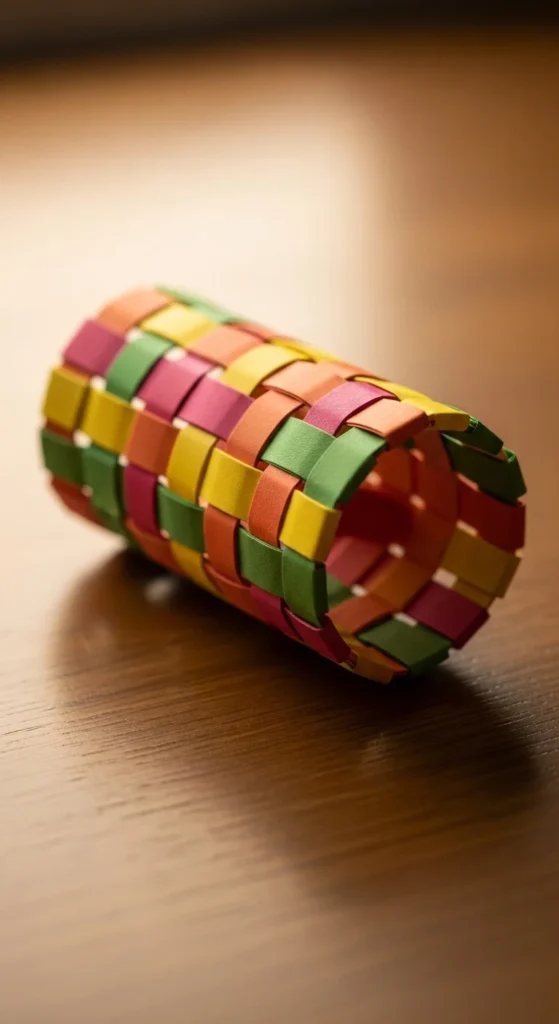
A finger trap fold uses woven paper strips to create a playful tube. Cut long strips and weave them together tightly. Glue or tuck the ends inside. Budget tip: Use magazine pages for colorful patterns. These are fun party favors or small playful crafts.
25. Origami Bow Heart
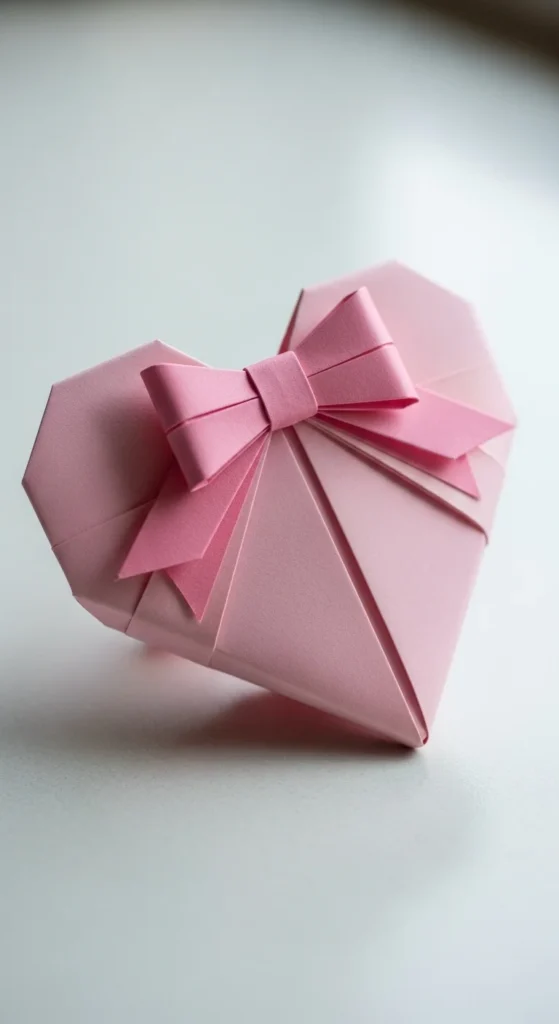
A bow heart fold adds extra charm to a basic heart. Fold a simple heart shape first. Then make a tiny paper bow and tuck it into the top folds. Use contrasting colors for a cute look. Budget tip: Use leftover paper scraps for the bow. These hearts look adorable on gifts, cards, or notes. The added bow detail makes them feel extra special without much extra effort.
Conclusion
Cute origami projects show how a simple sheet of paper can turn into something meaningful, playful, and decorative. From hearts and animals to boxes and wearable hats, these folds bring joy without special tools or high costs. Start with easy shapes and grow your skills step by step. Handmade paper creations make small gifts feel personal and moments feel more thoughtful.

Lily Summers is a digital artist and creative storyteller who loves bringing colorful characters to life. With a passion for cartoons, fan art, and playful sketches, she inspires others to explore their imagination through art. When she’s not sketching, you’ll find her dreaming up new ideas for CraftedWizard.com to spark creativity in every artist. 🌈✨