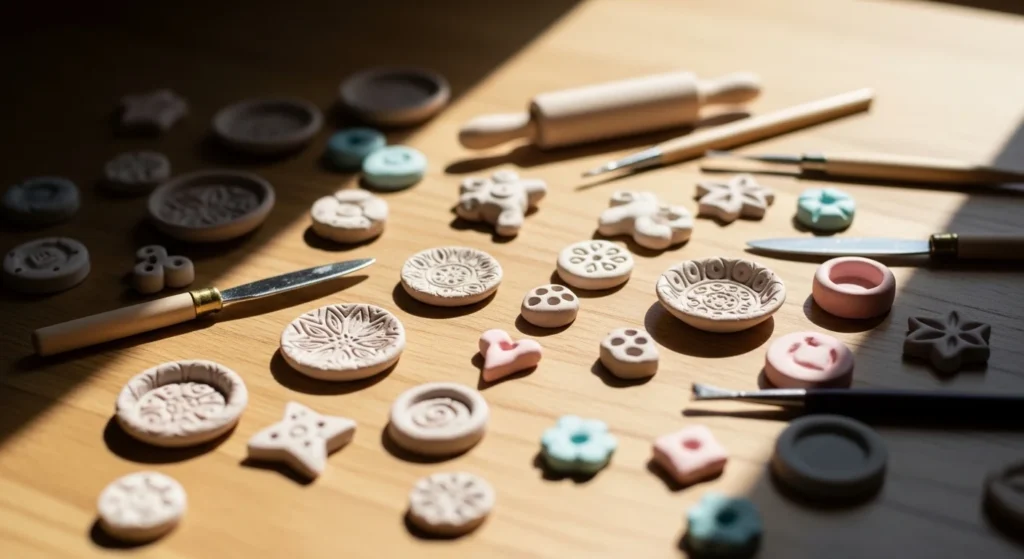
Clay trinkets are a fun way to make small, useful items without spending much money or time. With just a little clay and a few basic tools from around the house, you can shape adorable pieces for gifts, jewelry, or decor. Most of these ideas dry quickly and can be painted later for extra personality. These projects are great for beginners because the shapes are simple and forgiving. You can work at your own pace and still end up with something you’ll actually use.
1. Mini Heart Ring Dish
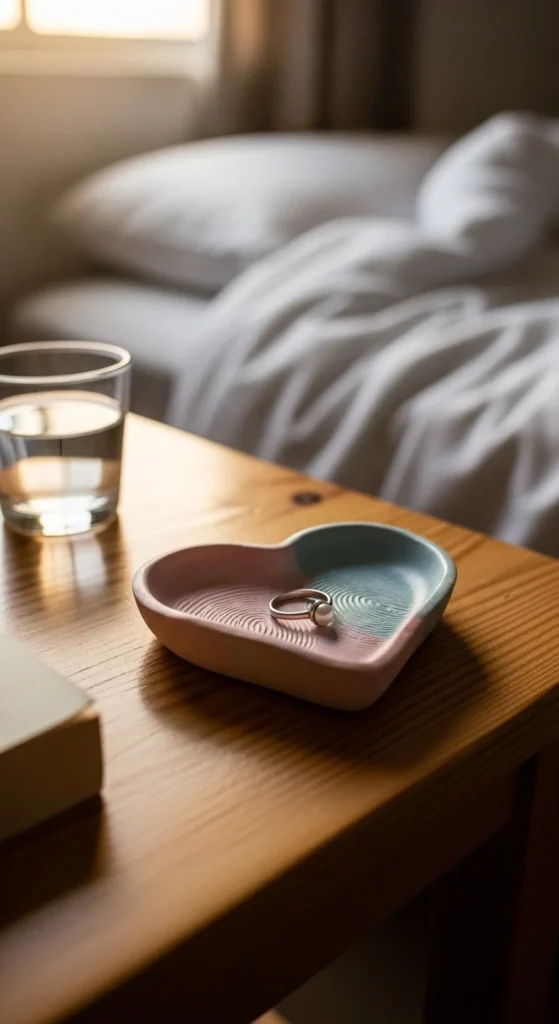
This tiny heart dish is perfect for holding rings or small studs on a nightstand. Start by rolling clay into a ball and pressing it flat in your palm. Pinch the bottom into a soft point and round the top to form a heart. Press your thumb gently in the center to create a shallow space. Smooth the surface with a damp finger before letting it dry.
2. Star Bag Charm
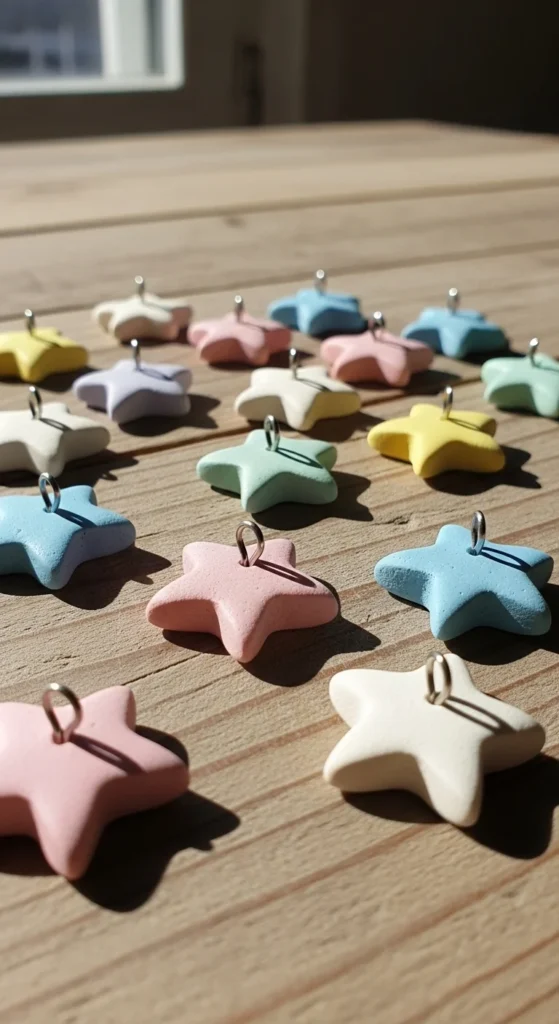
A small clay star makes a cute charm for backpacks or purses. Roll the clay flat and cut out a star using a cutter or knife. Keep it thick enough so it won’t bend after drying. Use a toothpick to make a small hole at the top for hardware. After it dries, paint it in bright or pastel colors and seal it.
3. Marble Trinket Bowl
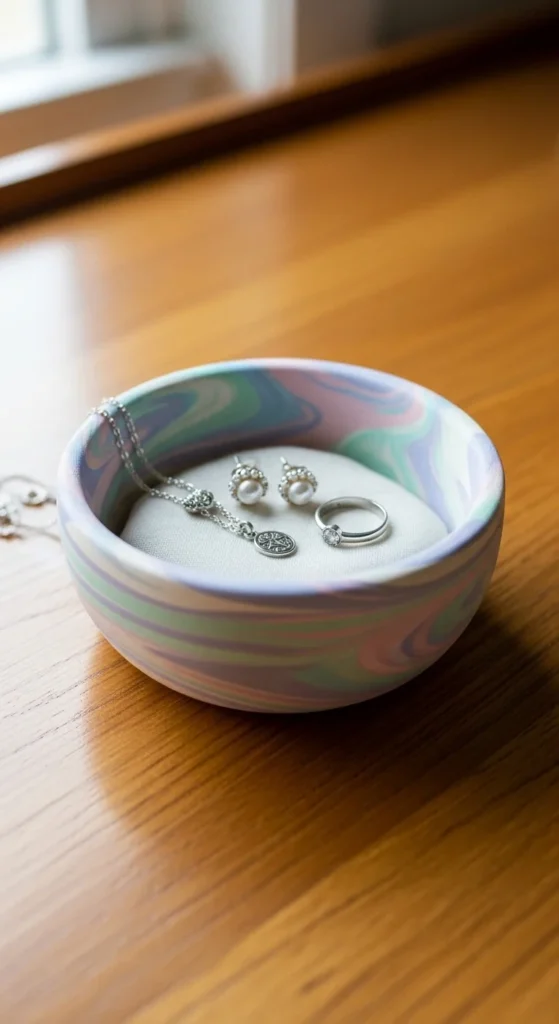
This little bowl is both pretty and useful for tiny items. Lightly mix two clay colors without fully blending them. Roll into a ball and press into a small bowl lined with plastic wrap. This gives it a smooth curved shape while keeping the marbled effect. Let it dry fully, then seal with varnish.
4. Tiny Rainbow Decor
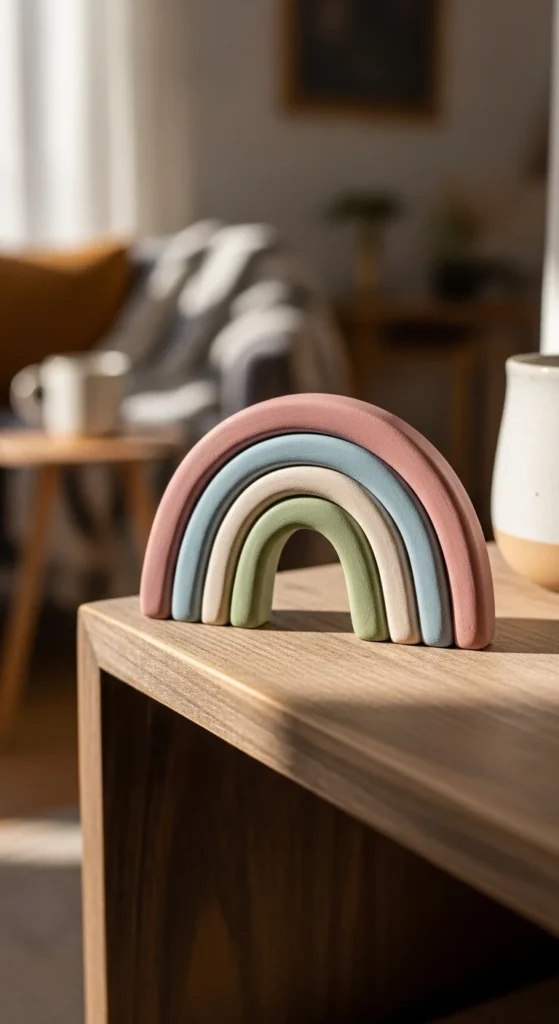
Mini rainbows add a soft decorative touch to shelves or desks. Roll thin clay ropes and curve them into arches. Stack the arches gently on top of each other and smooth the joins. Keep the colors muted for a calm look. Once dry, they stand up nicely as small decor pieces.
5. Mini Mushroom Pair
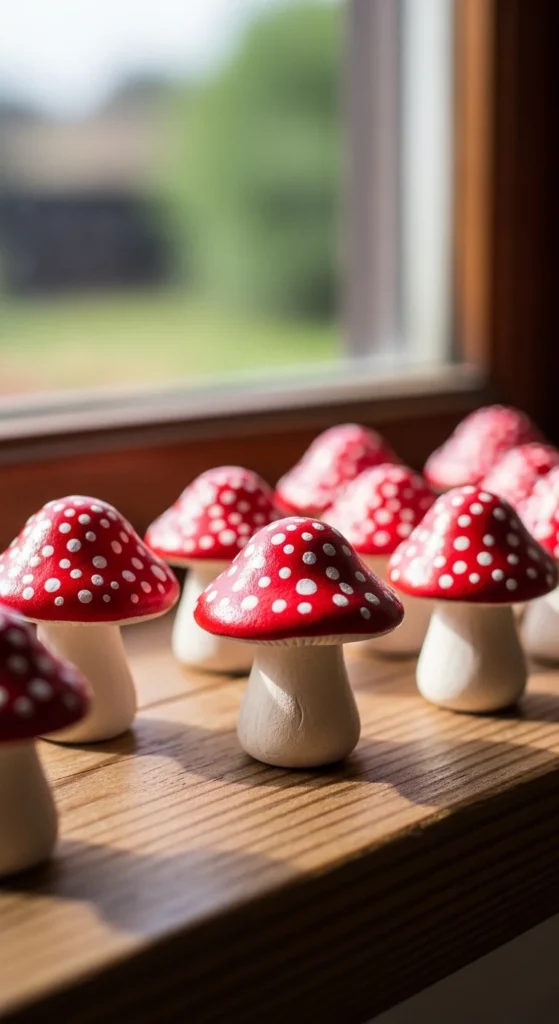
These tiny mushrooms look adorable in plant pots or on shelves. Roll a small stem shape and a rounded cap separately. Attach them by pressing gently together. Add little dots on the cap using a toothpick. Paint after drying for a classic mushroom look.
6. Crescent Moon Pendant
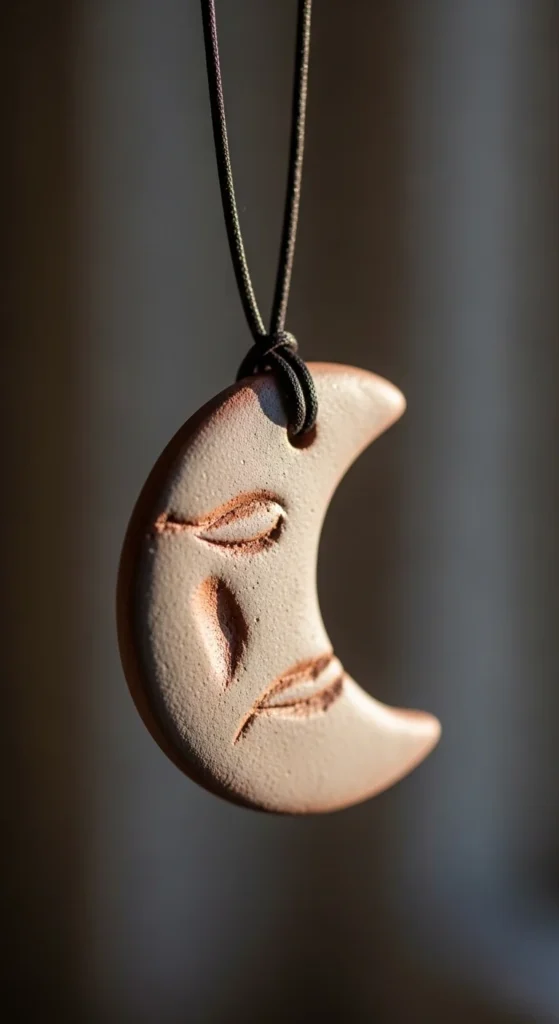
A moon pendant is simple and stylish. Roll clay flat and cut a crescent shape with a knife. Smooth the edges with your fingers. Poke a hole at the top before drying for a string or chain. Paint in soft white, gold, or silver when dry.
7. Paw Print Dish
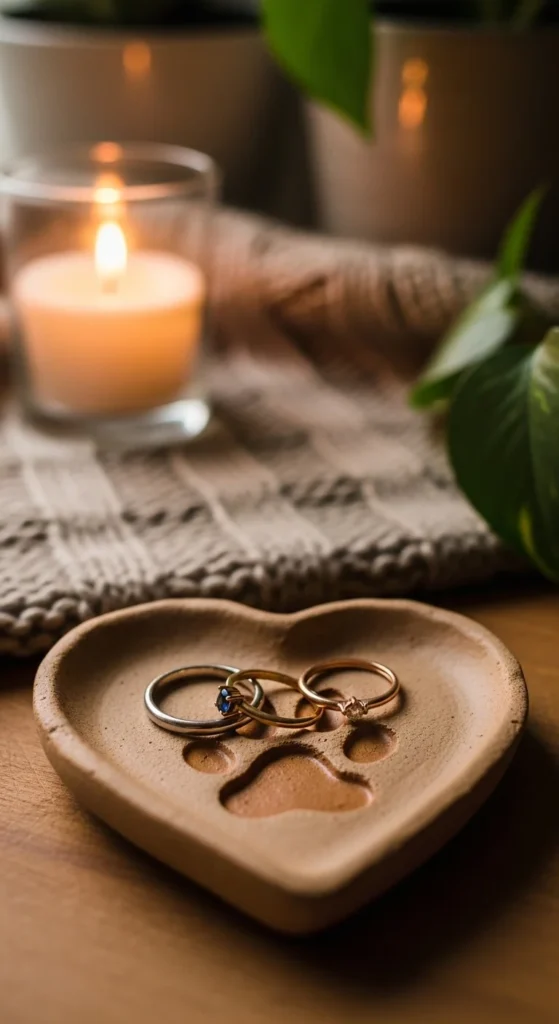
Pet lovers will adore this tiny dish. Flatten a small piece of clay into a round shape. Press a paw print using a pen cap and toothpick. Shape the edges slightly upward to form a dish. Let it dry and paint if desired.
8. Mini Fruit Charms
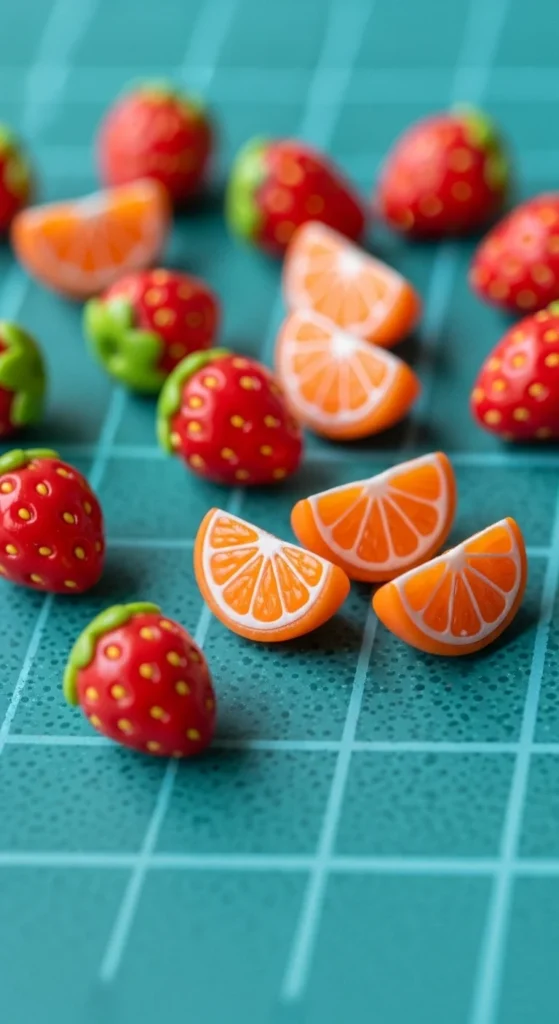
Mini fruit charms are colorful and fun to make in small batches. Roll tiny pieces of clay into simple fruit shapes like strawberries, lemons, or oranges. Use a toothpick to add small details such as seeds, dimples, or slice lines. Keep the pieces slightly thick so they stay strong after drying. Poke a tiny hole at the top before they harden so you can attach rings later.
9. Sleepy Cloud Decor

A soft cloud shape adds a cozy touch to desks or shelves. Roll clay flat and cut a rounded cloud outline with gentle curves. Smooth the edges using your fingertip and a little water. Let it dry completely before adding any details. Draw or paint a simple sleepy face for extra charm.
10. Leaf Imprint Dish
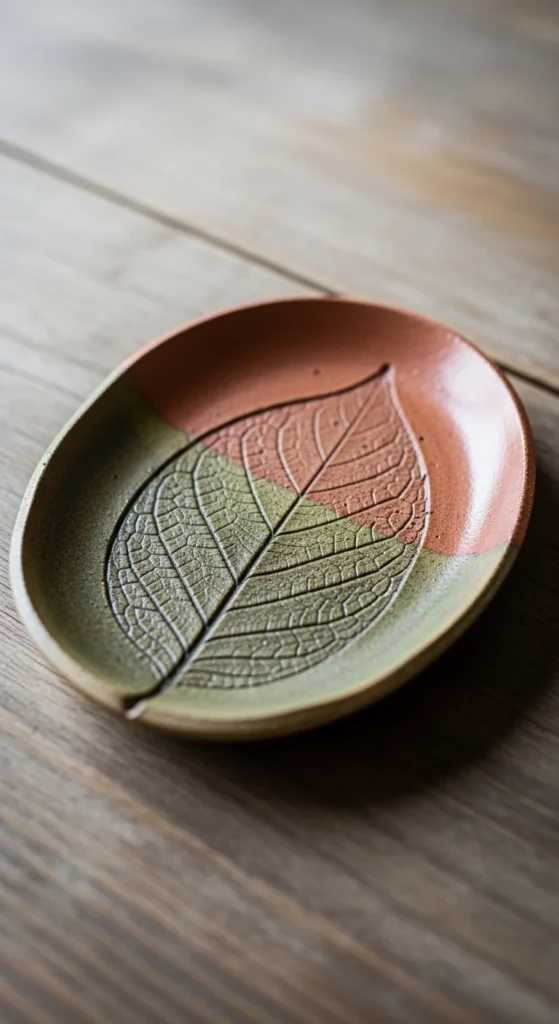
This project uses real leaves to create beautiful natural texture. Roll clay flat and press a leaf firmly onto the surface. Carefully peel it away to reveal the vein pattern underneath. Lift the edges slightly to form a shallow dish shape. Once dry, paint lightly to bring out the texture.
11. Mini Love Note Charm
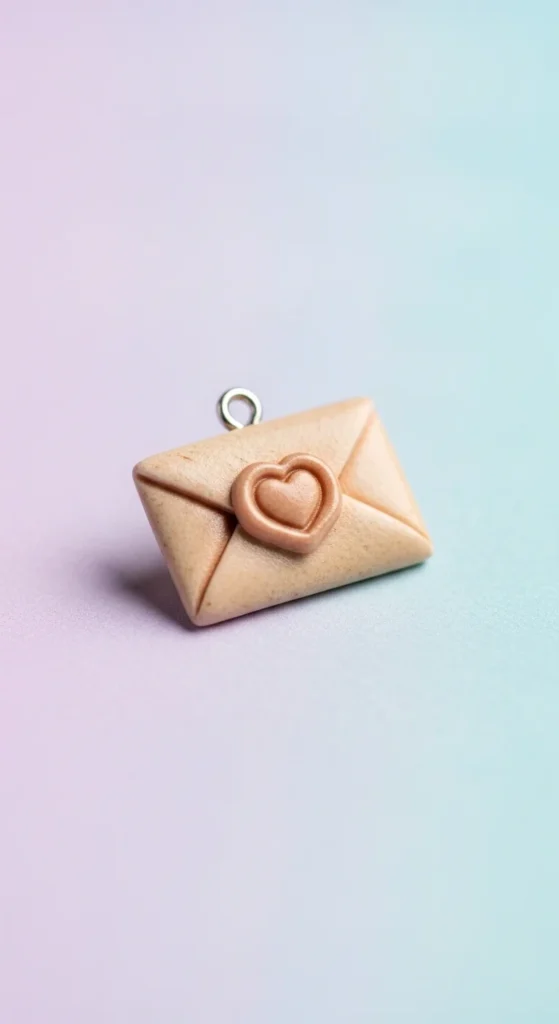
This tiny charm looks like a miniature envelope. Shape a small rectangle and gently press fold lines into the surface. Add a tiny heart detail in the center as a seal. Smooth the edges with your fingers. Make a small hole before drying so it can hang from jewelry or keys.
12. Seashell Trinkets
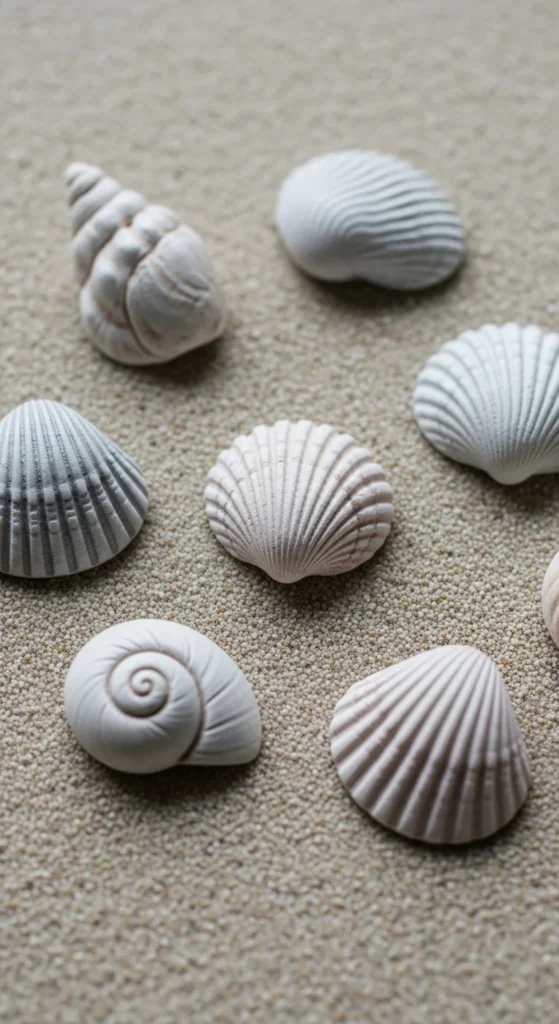
Seashell shapes are perfect for beach-inspired decor. Press real shells into clay to transfer their texture. Cut around the edges carefully to keep the shape neat. Smooth rough spots with a damp fingertip. Paint in sandy, pearly, or soft pastel tones once dry.
13. Tiny Cactus Figure

A mini cactus is a cute decoration that never needs watering. Shape a small oval or round form for the cactus body. Press light vertical lines for texture using a toothpick. Create a tiny pot shape separately and attach the cactus on top. Paint in soft green shades with a brown base.
14. Initial Key Charm
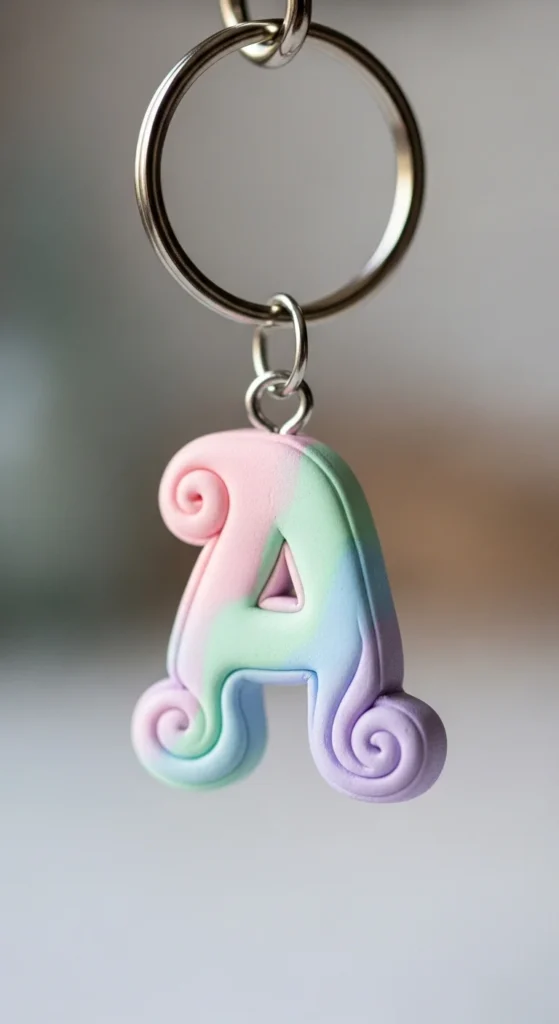
Personalized letter charms make great small gifts. Roll clay flat and cut out an initial using a knife or stencil. Smooth the edges so the shape looks clean. Add a hole near the top before it dries. Paint in bright or pastel colors and attach to a keyring.
15. Mini Butterfly
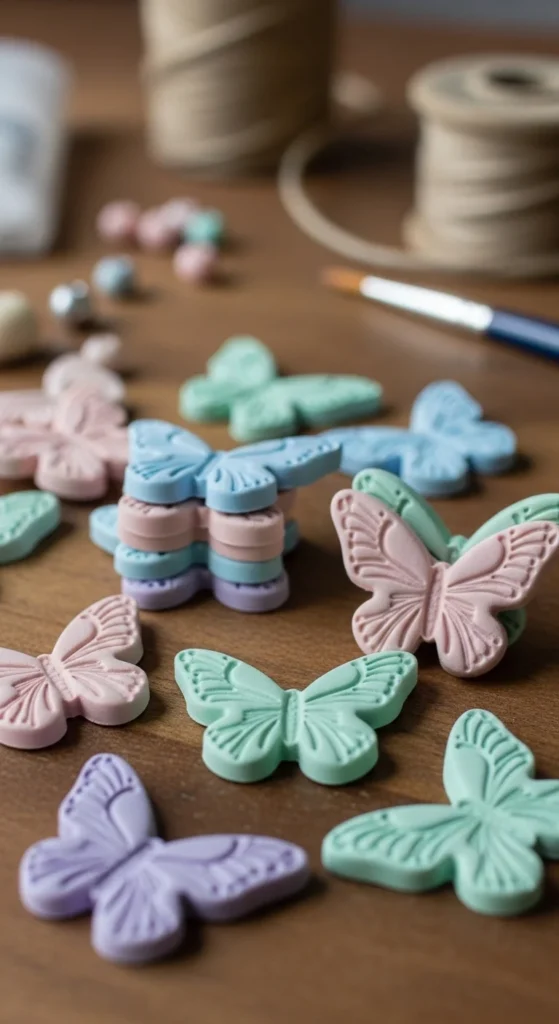
Butterflies are delicate but easy to shape. Form two small wings and join them gently in the center. Use a toothpick to draw light lines for wing details. Keep the piece flat while drying so it doesn’t bend. Paint with soft blended colors afterward.
16. Donut Charms
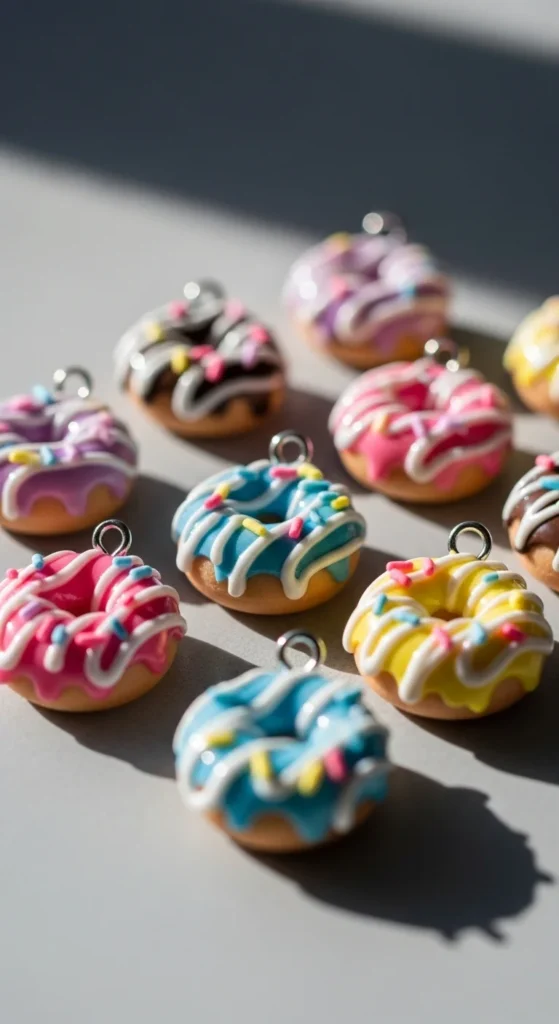
These tiny donuts look adorable as charms or decor. Roll a small clay ball and flatten it slightly. Poke a hole through the center to form the donut shape. Add raised icing details using thin clay strips. Paint with frosting colors and sprinkle dots when dry.
17. Starfish Decor
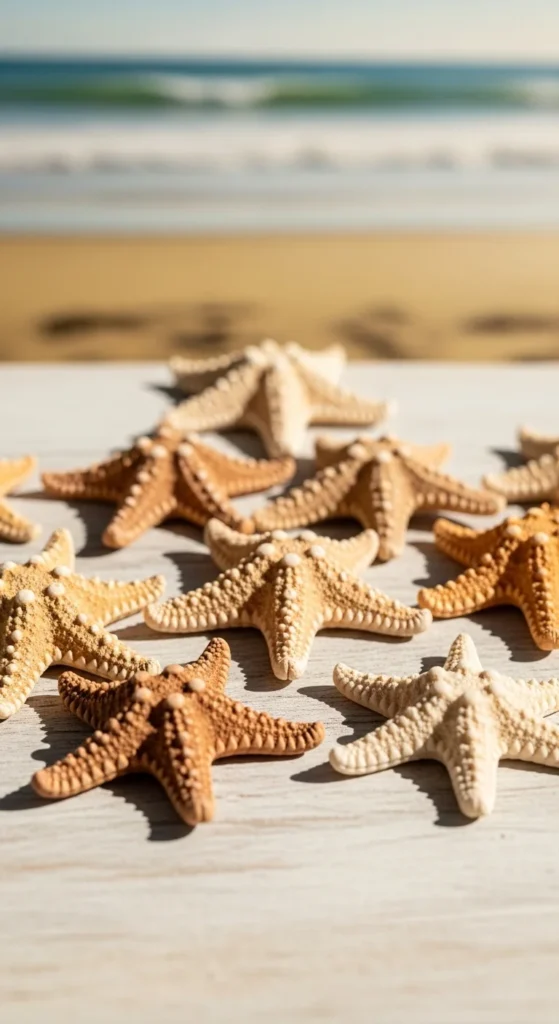
Starfish shapes bring a beach feel into your space. Roll five short arms and press them together at the center. Add tiny dots or lines for texture using a toothpick. Let the piece dry flat on a smooth surface. Paint in sandy beige or soft coral shades.
18. Tiny Bow Charms
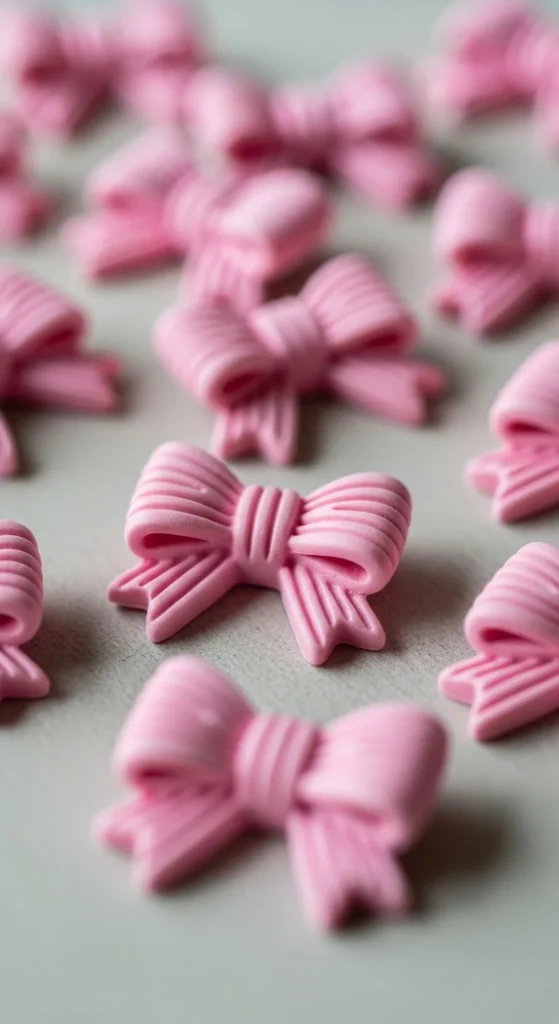
Clay bows add a sweet decorative detail to many items. Roll two small loops and pinch them in the middle. Wrap a thin strip of clay around the center to finish the bow. Smooth the joins gently with your fingers. Paint in soft pink, white, or pastel shades.
19. Feather Pendant
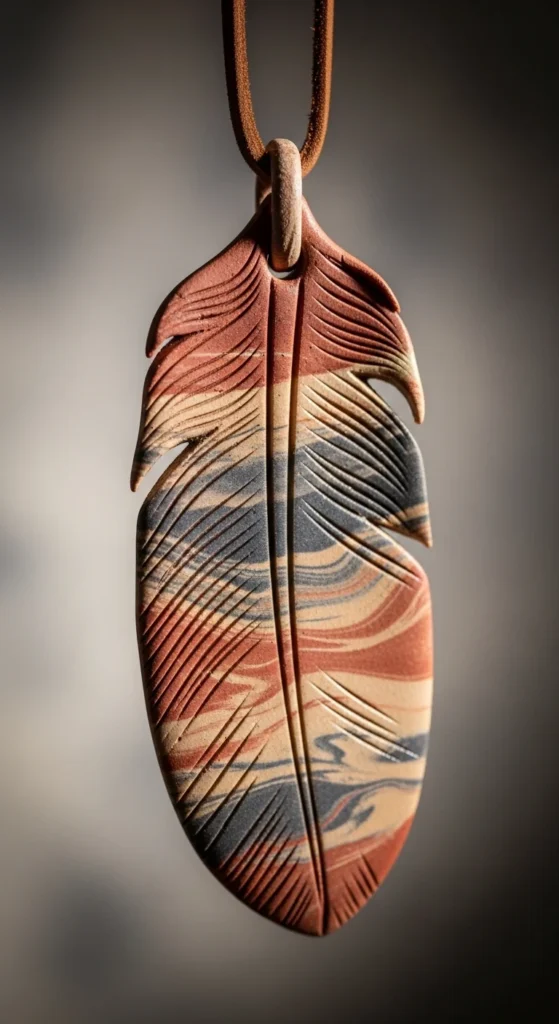
Feather pendants have a soft natural look. Roll clay flat and cut a long oval shape with a pointed tip. Use a toothpick to etch fine lines down the center and sides. Make a hole at the top for stringing later. Paint in earthy tones or light metallic shades.
20. Smiley Charms

Smiley charms add a playful touch to keychains or bags. Cut small circles from rolled clay using a cap or cutter. Press simple eyes and a curved smile into the surface. Keep the shapes slightly thick for strength. Paint in bright cheerful colors once dry.
21. Mini House Decor
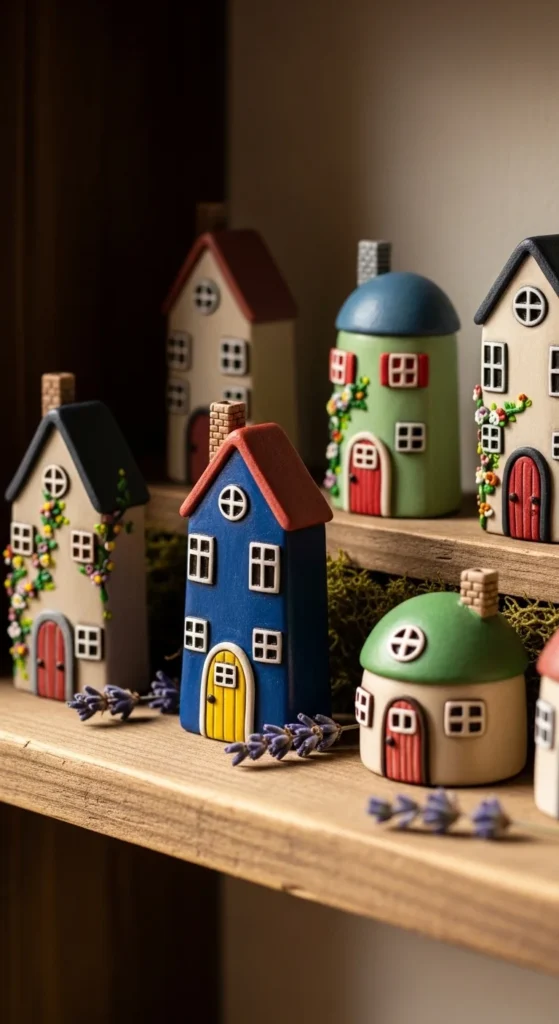
Tiny houses make charming shelf decorations. Shape a small cube and pinch a triangle roof on top. Use a tool to carve little windows and a door. Keep details shallow so they don’t crack while drying. Paint in soft cottage-style colors afterward.
22. Puffy Heart Keychain
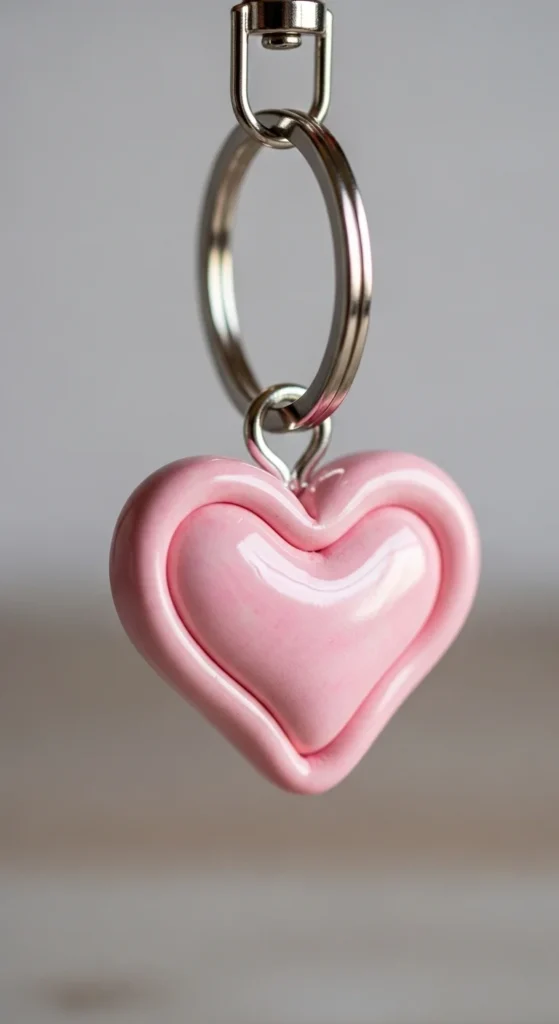
This puffy heart charm is soft and simple to make. Roll clay into a thick heart shape and round the edges gently. Smooth the surface using a damp fingertip. Add a small hole at the top for hardware. Paint and seal with gloss for a shiny finish.
Conclusion
Small clay trinkets are perfect for quick creative sessions that still result in useful, adorable items. They don’t require expensive supplies, and many can be made in under fifteen minutes. You can paint them, gift them, or keep them to brighten your space. Try a few designs today and build your own tiny handmade collection.

Lily Summers is a digital artist and creative storyteller who loves bringing colorful characters to life. With a passion for cartoons, fan art, and playful sketches, she inspires others to explore their imagination through art. When she’s not sketching, you’ll find her dreaming up new ideas for CraftedWizard.com to spark creativity in every artist. 🌈✨