
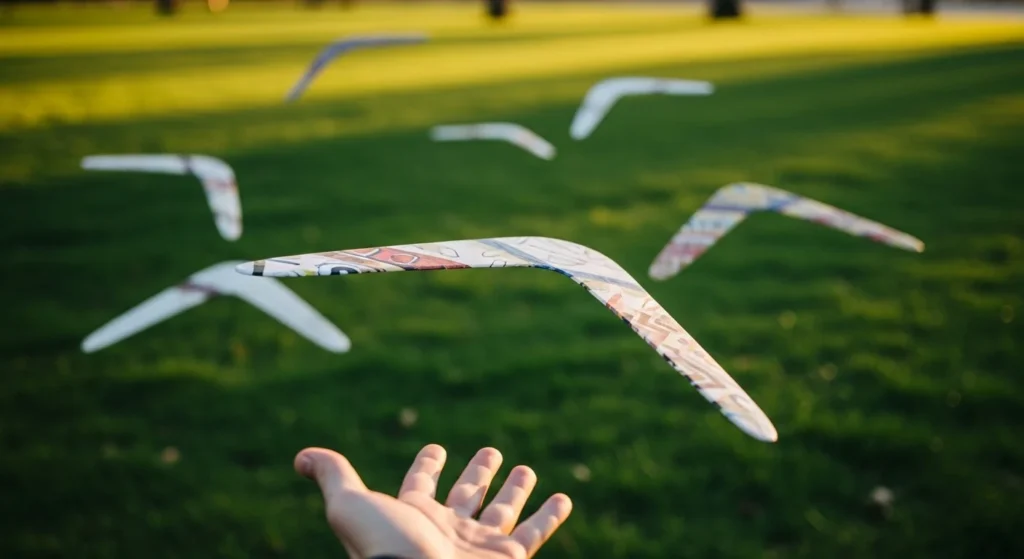
Paper boomerangs mix simple folding with real flight performance, which is exactly what many DIY fans are searching for. People want templates that actually return, not just crafts that drop to the ground. With the right shape, paper choice, and throw style, a flat sheet can glide out, arc smoothly, and circle back. Below you’ll find tried-and-true designs along with practical folding and flying tips that make each one work better using basic supplies at home.
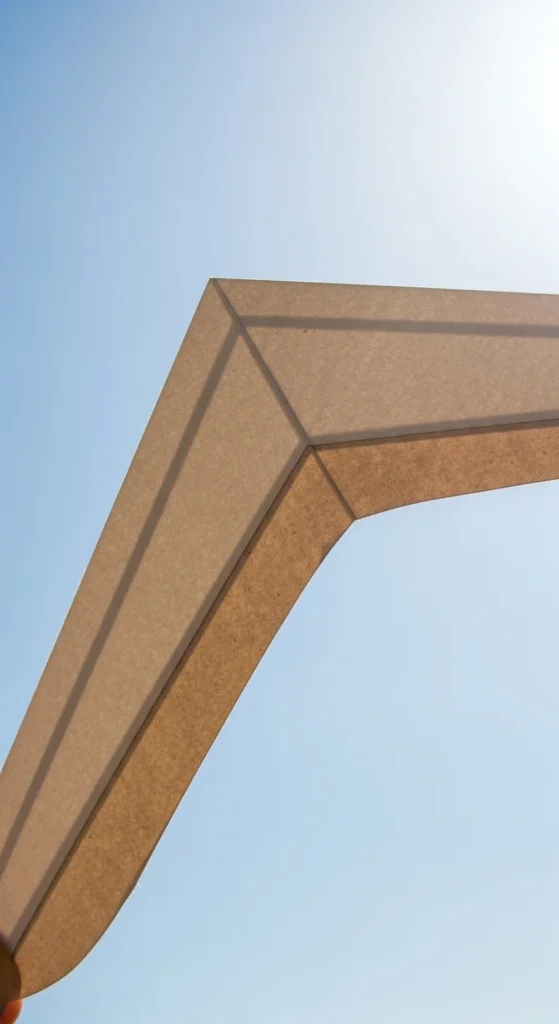
1. Classic V-Shape Returner
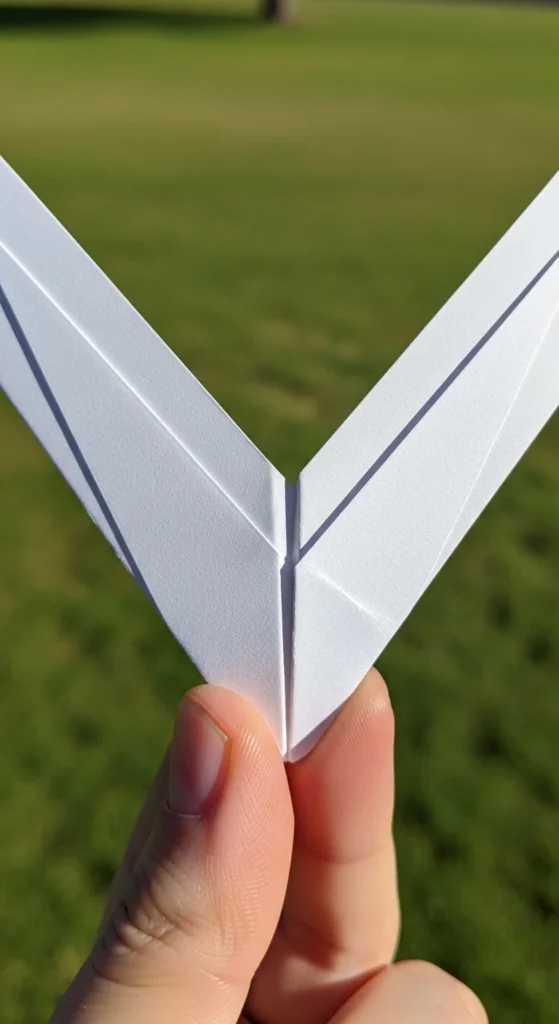
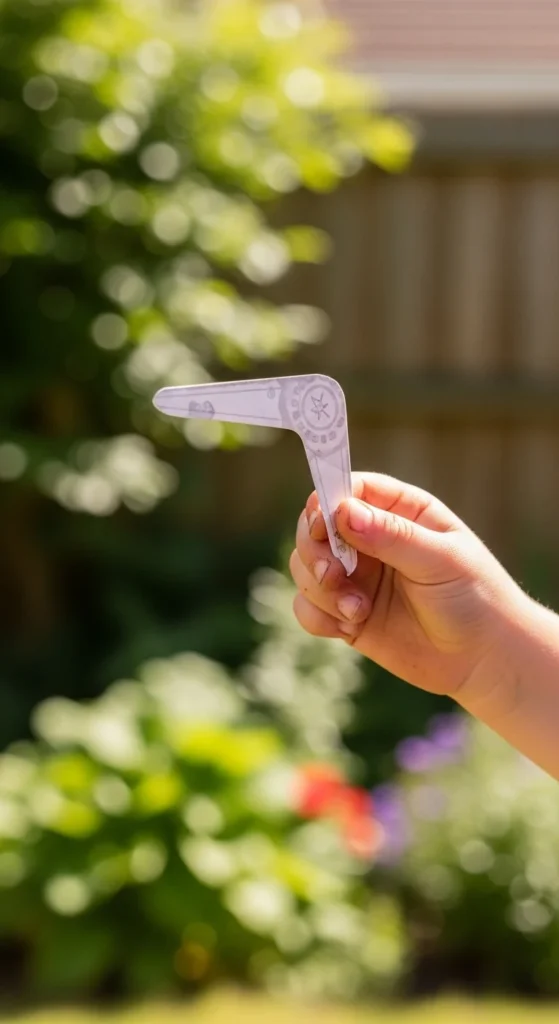
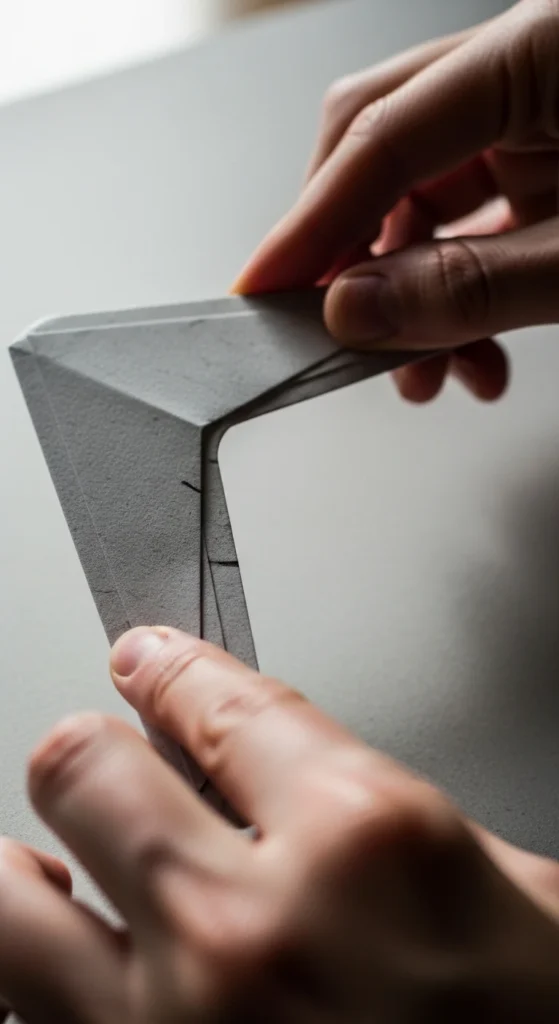
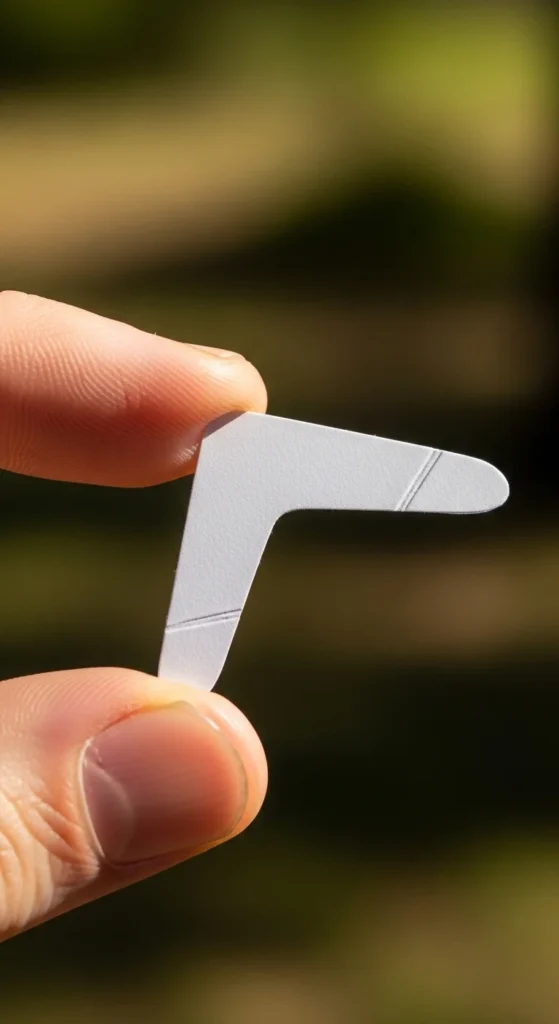
The classic V boomerang is the easiest starting point and still one of the most reliable flyers. It uses a single sheet folded into two stiff arms that form a wide V. Folding the paper multiple times makes it firm enough to hold shape during flight. Slightly bending both arms upward helps create lift as it spins. Rounding the leading edges with scissors improves airflow and makes the path smoother. This design works well with light cardstock or index paper because regular printer sheets can become floppy after a few throws. When launched with a gentle wrist flick and a slight tilt, it travels forward before curving back in a smooth arc. If it drops too quickly, add a bit more upward bend. Small adjustments make this design very forgiving for beginners.
2. Wide-Angle V Glider
This version keeps the same basic structure but opens the angle between the arms wider than usual. A broader V creates a slower, more stable flight pattern that is easier to track in the air. Folding the arms thick gives them strength so they don’t flex too much while spinning. Adding a slight upward curve near the tips helps the boomerang climb before turning. This template is great for younger flyers because it doesn’t travel too far or too fast. Heavier paper improves consistency and helps it hold its shape after repeated use. If the boomerang flies straight instead of curving back, increase the bend near the ends. This design favors gentle throws over powerful ones. Smooth motion and steady spin matter more than force here.
3. Printable Template Starter
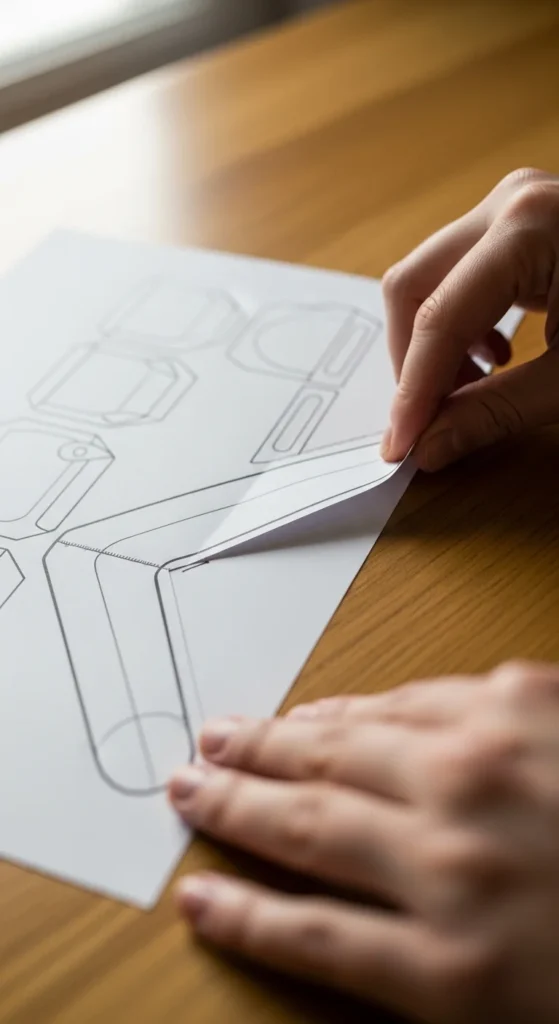
Printable templates help beginners get accurate shapes without guessing measurements. Pre-marked fold lines create balanced arms that fly more predictably. After printing, use a ruler to press firm creases so the boomerang stays stiff. Cutting along curved edges instead of straight corners helps reduce air drag. Once folded, add a slight upward bend to both arms to encourage lift. Templates printed on heavier paper tend to last longer and survive more crashes. If your printer paper feels too thin, glue two sheets together before folding. This design is ideal for classroom activities or group crafting sessions. Because the shape is symmetrical, it often returns more reliably than hand-drawn versions. Consistent structure makes a noticeable difference in flight path.
4. Thick Paper Performance Build
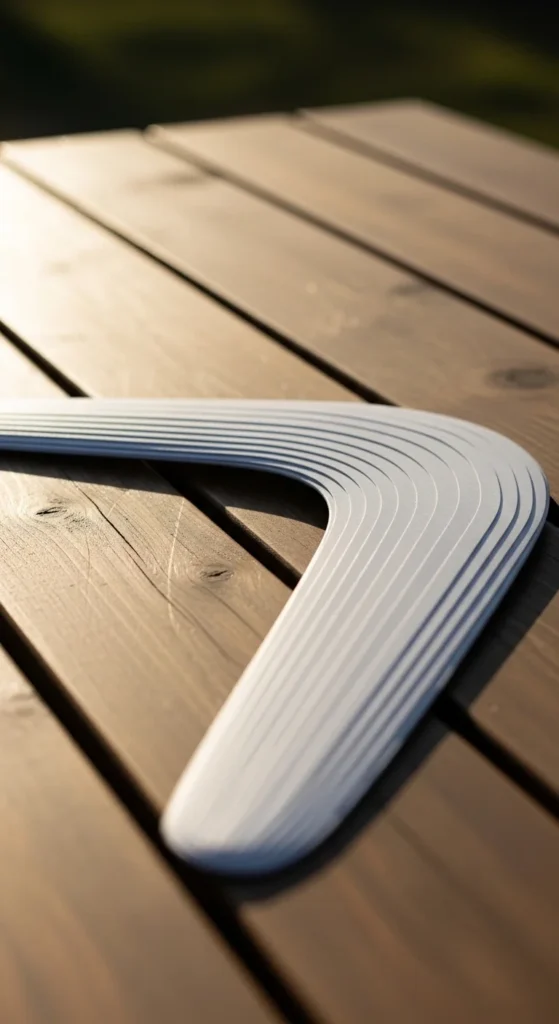
Using thicker paper changes how a boomerang flies. Index cards or light cardstock hold their shape and resist bending during spin. This stability keeps the arms angled correctly, which improves lift and return motion. The folds may take more pressure to crease, so using a ruler edge helps. Because the material is heavier, throws should be smooth rather than forceful. A gentle flick gives enough rotation without sending it too far away. Rounded leading edges still matter even with stronger paper. This design is good for outdoor use where wind might bend lighter builds. It also survives more landings without losing its form. Flyers often notice that thicker builds return in a tighter circle.
5. Airfoil Edge Upgrade
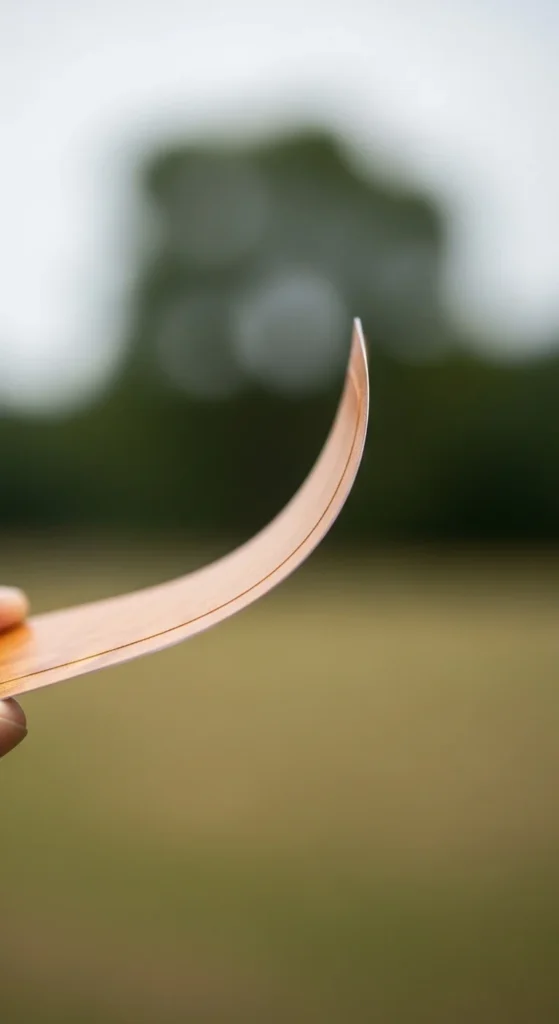
Adding an airfoil-style curve to the arms helps the boomerang generate lift as it spins. The top surface should be slightly rounded while the bottom stays flatter. This difference lets air move faster over the top, pushing the boomerang upward. You can create this curve by gently running your thumb along each arm’s top edge. The bend should be subtle, not sharp. Too much curve can make it stall or loop wildly. This small change often turns a basic design into one that climbs and returns more smoothly. It works well on V and Y shapes alike. Testing with small adjustments helps you find the best balance. The result is longer, more graceful flights.
6. Simple Origami Disk
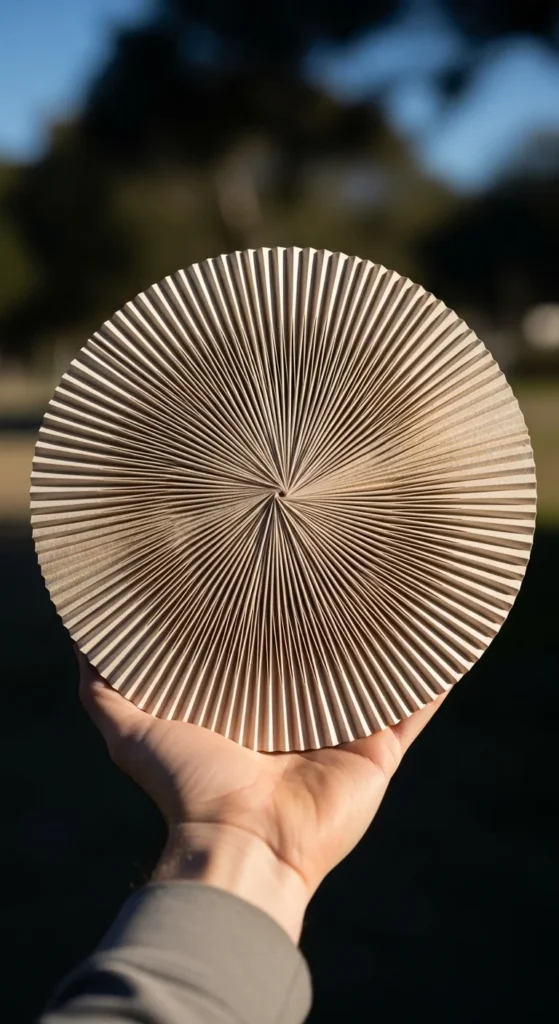
The origami disk boomerang uses circular symmetry instead of arms. Folding layers into a compact disk creates stiffness and balanced weight. This shape spins very smoothly and tends to travel in a tight circular path. Because there are no sharp corners, it’s safer for indoor play. Heavier paper improves stability and keeps the disk from fluttering. A gentle upward tilt during launch helps it climb before turning. If it drops too soon, increase the upward curve slightly. Disk designs are popular with beginners because folding mistakes are less likely to ruin the flight. They also glide more slowly, giving you time to catch them. It’s a fun alternative to the traditional V style.
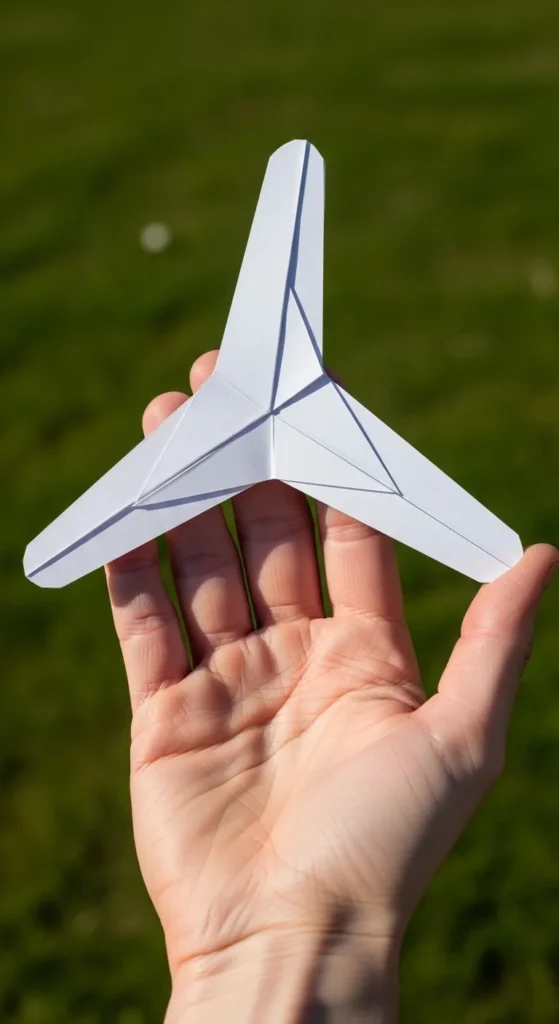
7. Three-Arm Y Boomerang
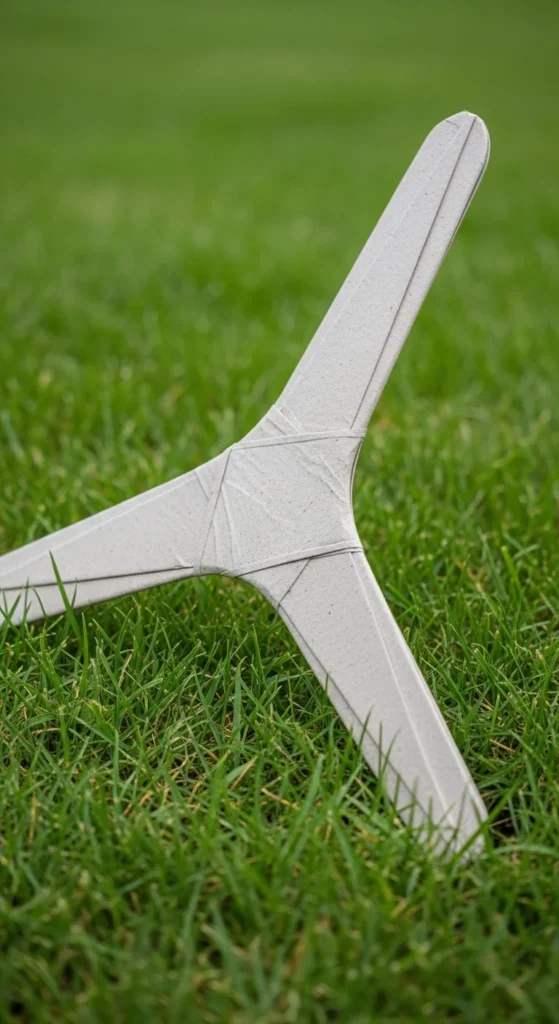
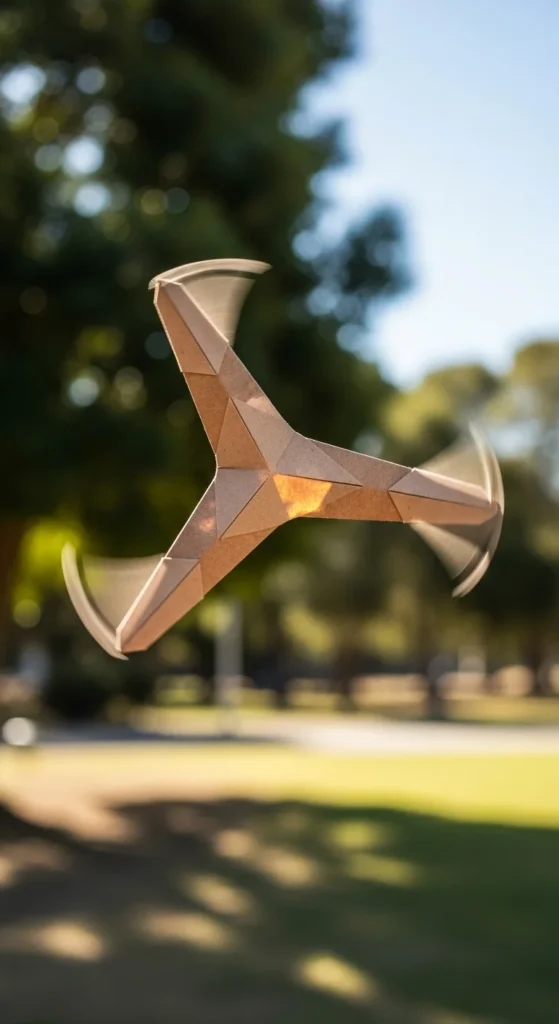
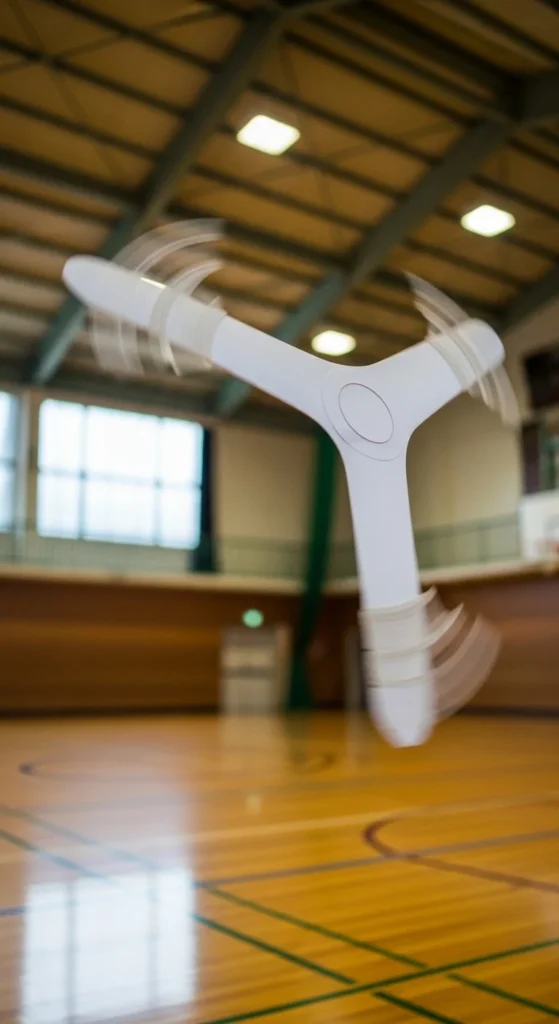
The Y-shaped design adds a third arm for better balance and smoother rotation. Each arm should be folded thick and bent slightly upward at the tips. Because the weight spreads evenly, this boomerang tends to fly in a wider, slower circle. You can make it from three strips glued together or folded from one piece with careful cuts. Heavier paper helps keep the structure firm. This design handles light wind better than two-arm versions. It also returns in a predictable arc that’s easy to follow. Small angle changes on one arm can correct uneven flight. The Y shape feels more stable in the air and is great for open fields.
8. Kid-Friendly Soft Flyer
This version uses lighter paper and softer curves so it flies shorter distances. The goal is safe indoor or small-yard play. Keep the arms rounded with no sharp points. Adding only a small upward bend keeps the flight slow and controlled. This design responds best to a gentle toss rather than a strong throw. Because it’s lighter, it won’t travel far even with good spin. Kids can learn basic throwing technique without worrying about distance. It may not return perfectly every time, but it still curves enough to be fun. Using colored paper before folding adds visual excitement. This style focuses on ease and safety over performance.
9. Weight-Adjusted Distance Flyer
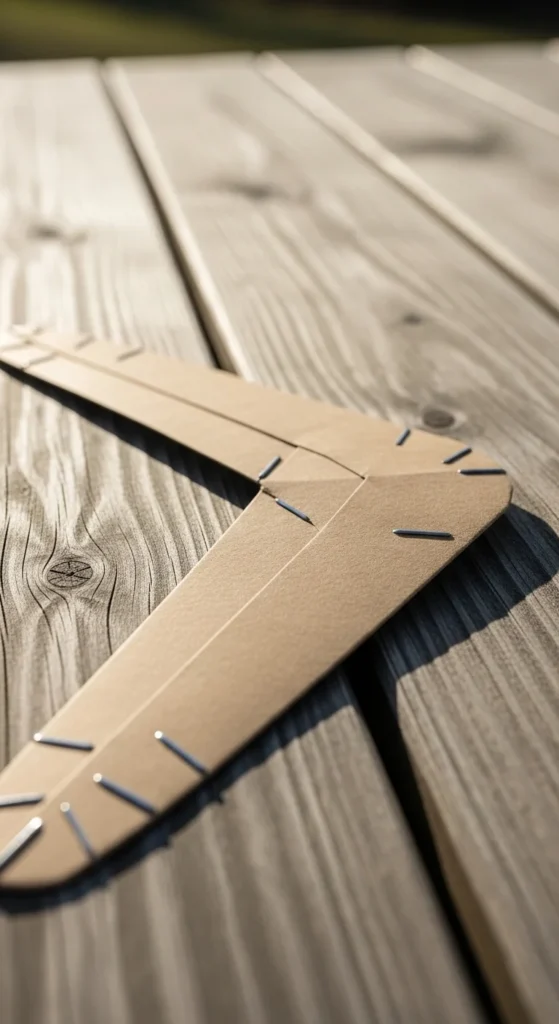
Adding small bits of weight near the tips changes how wide the boomerang’s circle becomes. Staples or tape layers increase the moment of inertia, making it travel farther before turning. This is useful if your boomerang loops back too quickly. The added mass should be balanced on both arms to avoid wobble. Heavier builds require smoother, controlled throws. Too much force can send them too far away. This tweak works well with thicker paper designs. Testing in an open field is best because the flight path widens. Adjust weight gradually until you like the distance. Even small changes create noticeable results.
10. Four-Arm X Spinner
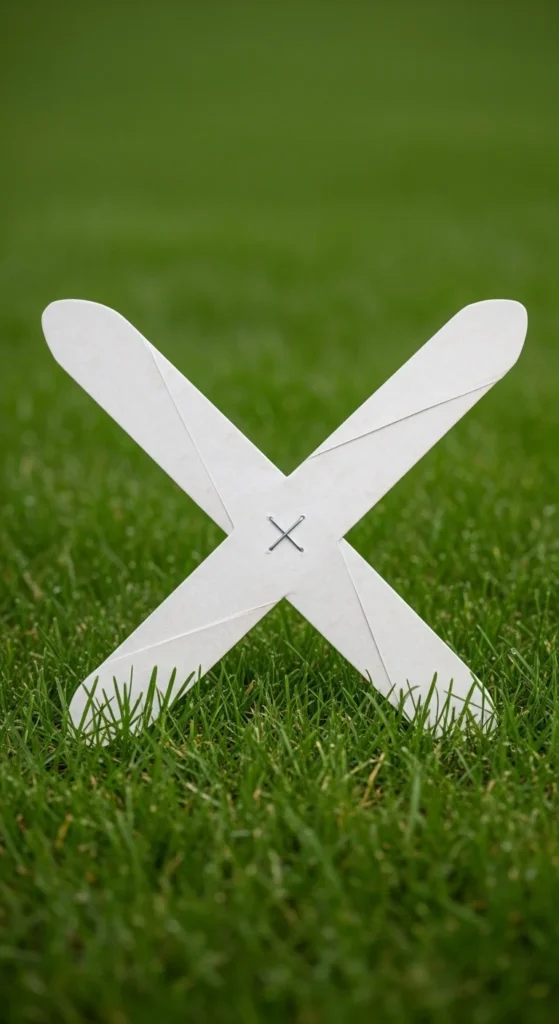
The X-shaped boomerang forms by crossing two V designs and fastening them together. Four arms create extra stability and a slower spin rate. This design usually flies in a smooth, rounded circle that’s easy to track. Each arm should have a slight upward curve to generate lift. Because it’s wider, it works better in open spaces than tight areas. Heavier paper helps the joints stay firm. When thrown gently, it rises slightly before turning back. This build looks complex but is simple once you make two V pieces. It’s a good step up from beginner designs.
11. Decorated Before Folding
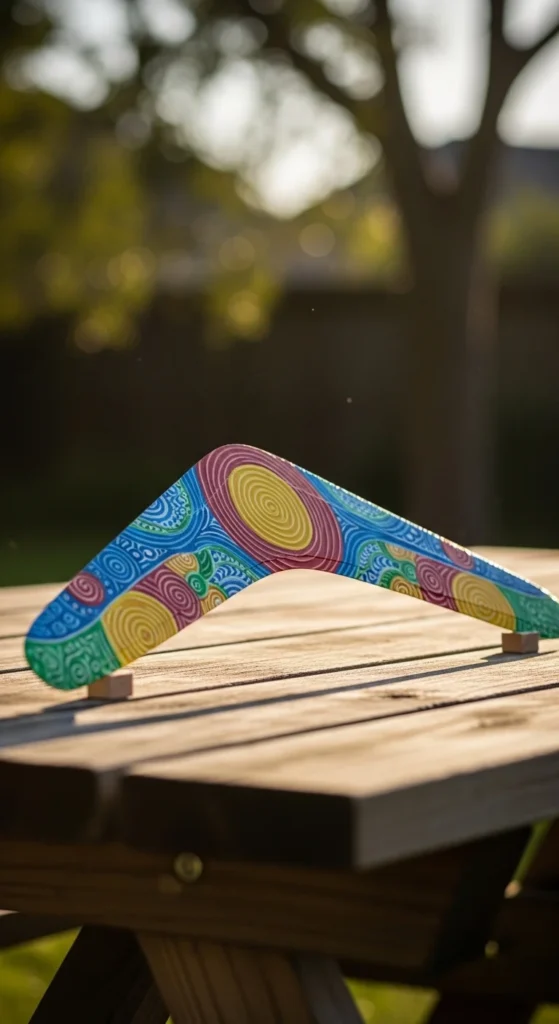
Decorating paper before folding adds personality without affecting flight much. Markers, light paint, or stickers work well if they don’t add too much weight. Let decorations dry fully before folding to keep creases clean. Avoid thick glue or heavy layers that could unbalance the arms. Coloring also helps you see the boomerang spinning in the sky. This makes tracking and catching easier. Designs can be simple stripes or dots. Decoration turns a basic craft into a personalized toy. It’s especially popular for group activities or classroom sessions.
12. Paper Airplane Conversion

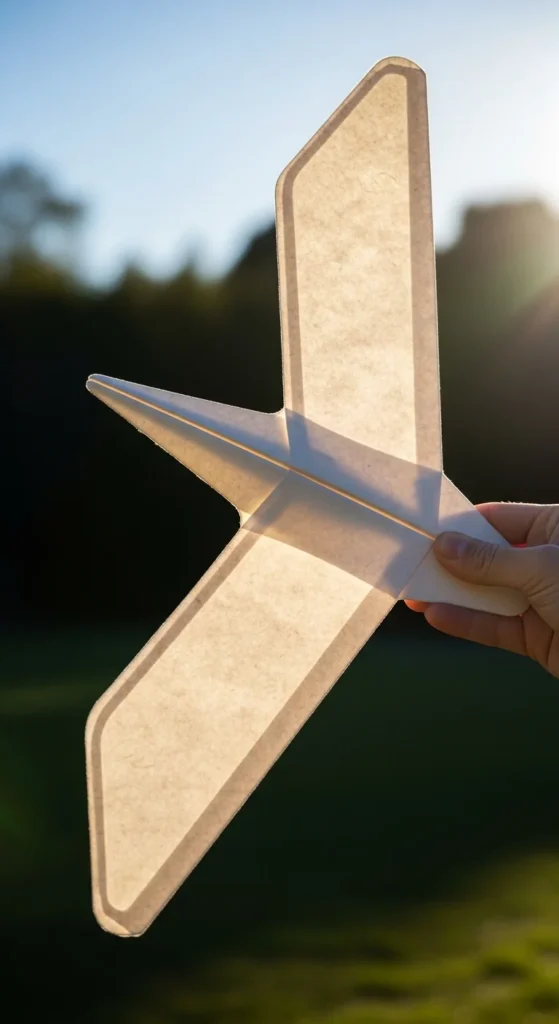
Some glider-style paper airplanes can be adjusted to return like boomerangs. Adding a slight upward bend at the wing tips creates lift during spin. Launching with a gentle banked angle helps it curve instead of flying straight. Heavier nose folds should be reduced so it doesn’t dive. This hybrid design travels farther than most boomerangs before turning. It’s fun for people who already enjoy folding planes. The path is wider and more gradual than traditional shapes. Small adjustments to wing angle change the curve. This version blends two classic paper flyers into one.
13. Precision Fold Practice Model
Some templates rely on accurate valley and mountain folds for balance. Practicing clean creases makes a big difference in how evenly the boomerang spins. Using a ruler edge to press folds helps maintain straight lines. If one arm is thicker than the other, the boomerang may wobble. This practice model focuses on improving folding skills more than decoration. Once balanced, it produces smooth, stable returns. It’s great for people who enjoy precise crafting. Repeating the same design helps refine technique. Over time, your flights become more consistent.
14. Wide-Wing Glider Style
This design features broader arms that act like wings. The larger surface area increases lift and slows the descent. Folding thick layers keeps the wide arms from flexing. A slight upward bend near the tips helps maintain altitude before turning. It flies in a gentle, sweeping arc. This makes it easier to follow visually. It works well in calm outdoor conditions. The broad shape also makes it easier to catch. Flyers who like longer airtime enjoy this template.
15. Perfect Throw Trainer

Even the best template needs proper throwing technique. Hold the boomerang upright, not flat like a frisbee. Tilt it slightly away from you at release. A quick wrist flick creates the spin that keeps it stable. Throwing too hard often sends it far away instead of back. Smooth motion works better than force. Practice short throws first to watch the curve. Adjust your angle based on how it flies. This trainer design is forgiving and shows clear feedback. Good technique improves every template you try.
16. Spin-Focused Compact Build
Smaller boomerangs spin faster and travel in tighter circles. Folding a compact shape with thick layers keeps it sturdy. Because of its size, it responds strongly to wrist flicks. Gentle throws create smooth loops close to you. This makes it good for smaller spaces. The quick spin also keeps it stable during flight. Adjusting the arm bends changes how high it climbs. This design is fun for quick practice sessions. It shows how spin speed affects performance.
17. Indoor Calm-Air Flyer
Indoor flyers need slower speed and softer curves. Using lighter paper and smaller bends keeps the flight gentle. This design travels short distances in a controlled arc. It works best in spaces without fans or drafts. Throws should be light and smooth. Because the air is still, even small adjustments are noticeable. This template helps beginners focus on technique. It’s safe for classrooms or large rooms. The goal is controlled return, not distance.
18. Handedness-Adjusted Design
Right-handed throwers spin counterclockwise, while left-handed throwers spin clockwise. Mirroring the bends on the arms helps match the spin direction. If the boomerang curves the wrong way, flip the upward bends. This small adjustment makes a big difference in return path. The rest of the design stays the same. Testing with both orientations shows which feels natural. This version makes the craft accessible to everyone. Balanced bends keep the spin stable. It’s a simple tweak with clear results.
19. Long-Range Outdoor Loop

This template is tuned for larger open spaces. Slightly heavier paper and moderate tip bends help it climb higher before turning. It can travel 15–20 feet before circling back. Smooth, controlled throws work best. Wind can change the path, so calm days are ideal. Watching the arc helps you predict where it will land. Small angle changes affect distance. This design is satisfying for outdoor practice. It highlights how tuning affects flight range.
20. Mini Index Card Boomerang
A small boomerang cut from an index card is quick to make and surprisingly effective. The thick material keeps it rigid despite its size. Short arms mean tight, fast loops. It works well in small yards or indoors. A light flick sends it out and back within a few feet. Because it’s small, adjustments must be subtle. Too much bend can cause sharp dives. This design is great for quick practice. It shows that even tiny builds can return smoothly.
Conclusion
Paper boomerangs are popular DIY crafts using printable templates and simple folds to create flying toys that return when thrown. With the right paper, balanced bends, and a smooth wrist flick, these designs can glide out and curve back in a satisfying loop. Start with easy shapes, test small adjustments, and practice gentle throws. With a bit of patience, your paper creations will circle back again and again.

Lily Summers is a digital artist and creative storyteller who loves bringing colorful characters to life. With a passion for cartoons, fan art, and playful sketches, she inspires others to explore their imagination through art. When she’s not sketching, you’ll find her dreaming up new ideas for CraftedWizard.com to spark creativity in every artist. 🌈✨


