
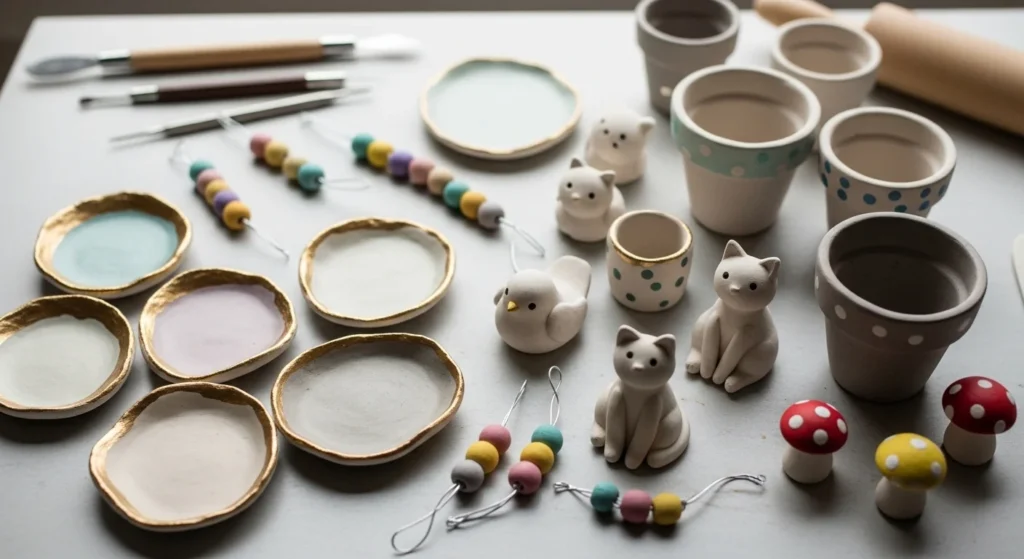
Air-dry clay is one of the easiest ways to start crafting because it hardens naturally without a kiln or oven. That makes it perfect for beginners, kids, and anyone working at a kitchen table or small desk. With just a small pack of clay and a few household tools, you can shape decor, gifts, and useful items that look handmade and personal. These air-dry clay ideas focus on simple forms, gentle techniques, and practical results you can actually use around your home.
1. Minimalist Trinket Dish
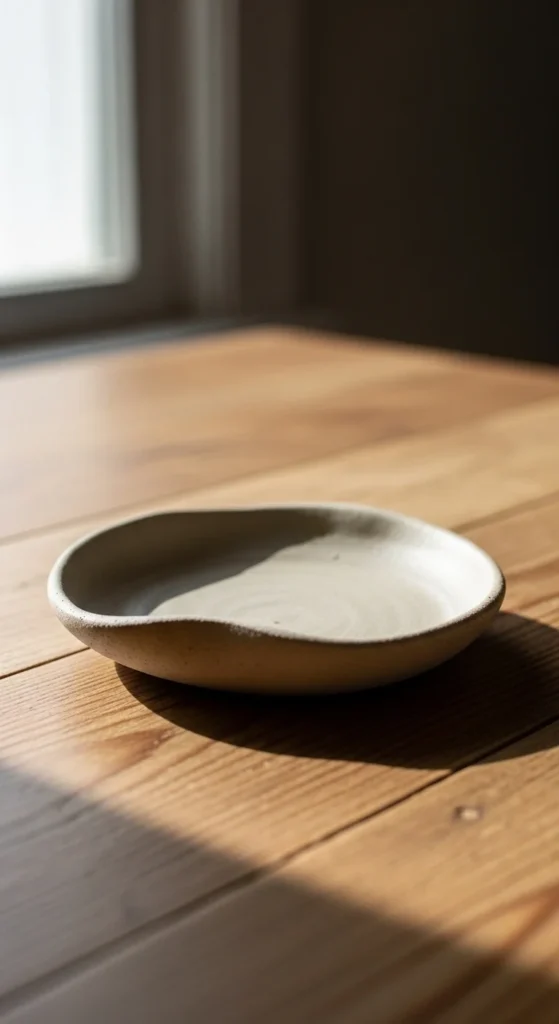
A small trinket dish is one of the best starter projects because it teaches shaping, smoothing, and gentle curving. Roll a ball of clay and press your thumb slowly into the center while turning it in your palm. This creates a shallow bowl shape without tools. Smooth cracks with a damp fingertip and pinch the rim slightly to give it character. Keep the dish small so drying time stays short and warping is less likely. After it hardens, paint it in a solid neutral tone or add tiny dots around the edge. Seal with a clear craft sealer if you want a light sheen. These dishes are perfect for rings, earrings, or paper clips and are a simple way to make something useful on your first try.
2. Tiny Plant Pot
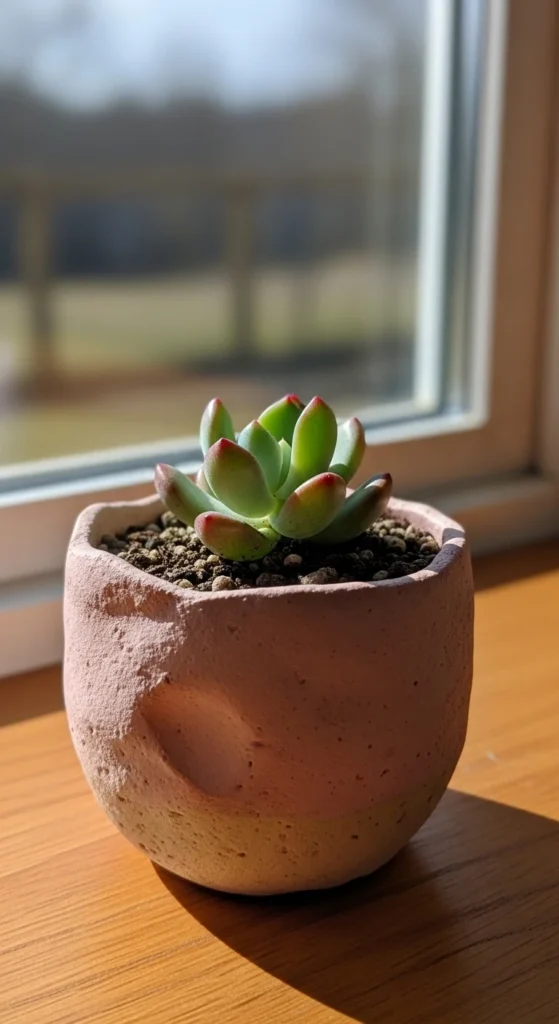
Mini plant pots look charming and are easier than they seem. Start by shaping a short cylinder and hollowing the center with your thumb. Turn the clay as you press so the walls stay even. Keep the base thick enough so it does not crack while drying. You can press light horizontal lines or small dot patterns around the outside for texture. Let the pot dry slowly and avoid placing it in direct heat. Once hard, paint it in earthy tones or soft pastels. Add a clear sealer if you plan to place a plastic nursery pot inside. These tiny pots are great for succulents or faux plants and help beginners learn hollow forms.
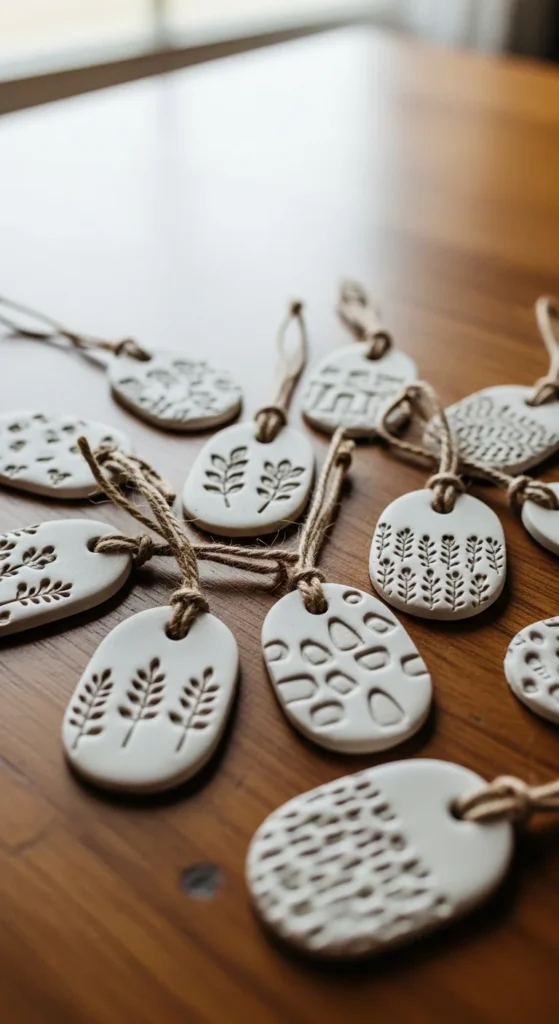
3. Clay Wall Hanging Discs
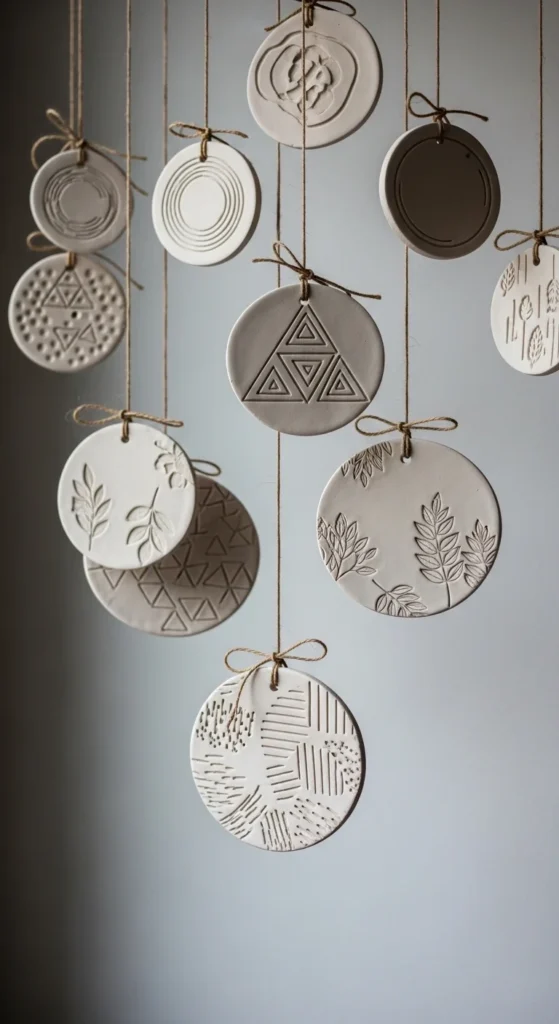
Flat clay discs make beautiful wall decor with very little effort. Roll clay flat to an even thickness using a smooth bottle if you do not have a roller. Cut circles with a cup or lid. Press leaves, lace, or textured fabric gently into the surface to create patterns. Poke a small hole near the top for string before drying. Keep edges smooth with a damp finger. After the discs harden, paint them in soft tones or brush metallic paint lightly over raised areas. Thread twine through the hole and hang them in a small cluster. This project teaches rolling, imprinting texture, and working with flat shapes.
4. Simple Clay Beads
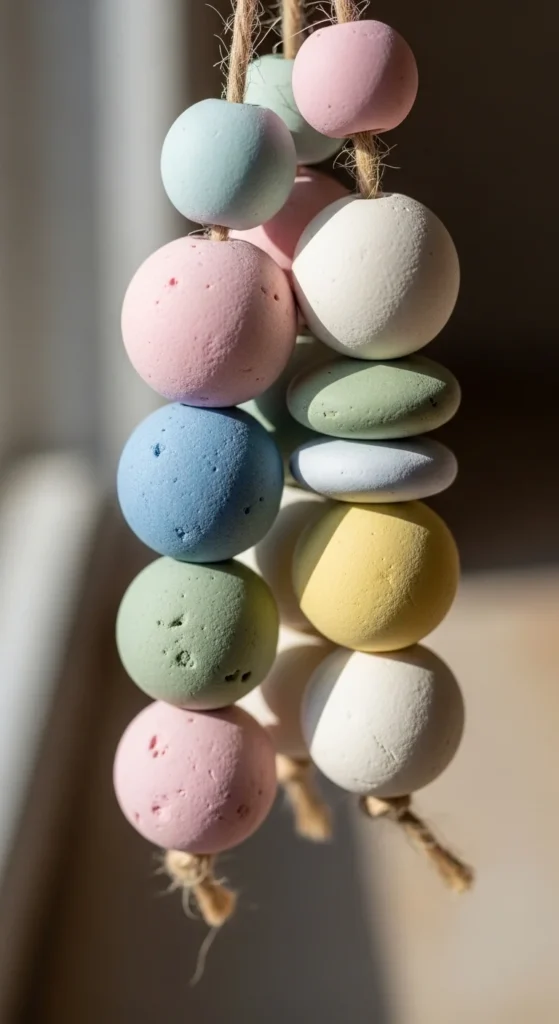
Clay beads are small, quick to dry, and perfect for practicing shaping. Roll tiny balls, ovals, or short tubes between your fingers. Use a toothpick to poke holes through the center while the clay is soft. Rotate gently so the hole stays open as it dries. Try pressing lines or tiny dots around the surface for texture. Once hardened, paint in solid colors or soft patterns. String them onto cord for bracelets, necklaces, or decorative garlands. This project helps you learn consistent sizing and smooth rolling techniques.
5. Leaf Imprint Coasters
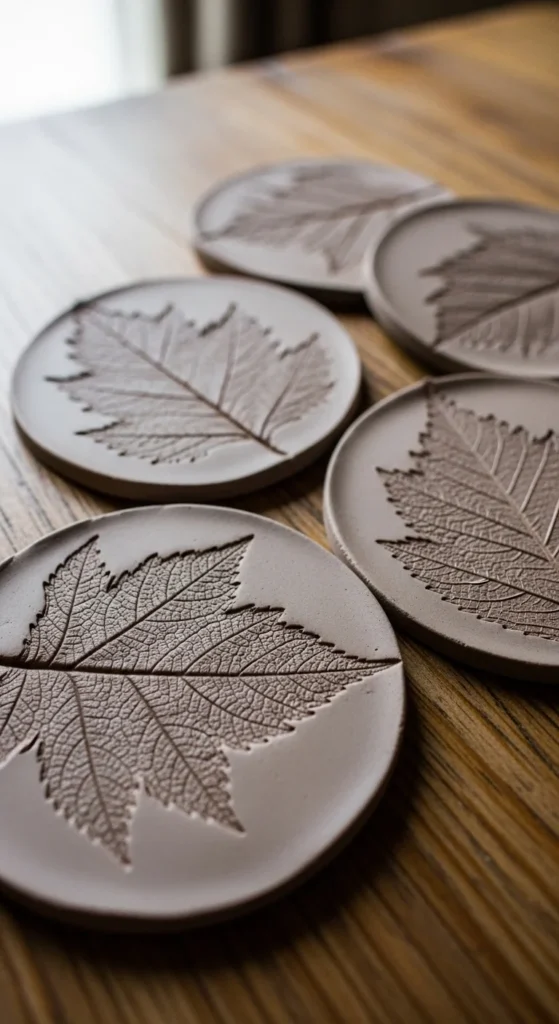
Leaf coasters combine nature and crafting in a very beginner-friendly way. Roll clay flat and place a real leaf with the vein side down. Press gently with your fingers or a bottle to transfer the texture. Carefully lift the leaf to reveal the imprint. Cut around the shape with a knife or leave it round. Smooth edges with a damp finger. Let the coaster dry on a flat surface and turn it occasionally so it dries evenly. Afterward, paint lightly to highlight the veins or leave it natural with a clear sealer. These coasters look beautiful on a coffee table and teach texture transfer techniques.
6. Mini Animal Figurines
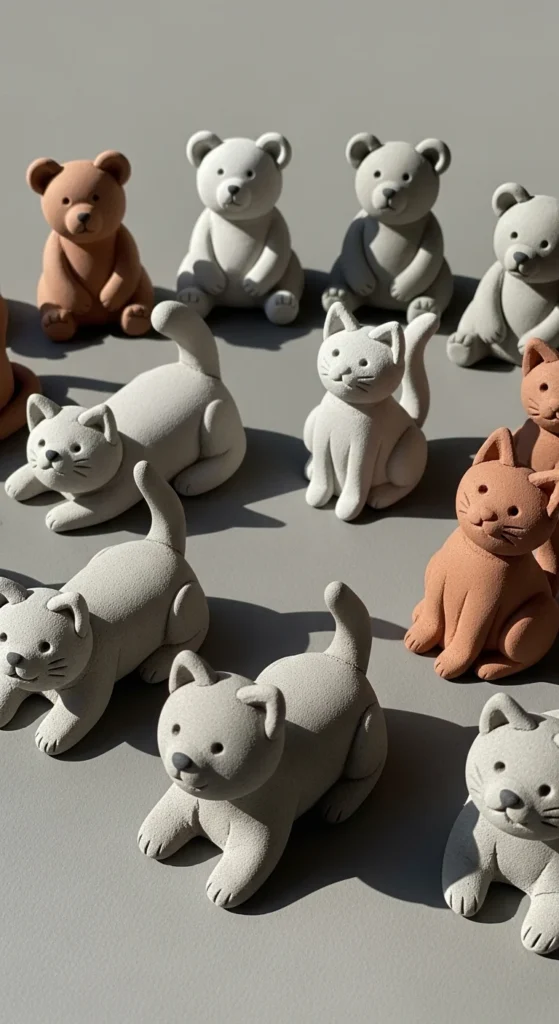
Simple animal figurines are fun and great for practicing joining pieces. Start with basic shapes like ovals and spheres for the body and head. Add small ears or tails using tiny bits of clay and press them gently into place. Smooth the joins with a damp finger so cracks do not form later. Keep details minimal. Mark eyes or noses with a toothpick instead of adding fragile parts. Once dry, paint in soft colors and add small facial features with a fine brush. These little animals make cute shelf decor and help beginners gain confidence with shaping and attaching pieces.
7. Clay Ring Holder Cone
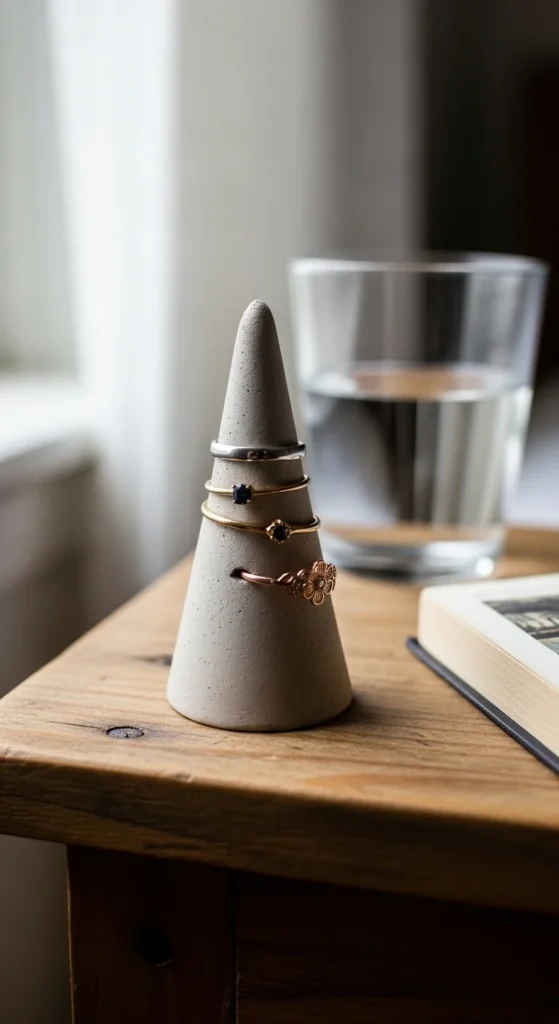
A ring holder cone is both decorative and useful. Roll clay into a ball, then shape it into a tall cone by pinching and turning it slowly. Keep the base flat so it stands securely. Smooth the surface with damp fingers to remove cracks. Let it dry upright and rotate occasionally so one side does not stay damp too long. Once hard, paint in neutral shades or add gold lines for a simple accent. This project helps beginners practice shaping a stable upright form.
8. Clay Keychain Tags
Clay keychain tags are flat and simple to decorate. Roll clay to an even thickness and cut small shapes like circles or rectangles. Press stamps, lace, or textured objects into the surface. Poke a hole near the top for a keyring. Smooth edges before drying. After hardening, paint in soft tones and seal lightly. Attach to a keyring or bag. These tags make great handmade gifts and help beginners practice cutting shapes and adding surface patterns.
9. Decorative Clay Spoons

Decorative spoons are charming and easier than real utensils. Shape a small oval bowl and attach a short flat handle. Smooth the join carefully so it does not crack. Press light patterns into the bowl for decoration. Let the spoon dry flat and turn it occasionally. Afterward, paint in soft tones or metallic accents. These spoons are great for holding jewelry or small items and help beginners practice joining two simple shapes.
10. Clay Photo Holders
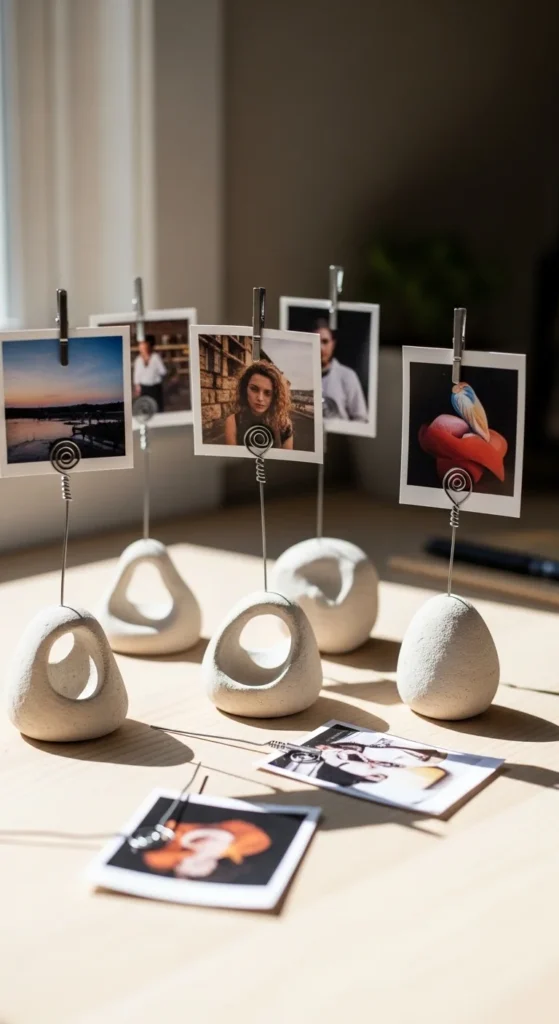
Photo holders combine clay and simple wire. Shape a small round or cube base from clay. Insert a short piece of bent wire into the top while the clay is still soft. Make sure it stands straight. Let the base dry fully before adding paint. These holders are perfect for desks and gifts and help beginners work with mixed materials in a simple way.
11. Clay Incense Holder
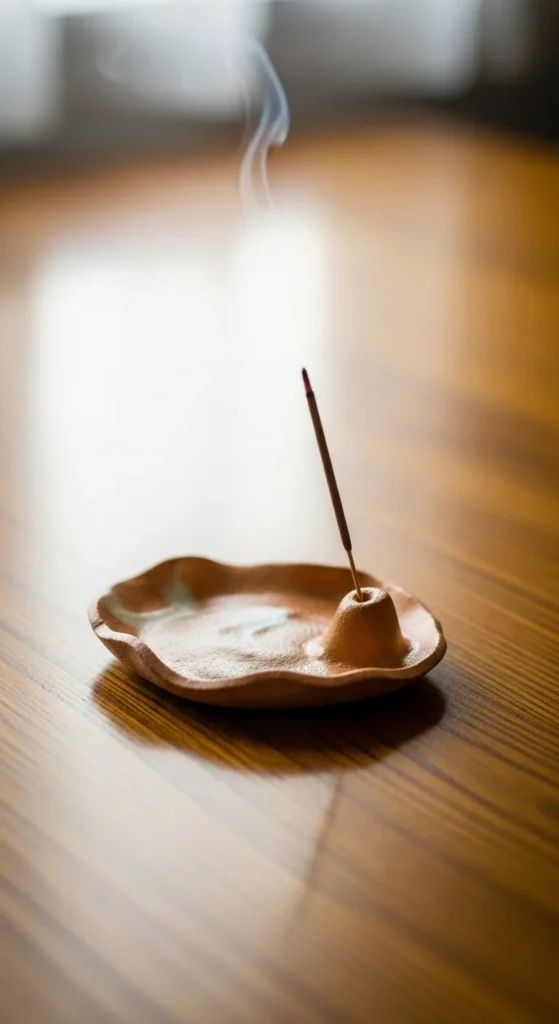
An incense holder can be made from a small flat dish or slab. Roll clay flat and shape into a circle or oval. Poke a small angled hole near one end to hold the incense stick. Smooth edges carefully. Let dry completely before painting or sealing. This project is useful and teaches shaping flat surfaces with a functional detail.
12. Mini Hanging Planets
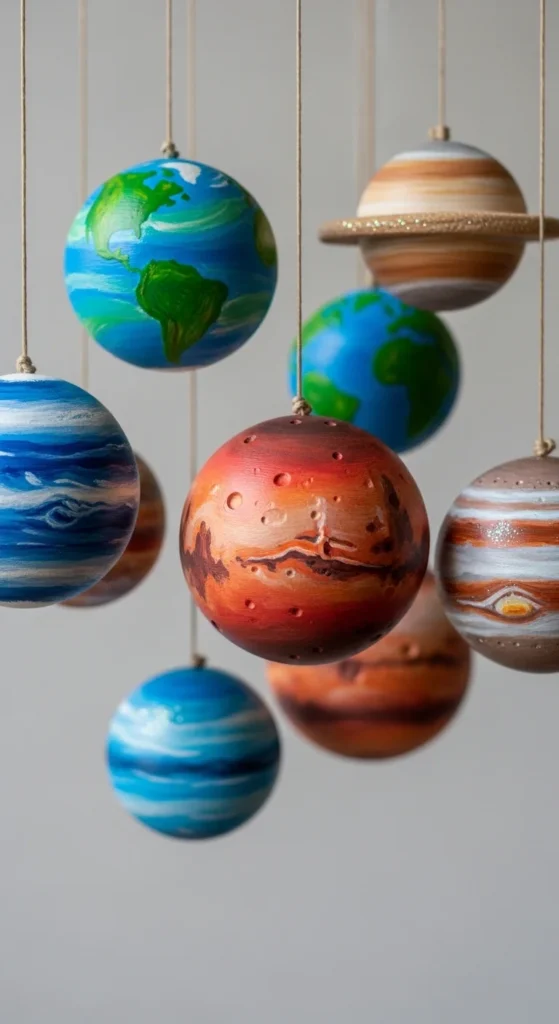
Hanging planets are simple spheres with added lines or rings. Roll clay into smooth balls and poke a small hole for string before drying. Add gentle line textures for planet rings. After drying, paint in blues, purples, or soft tones. Hang them near a window or desk for playful decor. This project helps beginners practice smooth rolling.
13. Clay Drawer Knobs
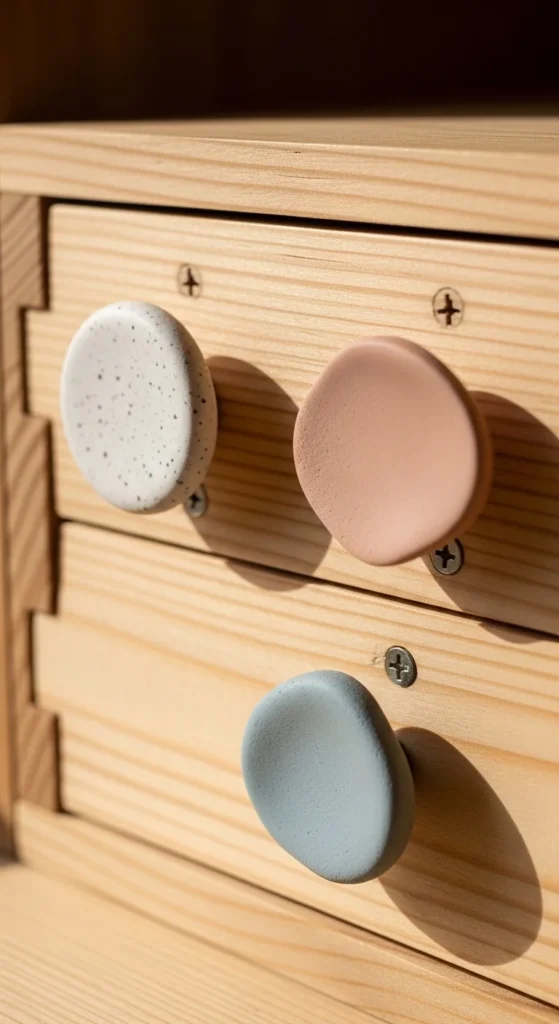
Clay knobs can refresh small furniture pieces. Shape thick round or oval forms and poke a hole through the center for a screw before drying. Keep the shape compact so it dries strong. Paint once hardened and seal lightly. Attach to drawers for a handmade touch. This project teaches shaping sturdy forms with a purpose.
14. Clay Bookmark Charms
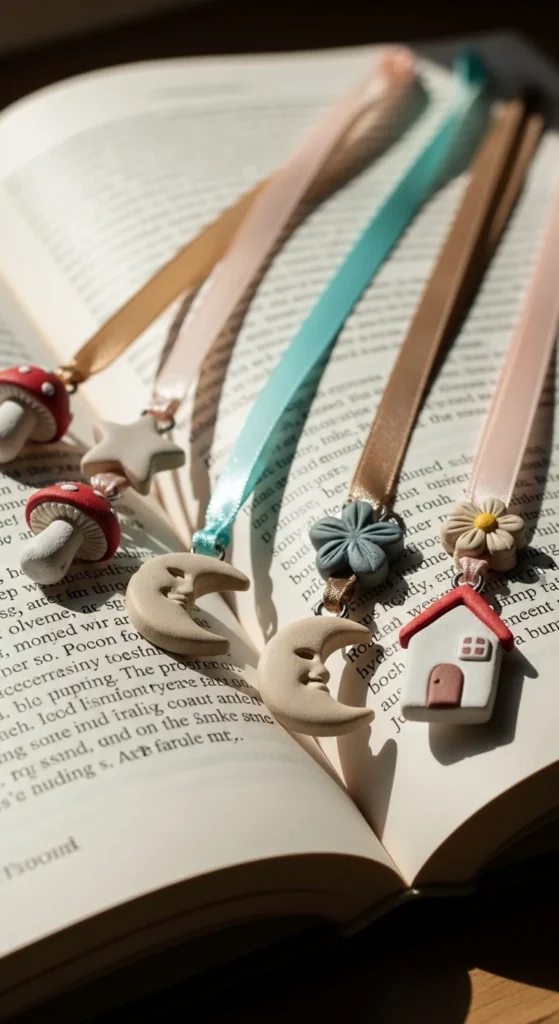
Bookmark charms are small, flat shapes attached to ribbon ends. Roll clay thin and cut simple shapes like stars or hearts. Poke a small hole for the ribbon. Paint after drying and tie onto ribbon. These make lovely gifts and help beginners work with thin clay safely.
15. Clay Candle Holder
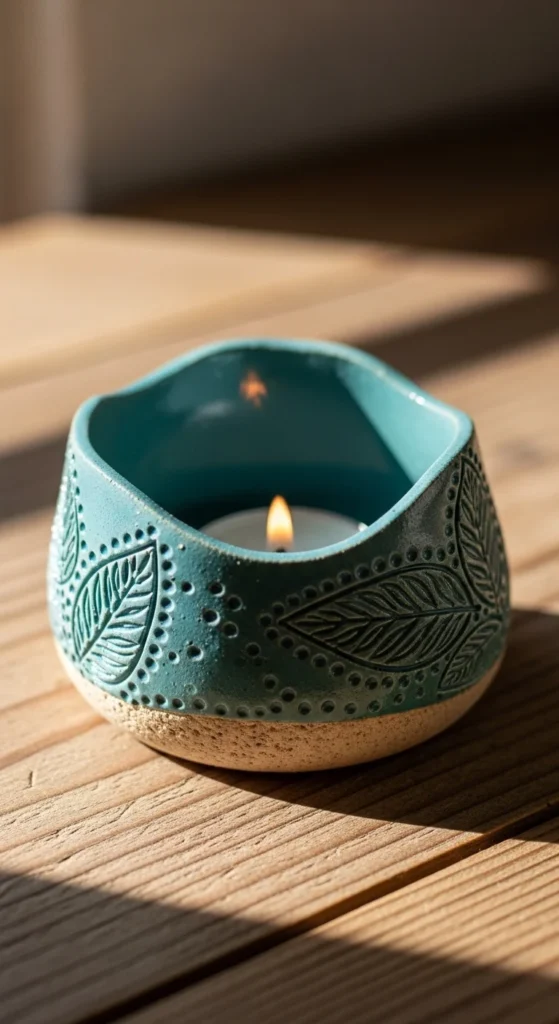
A tealight candle holder is a calm, beginner-friendly project that feels special once finished. Start by rolling a ball of clay and pressing your thumb gently into the center while turning it slowly. This creates a shallow bowl shape that will hold a tealight. Keep the walls thick enough so the form stays sturdy as it dries. Smooth cracks with a damp fingertip and lightly refine the rim for a clean edge. Check the size by placing an unlit tealight on top before drying, adjusting the opening if needed. Let it dry slowly on a flat surface and rotate it occasionally to help it dry evenly. After hardening, paint in neutral shades or add a thin metallic line around the rim for a subtle accent. This project helps you practice shaping hollow forms and making small items that feel decorative and cozy.
16. Clay Name Plates
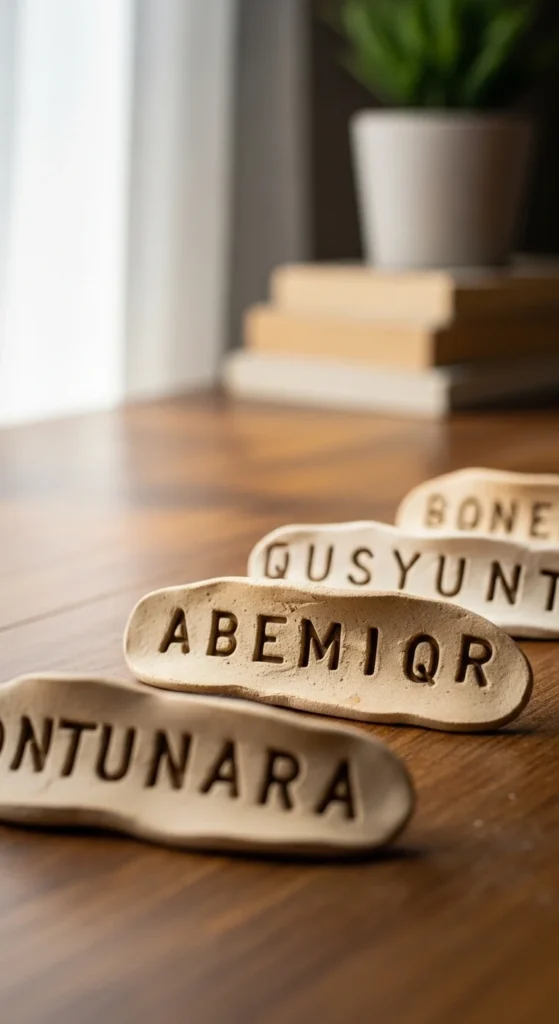
Clay name plates are simple flat projects that feel thoughtful and personal. Roll clay into an even slab using a smooth bottle if you do not have a roller. Cut a small rectangle and smooth the edges with a damp finger. Press letters into the surface using alphabet stamps, or gently carve them with a toothpick. Keep the lettering large and clear so it stands out after painting. Let the plate dry flat and turn it occasionally so it does not curl. Once hardened, paint the background in a soft color and brush a darker shade lightly over the letters to make them visible. These name plates are great for desks, shelves, or gift tags and help beginners practice working with flat clay and surface lettering.
17. Clay Fridge Magnets

Fridge magnets are quick, small projects that are perfect for practicing flat shapes. Roll clay thin and cut simple forms like hearts, leaves, or circles. Smooth the edges carefully so they do not crack while drying. Press a small magnet gently into the back while the clay is still soft, making sure it sits flush. Let the shapes dry flat on a smooth surface and turn them occasionally. After they harden, paint them in bright or pastel shades and add tiny details with a fine brush. These magnets add personality to your kitchen and help beginners practice shaping thin clay pieces and attaching small components.
18. Clay Napkin Rings
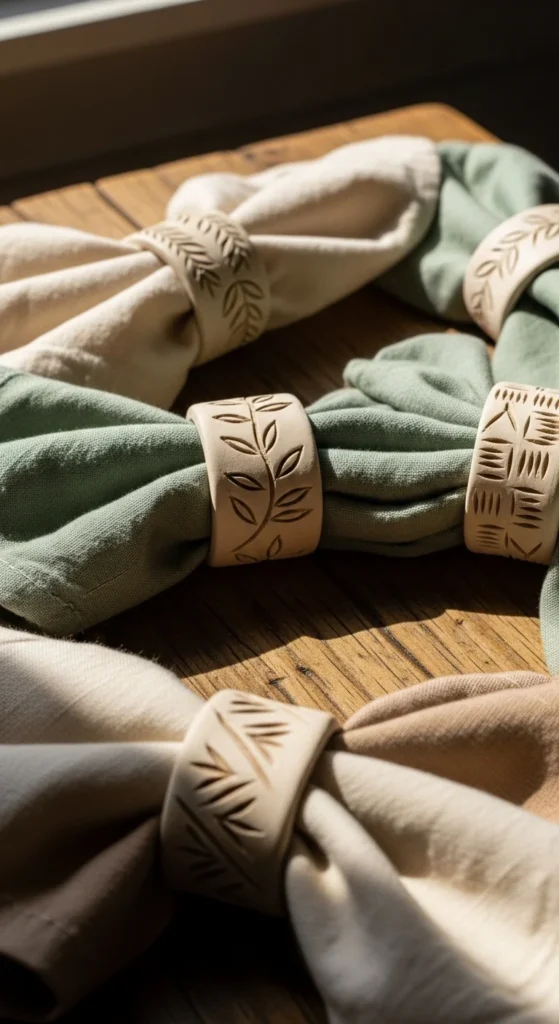
Clay napkin rings look elegant but are simple to shape. Wrap clay around a cardboard tube covered with plastic wrap so it does not stick. Press the ends together gently and smooth the seam with a damp finger. Slide the ring off carefully before it dries completely so it does not shrink around the tube. Add light patterns using a toothpick or press small objects into the surface for texture. Let the ring dry upright so it keeps its shape. After drying, paint in soft neutral tones or add a thin accent line around the edge. These napkin rings are lovely for table settings and help beginners practice wrapping clay around forms.
19. Clay Jewelry Dish with Edge Pattern
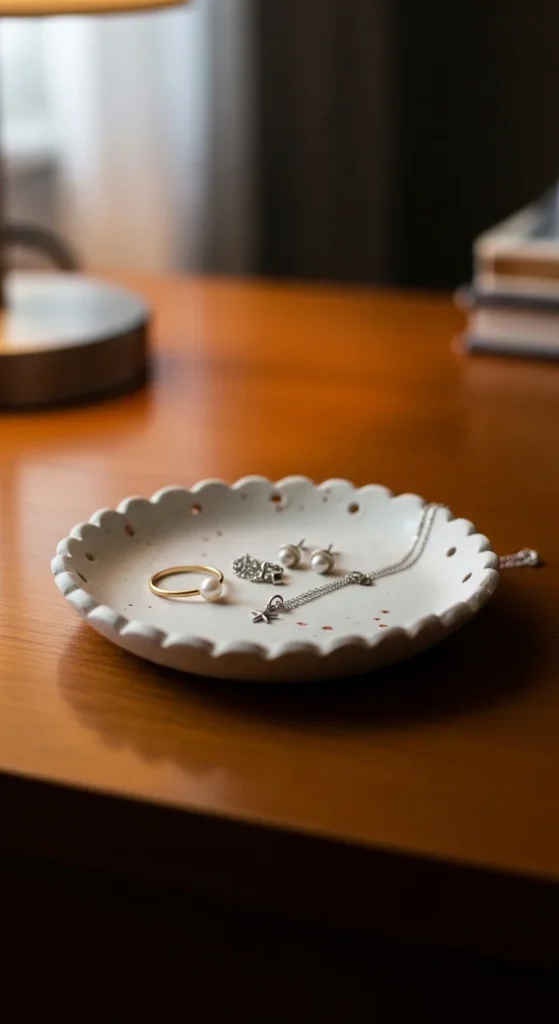
A jewelry dish with a patterned rim is both decorative and useful. Roll clay into a small ball and press your thumb into the center to form a shallow bowl. Pinch the rim gently at regular intervals to create soft scallops. Smooth the inner surface with a damp finger to remove cracks. Let the dish dry slowly and turn it occasionally so the base dries evenly. After hardening, paint the inside in a soft color and highlight the rim with a contrasting shade or a touch of metallic paint. These dishes are perfect for rings or earrings and help beginners practice shaping bowls and adding decorative edges.
20. Clay Hanging Stars
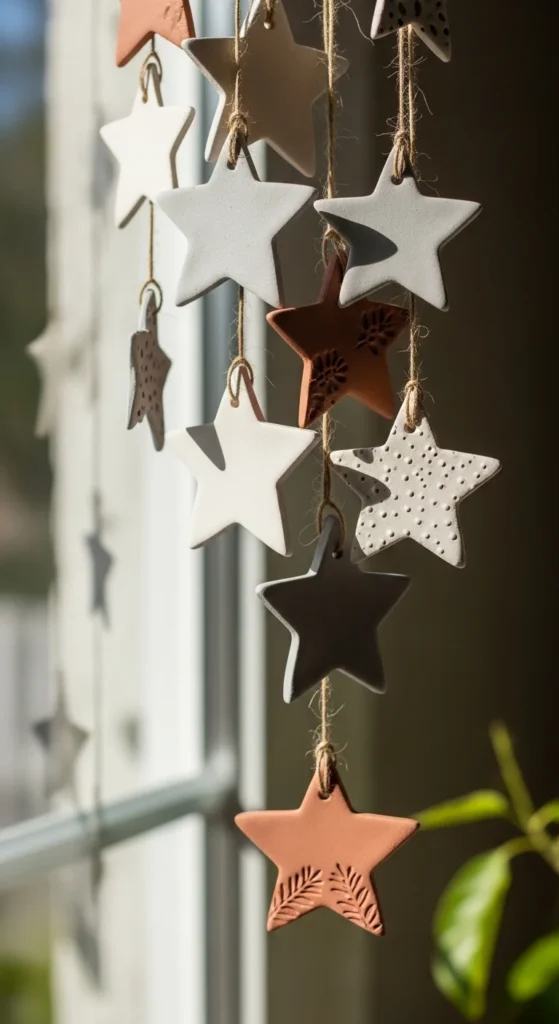
Clay hanging stars are easy and make sweet decorations. Roll clay flat to an even thickness and cut star shapes using a cookie cutter or a small knife. Smooth the edges with your fingertip dipped lightly in water. Poke a small hole near one point for string before drying. Press gentle textures into the surface using fabric or leaves if you like. Let the stars dry flat and turn them occasionally. Once hardened, paint in soft colors or brush a thin metallic layer over raised areas. Thread twine through the hole and hang them on a wall, branch, or window. This project helps beginners practice cutting shapes and working with flat clay.
21. Clay Pen Holder
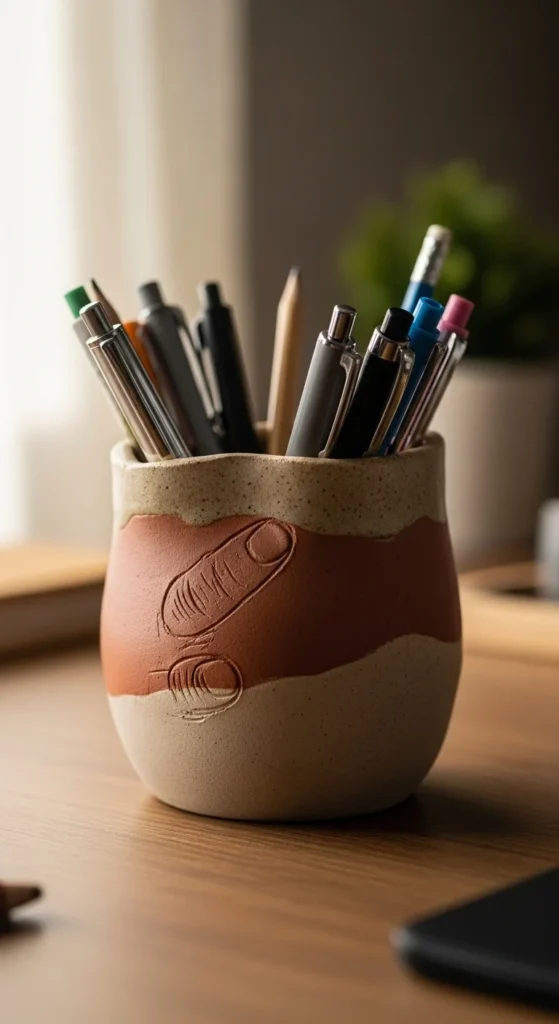
A pen holder is a practical project that teaches hollow forms. Start with a thick cylinder shape and press your thumb slowly into the center while turning the clay. Keep the walls even and not too thin to prevent cracks. Smooth the outer surface with a damp finger. Let the holder dry upright and rotate it every few hours during the first day. After it hardens, paint it in neutral tones or add simple patterns around the outside. This pen holder keeps your desk tidy and helps beginners practice shaping stable hollow containers.
22. Clay Essential Oil Diffuser Stone
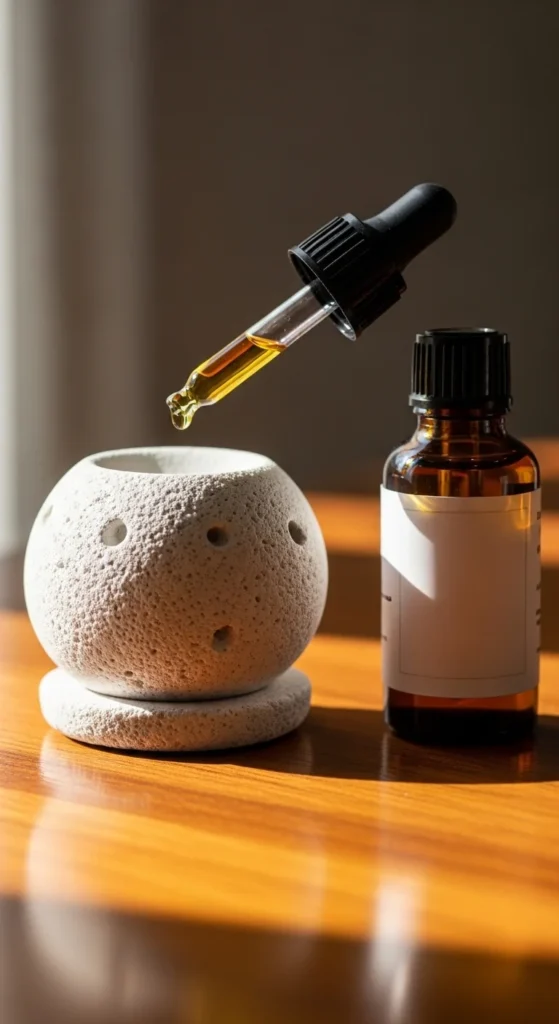
A diffuser stone is one of the easiest clay projects you can make. Shape a small pebble-like form and press textures into the surface using fabric or leaves. Let it dry completely until it feels solid and cool to the touch. Once dry, add a few drops of essential oil to the surface. The clay absorbs the scent and releases it slowly over time. Place the stone on a desk, shelf, or bedside table. This project is quick and helps beginners practice adding surface texture while creating something calming and useful.
23. Clay Wall Hooks
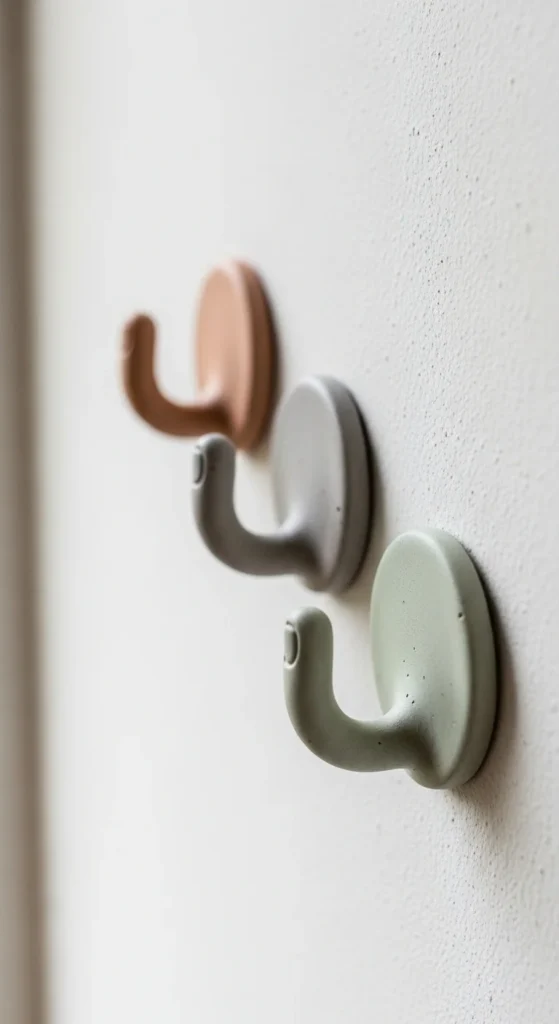
Clay wall hooks combine form and function in a simple way. Shape thick round or oval bases from clay and smooth the front surface. Press a small hook base or bent wire piece into the clay while it is still soft, making sure it sits securely. Let the pieces dry fully before mounting them on a wall. After drying, paint the bases in soft tones or add simple patterns. These hooks can hold lightweight items like keys or jewelry and help beginners practice making sturdy shapes that attach to other materials.
24. Clay Mini Bowls for Snacks

Mini bowls are charming and useful for holding small items or wrapped snacks. Roll clay into a ball and press gently into the center while turning it in your hand. This forms a shallow bowl shape. Smooth the surface and refine the rim with a damp fingertip. Let the bowl dry on a flat surface and turn it occasionally so it dries evenly. After hardening, paint in cheerful colors or add tiny dot patterns along the edge. Seal lightly if you want a slight sheen. These bowls are a satisfying beginner project that combines shaping, smoothing, and decorating in one simple piece.
Conclusion
Air-dry clay opens the door to creative projects without special equipment or high costs. Simple shapes and slow drying give beginners time to learn shaping, smoothing, and decorating at their own pace. From useful home items to small decor pieces, these ideas show how far a small block of clay can go. Start with one project, keep your shapes simple, and enjoy turning everyday moments into handmade creations.

Lily Summers is a digital artist and creative storyteller who loves bringing colorful characters to life. With a passion for cartoons, fan art, and playful sketches, she inspires others to explore their imagination through art. When she’s not sketching, you’ll find her dreaming up new ideas for CraftedWizard.com to spark creativity in every artist. 🌈✨


