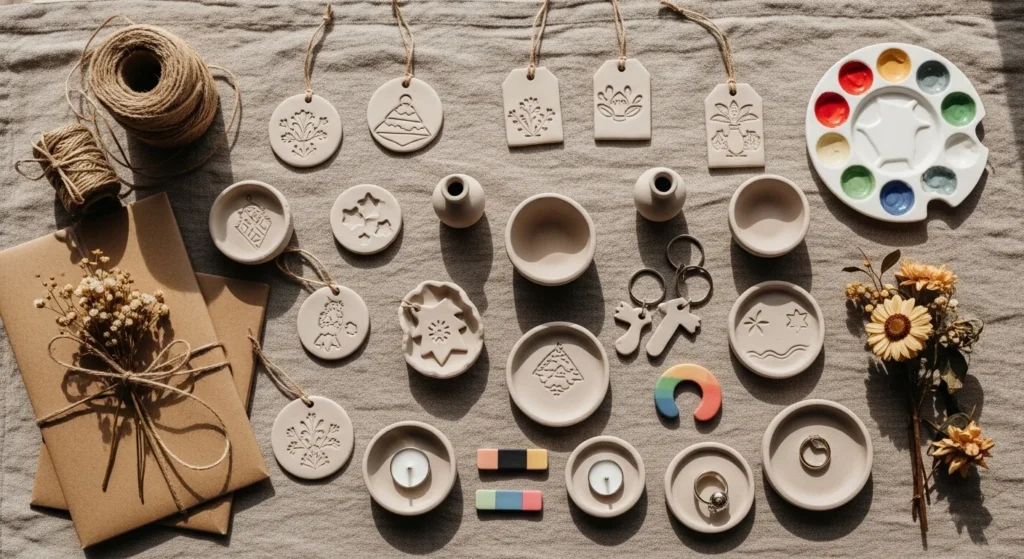
Air-dry clay gifts feel personal because they carry your time and your touch, not just a price tag. You don’t need a kiln or fancy tools to make pieces that look clean and gift-ready. The secret is simple: roll evenly, dry slowly, sand smooth, then seal. This list focuses on small projects that are easy to make at home, easy to wrap, and actually useful so they feel handmade and practical.
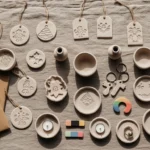
1) Stamped Initial Gift Tags
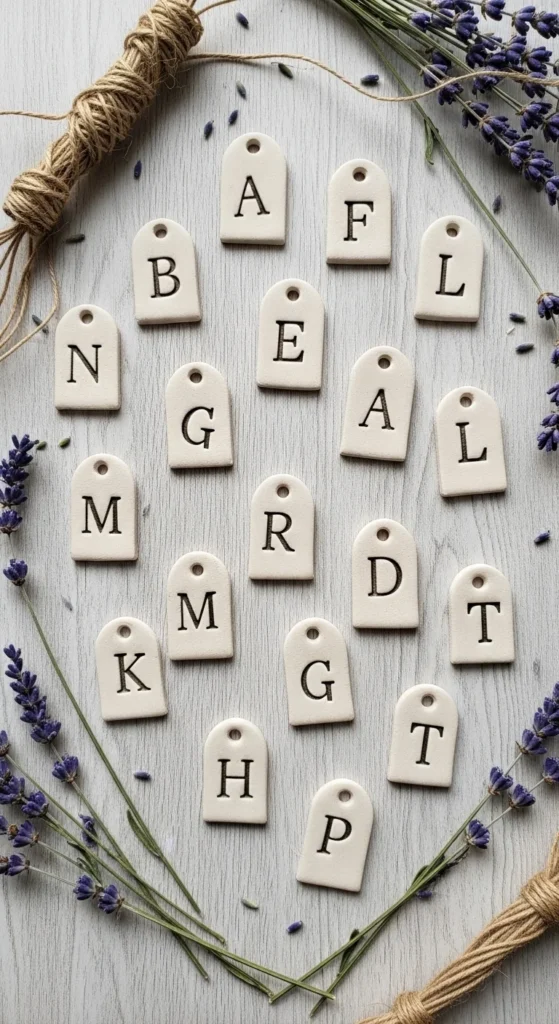
Clay gift tags make any present feel personal before it’s even opened. Roll air-dry clay evenly, then cut small circles or arches using a jar lid or cookie cutter. Press a letter stamp into the center for a clean initial, or carve a simple monogram with a toothpick.
Punch a hole at the top with a straw. Let the pieces dry flat on parchment paper. Flip them after a few hours so both sides dry evenly.
Once dry, sand the edges and the stamped area lightly. This is where the polished look happens. Seal with a clear varnish so fingerprints and scuffs don’t show. Tie onto gifts with twine or ribbon.
DIY example: make neutral tags and use different ribbon colors for different people. For extra charm, press a small dried flower into the clay as texture, then seal after it dries.
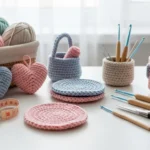
2) Heart-Shaped Trinket Dish
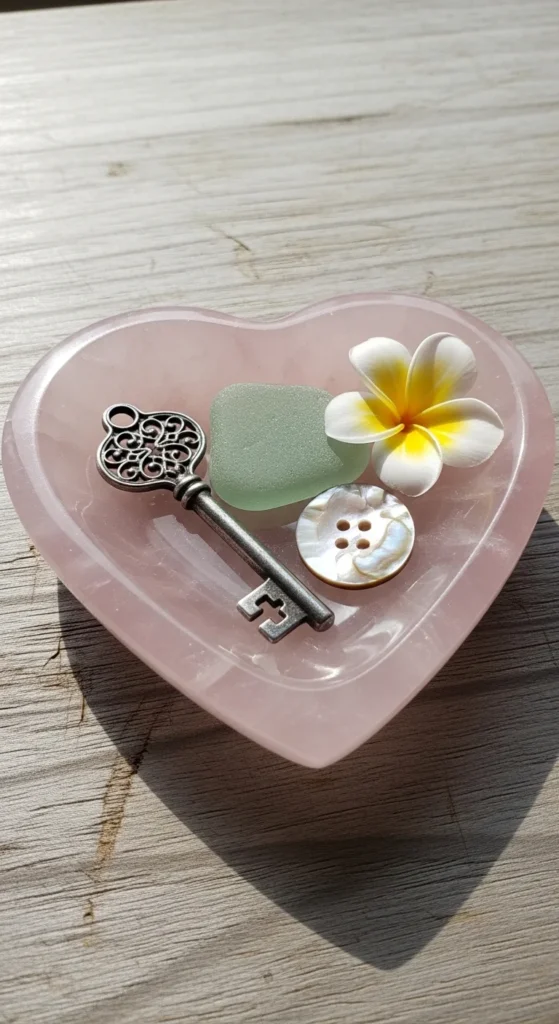
A heart dish is simple, sweet, and useful. Roll clay to an even thickness and cut a heart shape. Press it gently into a small bowl lined with cling film to create a shallow curve.
Keep the edges smooth with a damp finger. Let it dry in the bowl for a few hours, then lift it out to finish drying. This helps reduce sticking and warping.
When fully dry, sand the rim and base until smooth. Seal it so it can handle rings, coins, and hair pins without leaving marks. Paint it in a soft neutral, or do a two-tone edge for a modern look.
DIY example: make two hearts in different sizes and gift them as a matching set one for jewelry, one for keys.
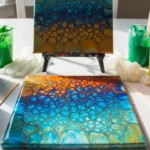
3) Botanical Leaf Imprint Coasters
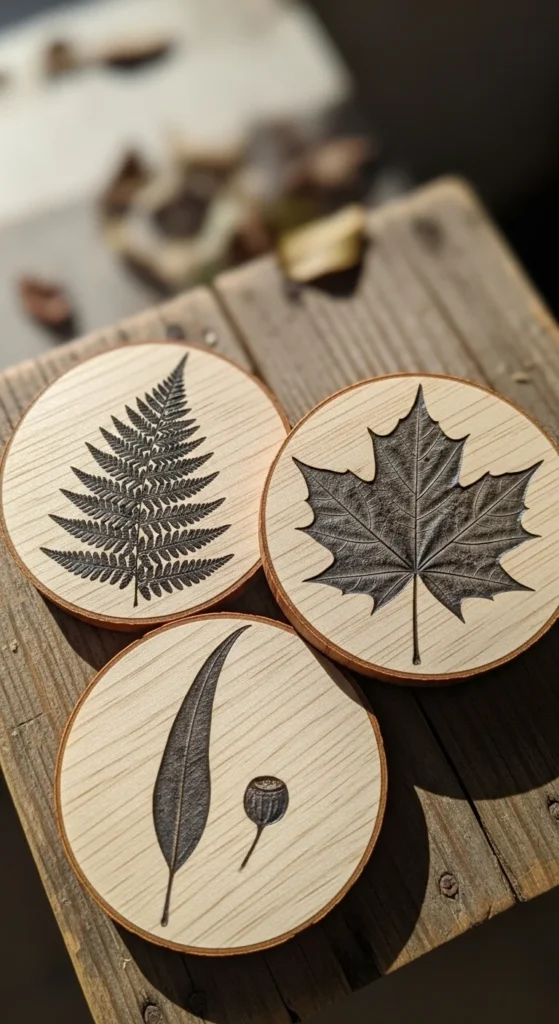
Leaf imprints look delicate and meaningful, and they’re easy to do. Roll clay thin and lay a leaf on top, vein side down. Press gently with a rolling pin or bottle. Peel the leaf away slowly.
Cut the shape into a circle or rounded square. Keep coasters small so they dry more evenly. If edges start to curl, place parchment on top and add a light book for a short time once the clay is leather-hard.
After drying, sand the edges and seal well. Coasters get handled a lot, so a good seal helps the surface stay smooth and wipeable. Add a thin painted rim, or leave it natural for an earthy look.
DIY example: make a set of four using leaves from a meaningful garden or family home.
4) Mini “Pocket” Ring Bowl
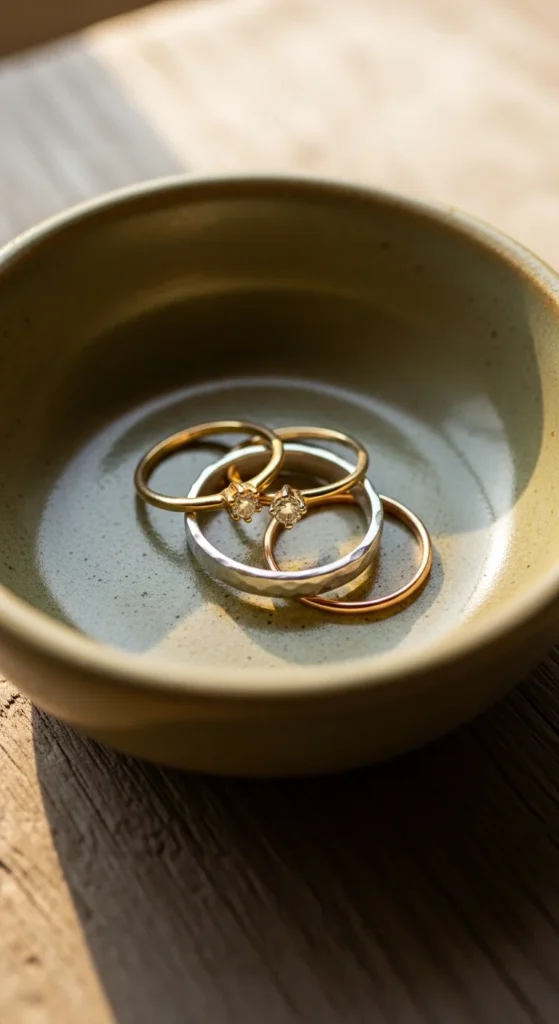
A tiny ring bowl is a daily-use gift that feels thoughtful. Form a small ball of clay, press your thumb into the center, and pinch the walls up gently. Keep rotating as you pinch so the thickness stays even.
Smooth the rim with a damp finger. Let it dry slowly and flip it partway through drying so the base doesn’t stay damp.
Once dry, sand the inside and rim lightly. Seal it so rings slide smoothly and the surface doesn’t powder. Add a small painted dot pattern, a thin rim line, or a simple color block on the outside.
DIY example: make one bowl per friend, each with a different rim color, and wrap each in tissue paper inside a small box.
5) Handprint Ornament (Small + Clean)
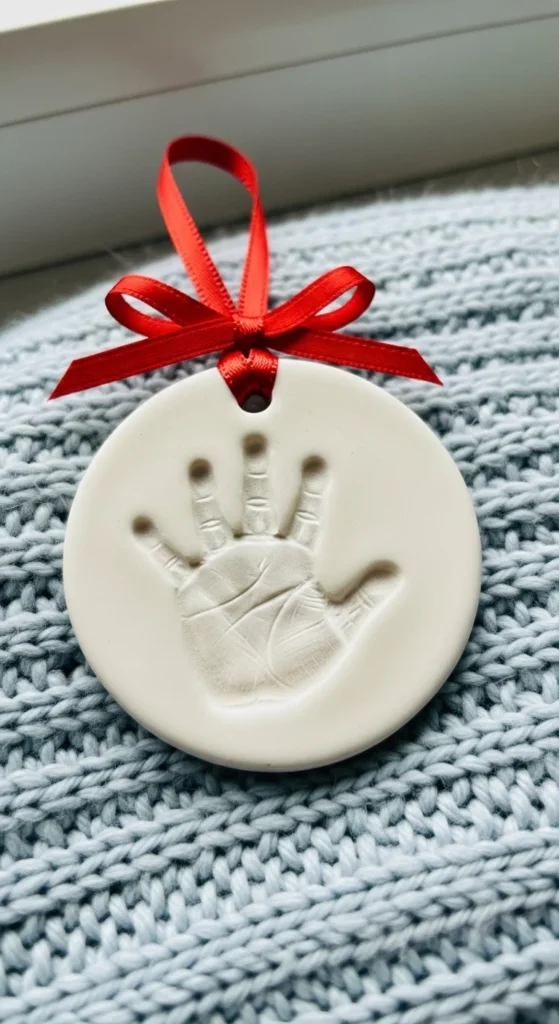
Handprints are classic, and keeping them minimal makes them feel modern. Roll clay evenly and cut a clean base shape like a circle, arch, or scalloped edge. Press a small handprint gently so the impression is clear without cracking.
Punch a hanging hole with a straw. Dry the ornament flat and flip it once it’s firm. Sand the edges smooth after it dries.
Seal it, then add a soft paint wash for contrast. Keep colors calm so the piece looks timeless. Tie with ribbon and add a sprig of dried lavender or eucalyptus for a gift-ready finish.
DIY example: make a “year set” for grandparents with different handprints for each child in the same shape and color palette.
6) Personalized Keychain Charm
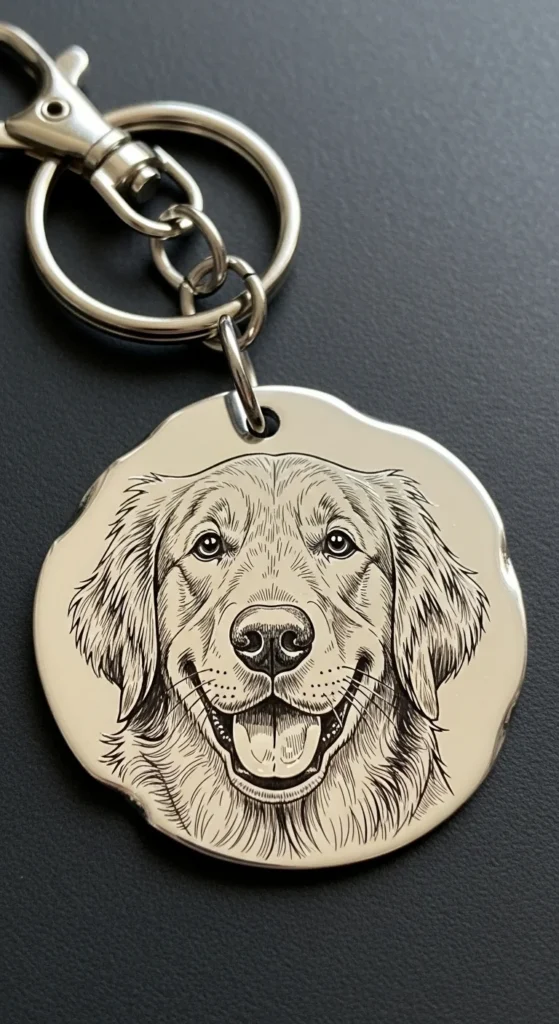
A clay keychain feels personal because it goes everywhere with the person. Cut a small tag shape circle, oval, or rounded rectangle. Add a fingerprint texture, a tiny leaf imprint, or a simple stamped symbol.
Punch the hole before drying. Let it dry flat, then flip it once it firms up. Sand all edges smooth so it feels good in the hand.
Seal it well so it stays clean over time. Add keychain hardware with a sturdy jump ring and strong glue if needed. Keep the design simple so it looks intentional, not busy.
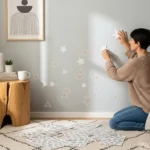
7) Mini Moon Phase Wall Hangers
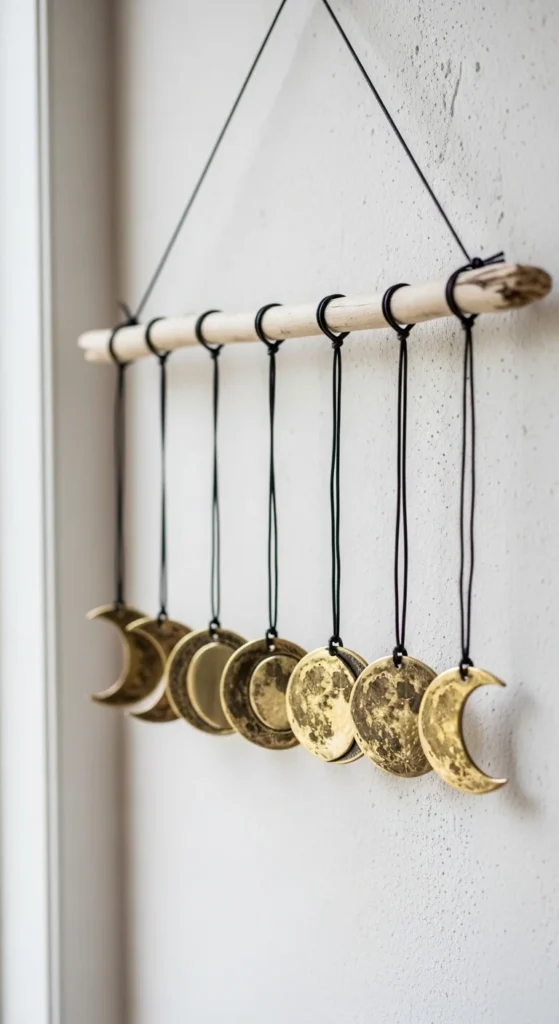
Moon phases look pretty and calm, and they suit minimalist decor. Cut small circles and crescent shapes from rolled clay. Keep them thin and consistent so they dry evenly.
Punch two small holes at the top of each piece for stringing. Dry them flat, flip them, then sand the edges once fully dry. Seal before assembling so the surface stays smooth.
String the pieces with neutral cord or thin rope, spacing them evenly so the hanging looks balanced. You can paint them in soft tones, or keep them natural and matte for a clay-forward look.
DIY example: gift it with a small hook so the person can hang it immediately in a bedroom, entryway, or reading corner.
8) Tiny Tealight Holder Bowl
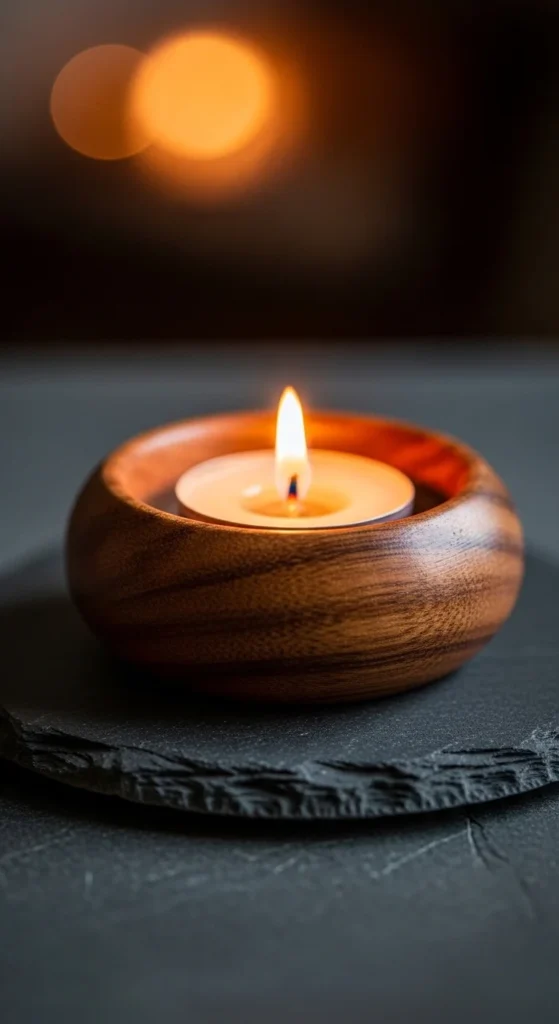
A tealight bowl feels cozy and giftable. Shape a shallow pinch bowl, then press a tealight cup lightly into the center to create a neat seat. Smooth the rim so it looks clean.
Dry slowly to prevent cracking. Flip during drying so the base dries evenly. Sand once fully dry, then seal so the surface looks finished and wipes clean.
If you plan to use a real flame, use a metal tealight insert and keep the holder sturdy. Many people prefer LED tealights for a worry-free gift.
DIY example: make two holders as a pair and wrap them with a small bundle of tealights for a complete little gift set.
9) Pressed Lace Texture Trinket Tray
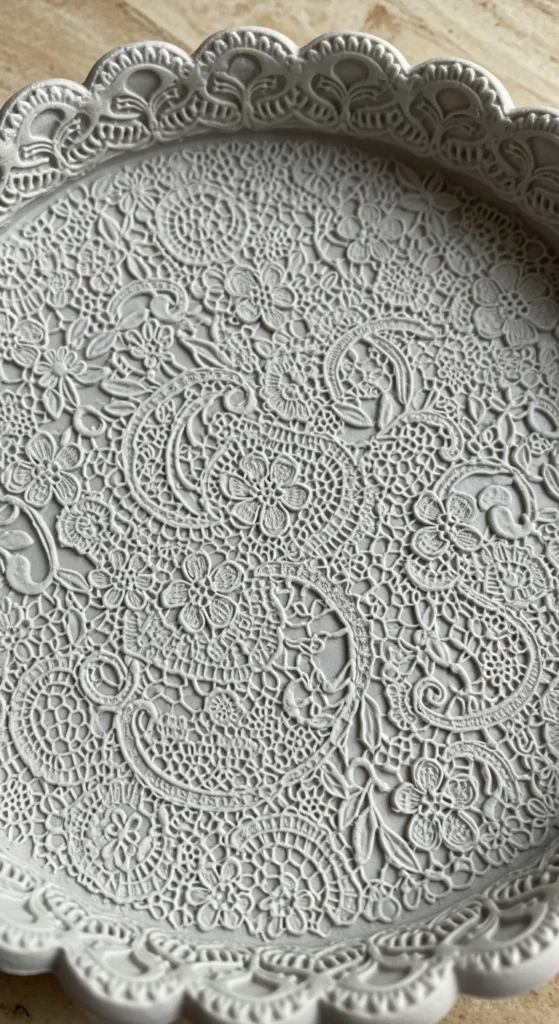
Lace texture makes clay look detailed without extra work. Roll a slab, lay lace on top, and press gently with a rolling pin. Peel the lace off carefully.
Cut the slab into a small tray shape and press it into a shallow bowl mold lined with cling film. Let it set, then remove to finish drying.
When dry, sand the edges and seal. Paint lightly over the raised texture for contrast, or do a thin wash and wipe back so the pattern shows. Keep the palette soft so it feels gift-ready and timeless.
DIY example: pair the tray with a small bracelet or a handwritten note, using the tray as part of the presentation.
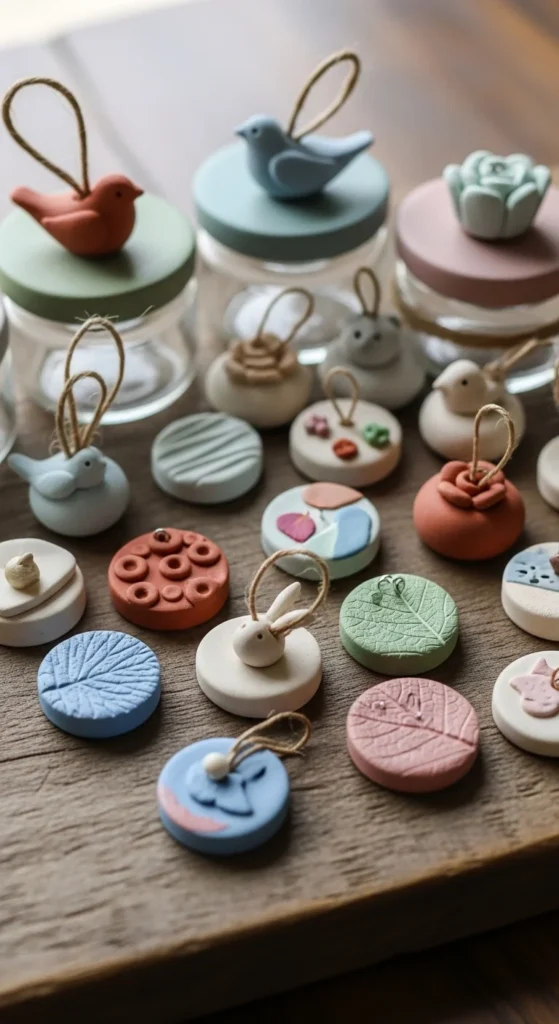
10) Mini Fridge Magnets (Simple Shapes)
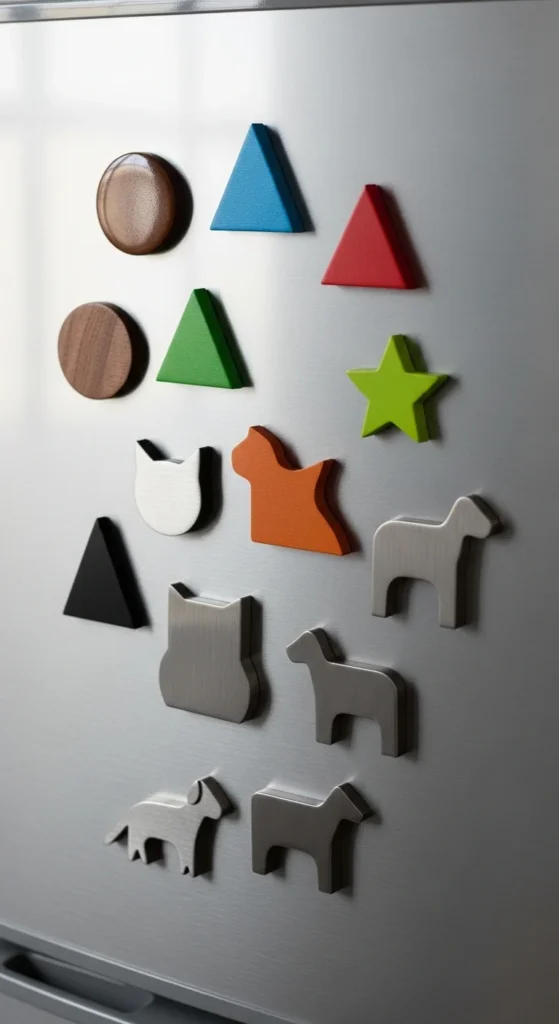
Magnets are small, useful, and fun to make in sets. Cut clean shapes like circles, arches, hearts, or tiny fruit silhouettes. Keep them thin so they dry flat.
Dry them on parchment, flip once firm, then sand the edges smooth. Seal so they don’t leave chalky marks. Glue small strong magnets to the back once fully cured and sealed.
To make them look coordinated, pick a tight color palette and repeat shapes. A set always looks more intentional than a single magnet.
DIY example: create a pack of nine magnets in two colors and wrap them in a small pouch. It feels like a mini “collection” gift.
11) Tiny Name-Free Place Setting Rings
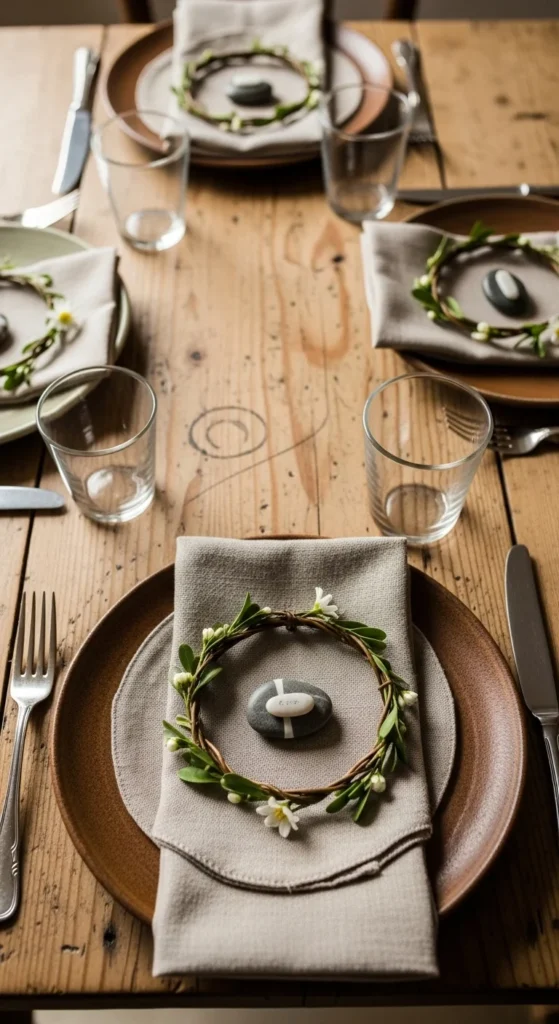
These are cute for hosts and friends who love table styling without adding any letters. Roll clay into small rings or napkin loops. Smooth the join so it doesn’t crack as it dries.
Dry them over a small bottle or jar to keep the curve. Flip carefully once they’re firm so the underside dries too. Sand lightly, then seal.
Paint them in a neutral tone, or add a thin painted stripe. Keep it simple so they match many table styles.
DIY example: gift a set of four rings tied with ribbon, plus a sprig of dried rosemary or lavender tucked into the bow.
12) Mini Wall Hook Dish (Entryway Catch-All)
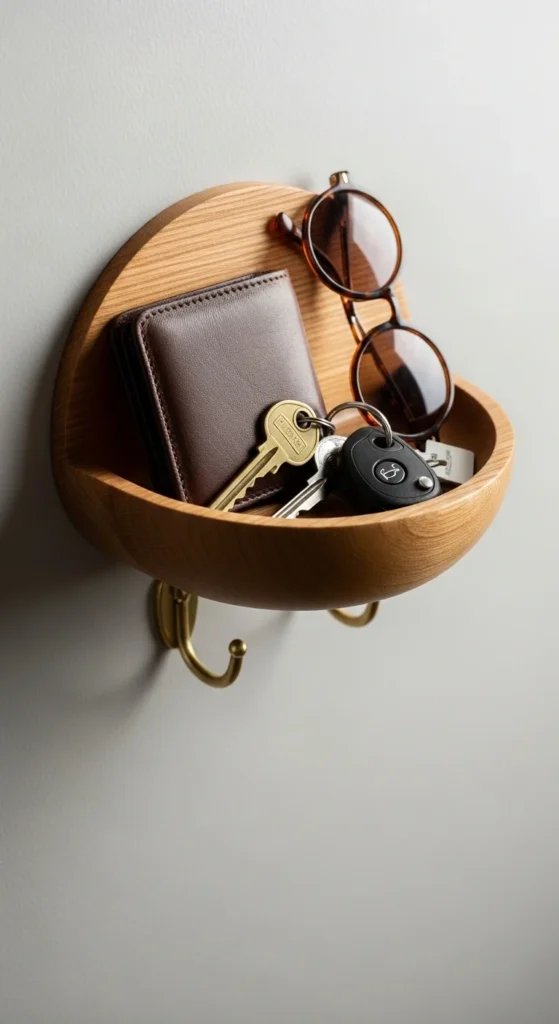
A small wall dish feels thoughtful because it solves a daily problem—where do keys go? Make a shallow dish and add two small holes near the top so it can hang on a hook or nail.
Dry it flat and flip once firm. Sand the rim and base smooth. Seal well so it can handle daily use.
Paint it in a soft neutral or a calm color that suits entryways. Keep the shape simple so it looks like a small home-goods piece.
DIY example: gift it with a small wall hook in the wrapping so it’s ready to install right away.
13) Tiny Photo Holder Pebble
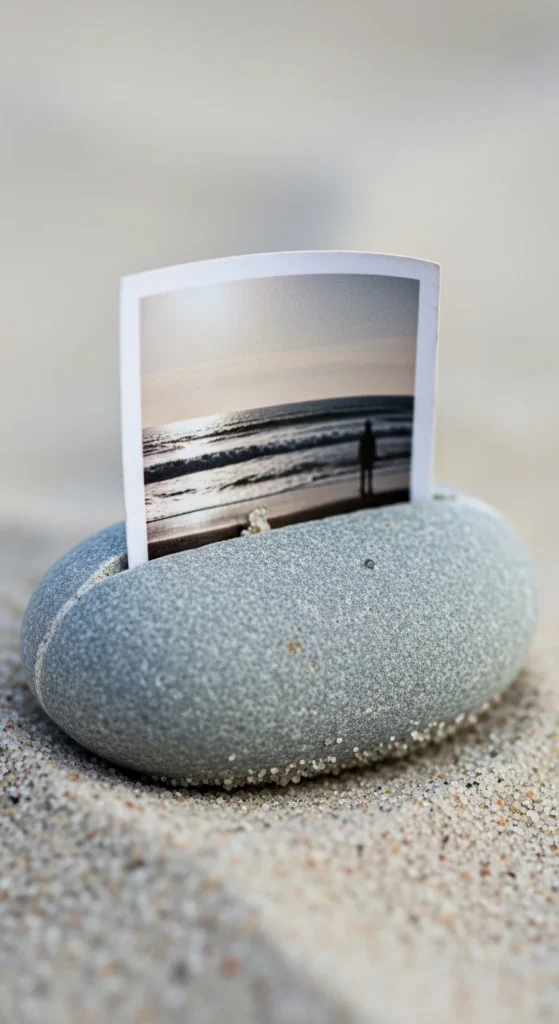
A photo holder is a sweet desk gift. Shape a smooth “pebble” base, then press a slit across the top using a thin card while the clay is still soft. Remove the card so the slot stays clean.
Dry it slowly, then sand the base and edges. Seal it for a smooth finish. Paint it a single color for a clean look, or do a speckle effect with a toothbrush flick of paint.
DIY example: pair it with a printed photo and wrap them together so the gift feels complete and personal.
14) Mini Herb Marker Stakes (No Words)
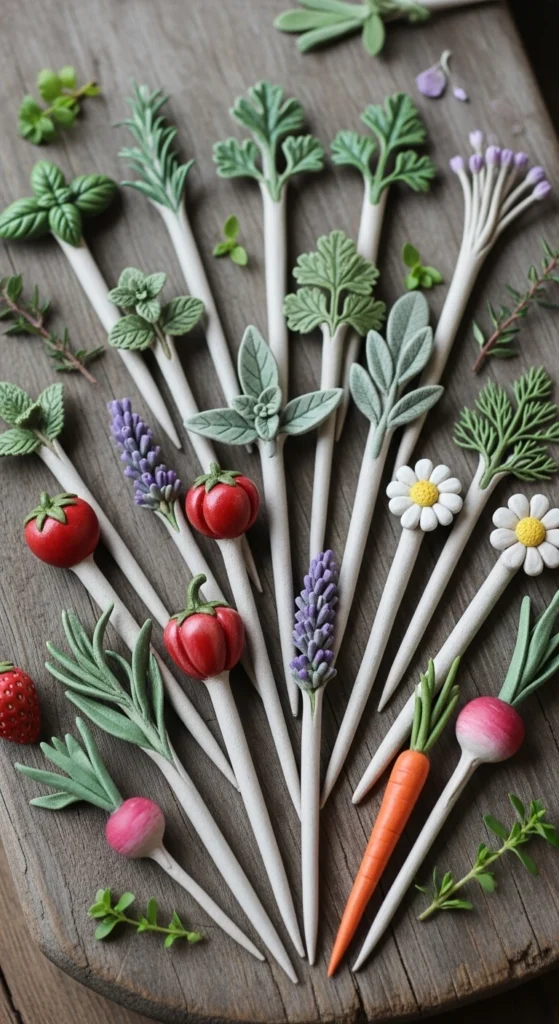
If you want a garden-friendly gift without any lettering, make herb markers with small stamped icons instead. Cut thin stakes and add a small clay “badge” at the top. Press simple shapes—leaf, circle, dot patterns—so each herb can be identified by symbol.
Dry them flat and flip once firm. Sand edges lightly and seal well for durability. Use an outdoor-safe sealer if they’ll live in soil.
DIY example: create a set of six markers with different icon patterns, and gift them with a small potted herb or seed packet.
15) Mini Incense Dish With Groove
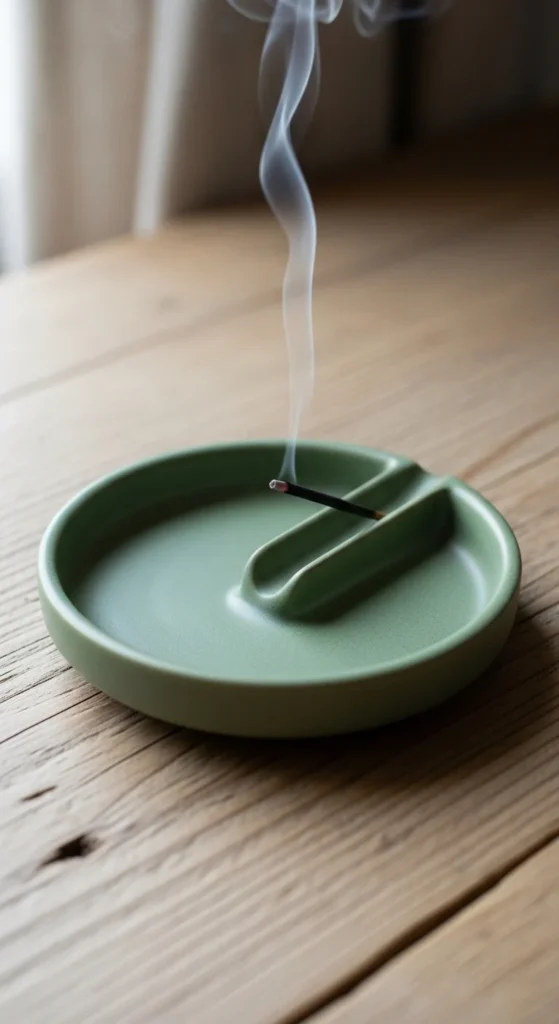
Incense dishes feel calm and personal, especially for self-care lovers. Roll a small slab and carve a shallow groove with the back of a spoon so ash has a place to land. Add a tiny hole for the incense stick using a skewer.
Dry flat, flip, then sand the edges and groove area lightly once fully dry. Seal so ash wipes off easily. Keep the design minimal so it fits many decor styles.
DIY example: gift it with a small pack of incense and a neutral candle for a cozy “quiet corner” set.
16) Pressed Flower Keepsake Tile
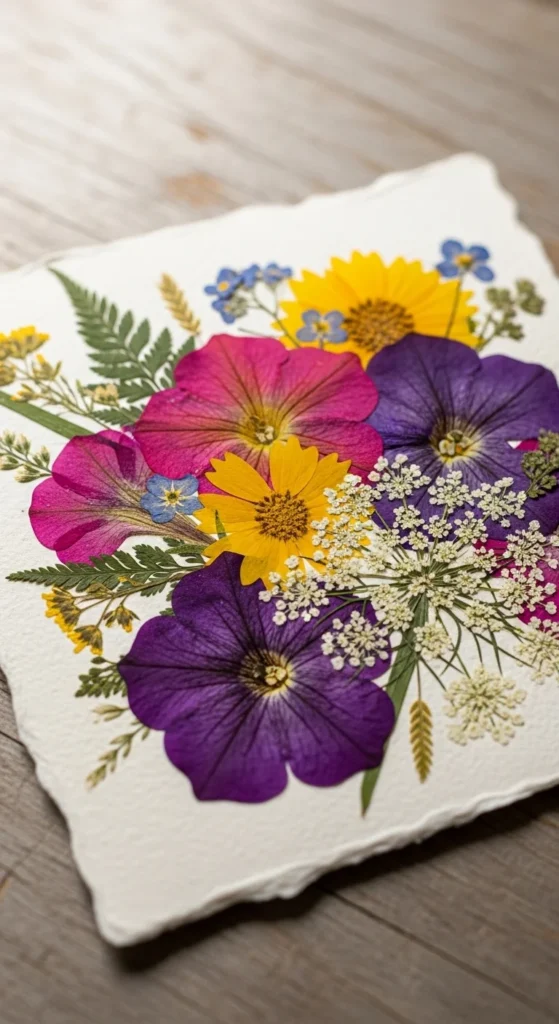
A flower tile feels sentimental without being complicated. Roll clay into a small square or arch tile. Press a dried flower or leaf gently into the surface, then lift it out so you keep the imprint, or leave it in place for a raised keepsake look.
Dry the tile flat and flip once firm. Sand edges smooth. Seal carefully so the flower detail stays protected and the surface feels finished.
DIY example: use flowers from a meaningful bouquet or a family garden and gift the tile as a small shelf decor piece.
17) Tiny “Worry Stone” Pocket Token
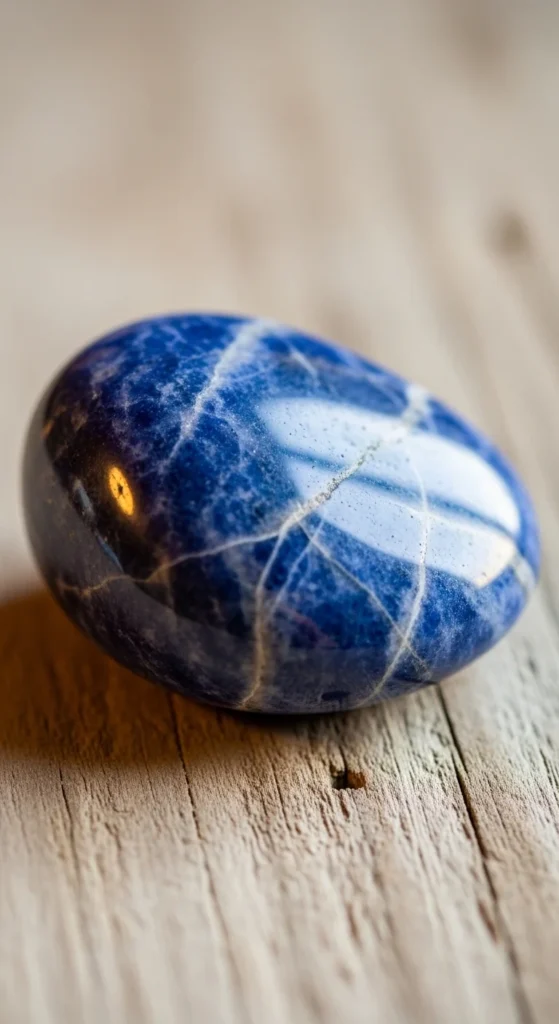
This is a small gift with a big emotional feel. Shape a smooth oval stone, then press a thumb dip in the center so it fits a finger naturally. Smooth the edges and let it dry slowly.
Once dry, sand it until it feels silky. Seal it so it stays smooth in a pocket or bag. Paint it in a calming color or leave it natural.
DIY example: gift it inside a small cloth pouch with a handwritten note about using it during stressful moments. It’s simple, but people remember it.
18) Mini Candle Lid Charm (Jar Topper)
If you’re gifting a candle, a clay topper makes it feel custom. Cut a small disk that fits the candle jar lid, or make a small charm that ties around the jar neck with ribbon.
Add a simple texture—lace press, leaf press, or tiny dot pattern. Dry flat and flip once firm. Sand the edges and seal so it looks clean and smooth.
DIY example: pair the topper with a neutral candle and dried flower sprig. The clay piece turns a basic candle into a “gift set” feel.
19) Mini Soap Saver Pebbles
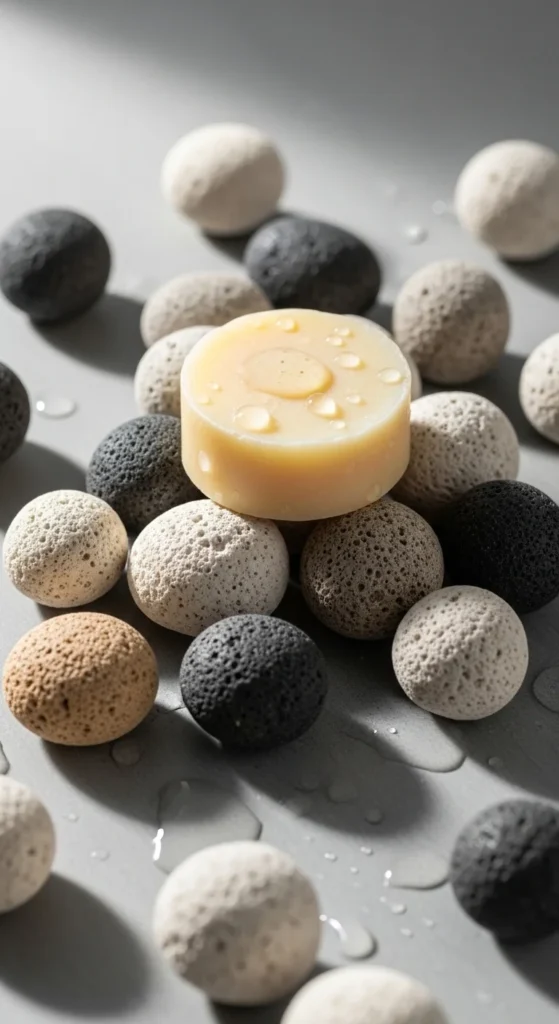
Soap saver pebbles are practical and cute. Make several small pebble shapes and add shallow grooves or dot texture so soap can sit slightly lifted. Keep them small and flat so they dry evenly.
Dry fully, then sand smooth and seal with a water-safe finish. Place three or five pebbles in a small dish or tie them in a mesh bag.
DIY example: gift them with a handmade soap bar. The clay piece supports daily use, and the gift feels thoughtful without being complicated.
20) Tiny Keepsake Ornament Set (Shapes Only)
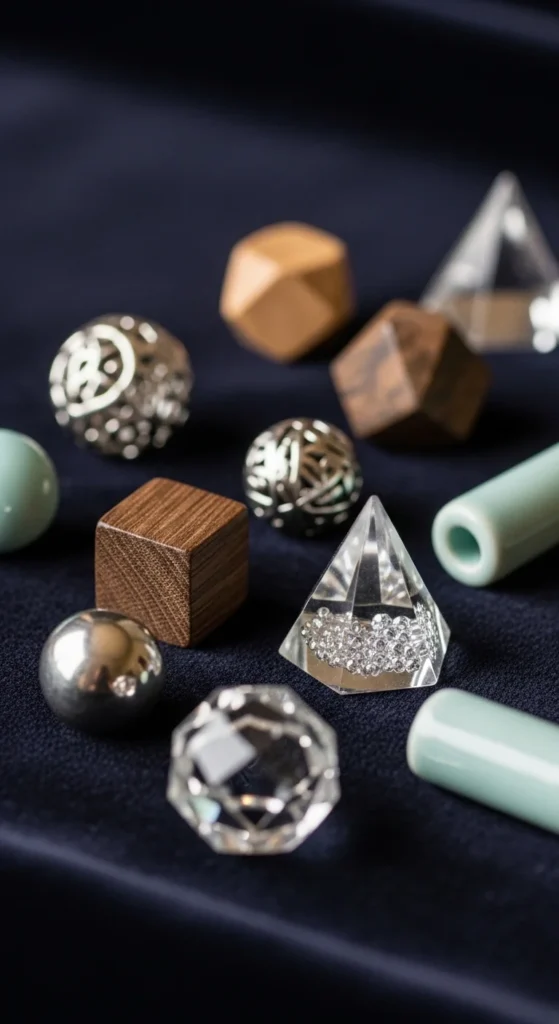
A small ornament set feels heartfelt and easy to store. Cut simple shapes like stars, moons, hearts, or tiny houses. Add texture using lace, a toothbrush, or a leaf press. Punch holes with a straw.
Dry flat, flip once firm, then sand edges smooth. Seal so they last year after year. Paint them in a soft palette and keep the finish consistent across the set.
DIY example: wrap three ornaments together with ribbon and add a small hook bundle. It feels like a mini collection, not a single craft.
Conclusion
Air-dry clay is one of the easiest ways to make gifts that feel personal without complicated setup. Keep your shapes simple, dry slowly, and don’t skip sanding + sealing—those two steps make handmade pieces feel clean and long-lasting. Pick one idea for quick single gifts, or make a small set so it feels like a curated bundle. When you wrap it with calm colors and a little care, the gift lands the way you intended: handmade, thoughtful, and truly from you.

Lily Summers is a digital artist and creative storyteller who loves bringing colorful characters to life. With a passion for cartoons, fan art, and playful sketches, she inspires others to explore their imagination through art. When she’s not sketching, you’ll find her dreaming up new ideas for CraftedWizard.com to spark creativity in every artist. 🌈✨